3 System Preparation
Operator’s Manual 3 - 15
3. Add wireless printer by following the procedures of adding a Graph/Text printer. see
“3.8.3 Connecting a Graph/Text Printer” for details.
4. Press <F10>, select [Print] to choose the report to be printed. Select the printer from the
wireless printer list, and set the printer.
5. Click [Save] to exit the preset and make the settings effective.
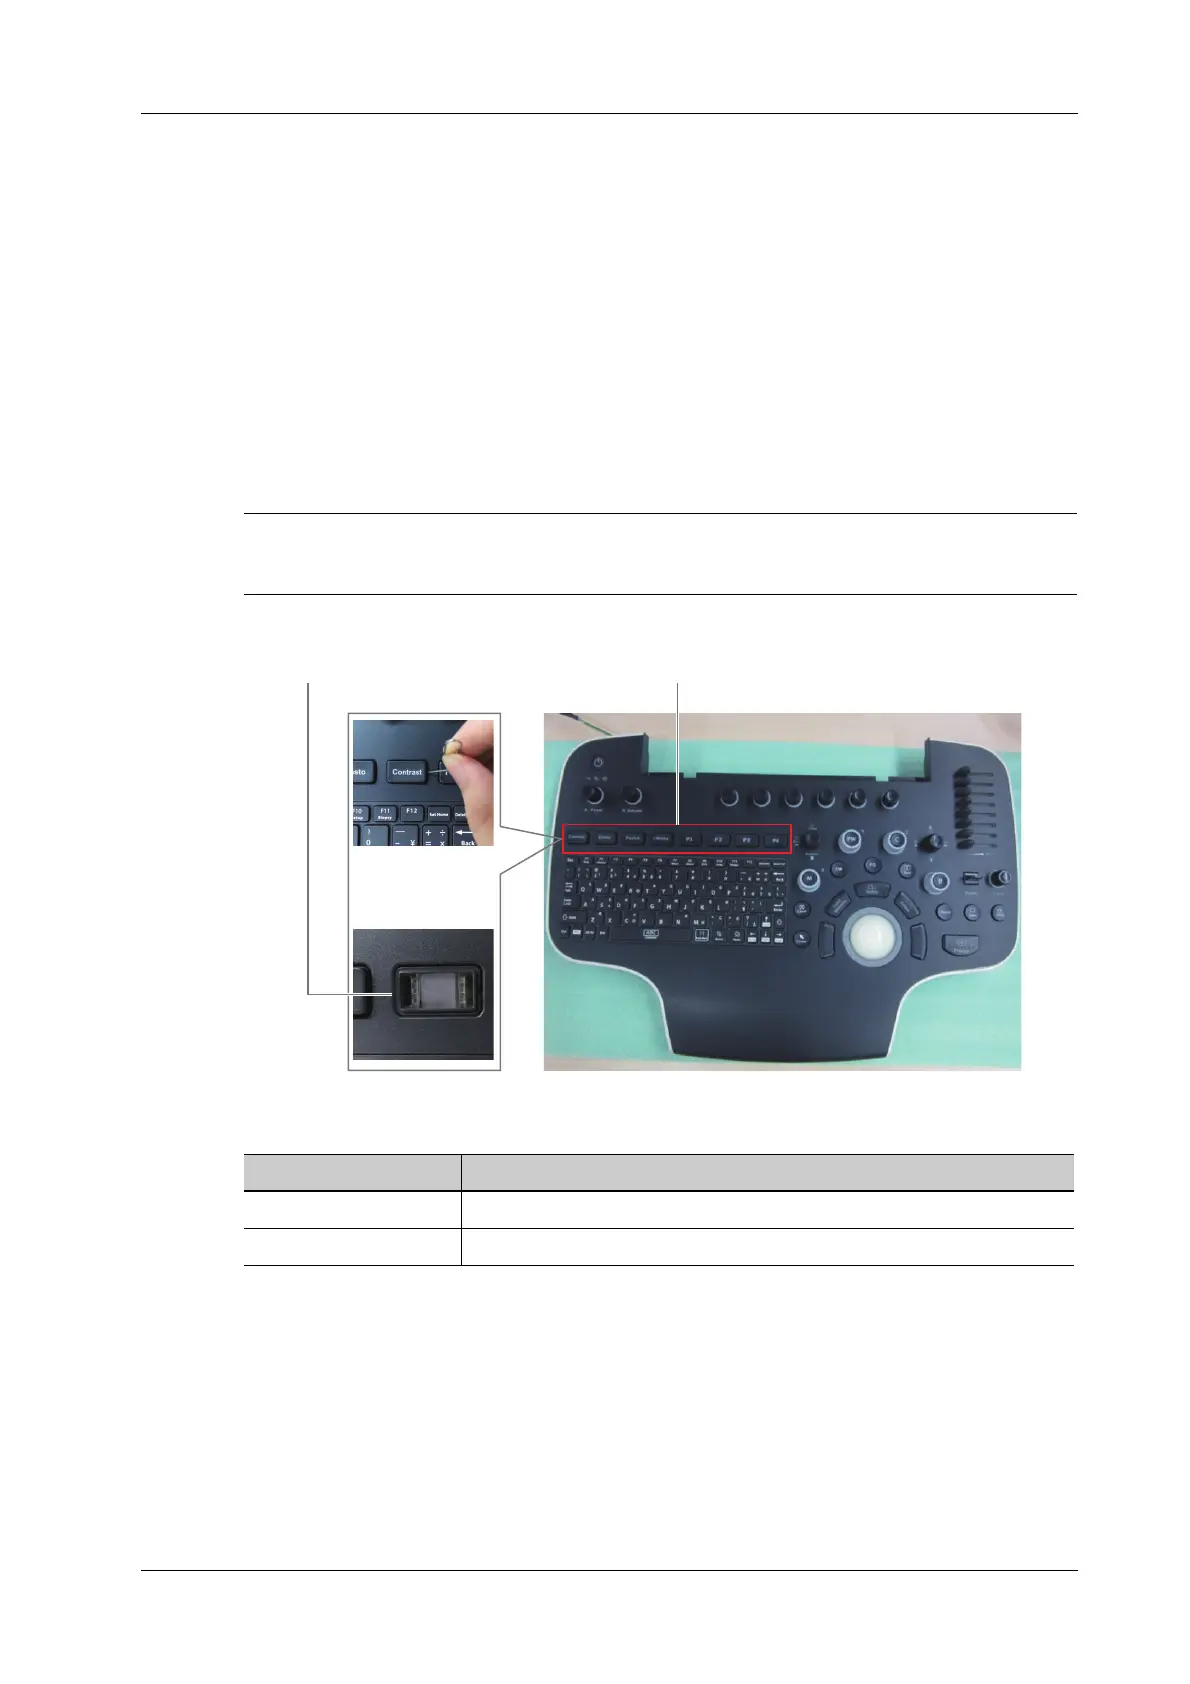
3.8.6 Rectangle Caps
In order to use the defined-function key more conveniently, user can replace the key freely.
The Ultrasound System is equipped with five rectangle caps (iScape, RIMT, TDI, V Flow, S-
Planes) by factory default. It is designed for replacing the rectangle caps by the user.
Insert the paper clip or pen into the slot around the rectangle buttons (P1, P2, P3, iWorks, Fusion,
Elasto, Contrast, Body Mark) to remove them.
It is unnecessary to disassemble the control panel to remove the rectangle caps.
3.8.7 Installing Storage Tray Kit
The storage tray kit consists of a storage tray of control panel base, a storage tray of main unit top
cover, and an intra-cavity probe holder connector.
The installation procedures of the two storage trays are described in this section.
For details on installing the intra-cavity probe holder connector, contact Mindray Customer Service
Department or sales representative.
NO. Description
1. Slot
2. Rectangle cap (8)
12
 Loading...


