114
T26 System Manual Part 1: Installation
4. Insert the housing and circuit board into the socket: The two cable clamps on the
rear of the housing are located at the top. For a cavity socket, make sure you only
use the stainless steel screws provided. Using dierent (larger) screws could damage
the circuit board.
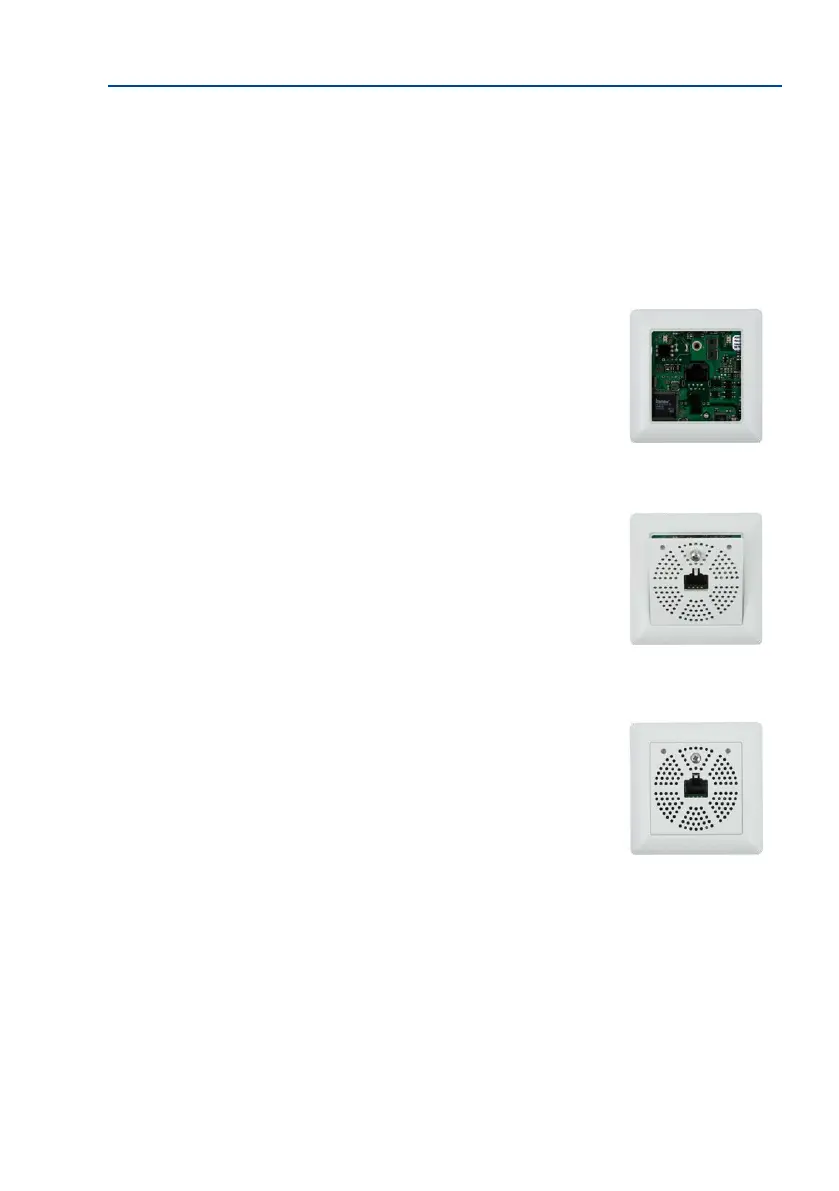
5. Attach the frame: Place the selected frame (concave,
convex or at) onto the board and press down gently
until it automatically snaps into place. MOBOTIX is
printed on the bottom of the frame.
6.
Insert the panel: Hook the front panel onto the frame,
as shown in the gure, and then press it down.
7.
Screw the panel on tightly: Secure the front panel using
the panel’s stainless steel screw.
The board is attached
directly to the socket
using two screws (see
gure) or to the wall
using the Torx screws
MOBOTIX printed
at the bottom