94
T26 System Manual Part 1: Installation
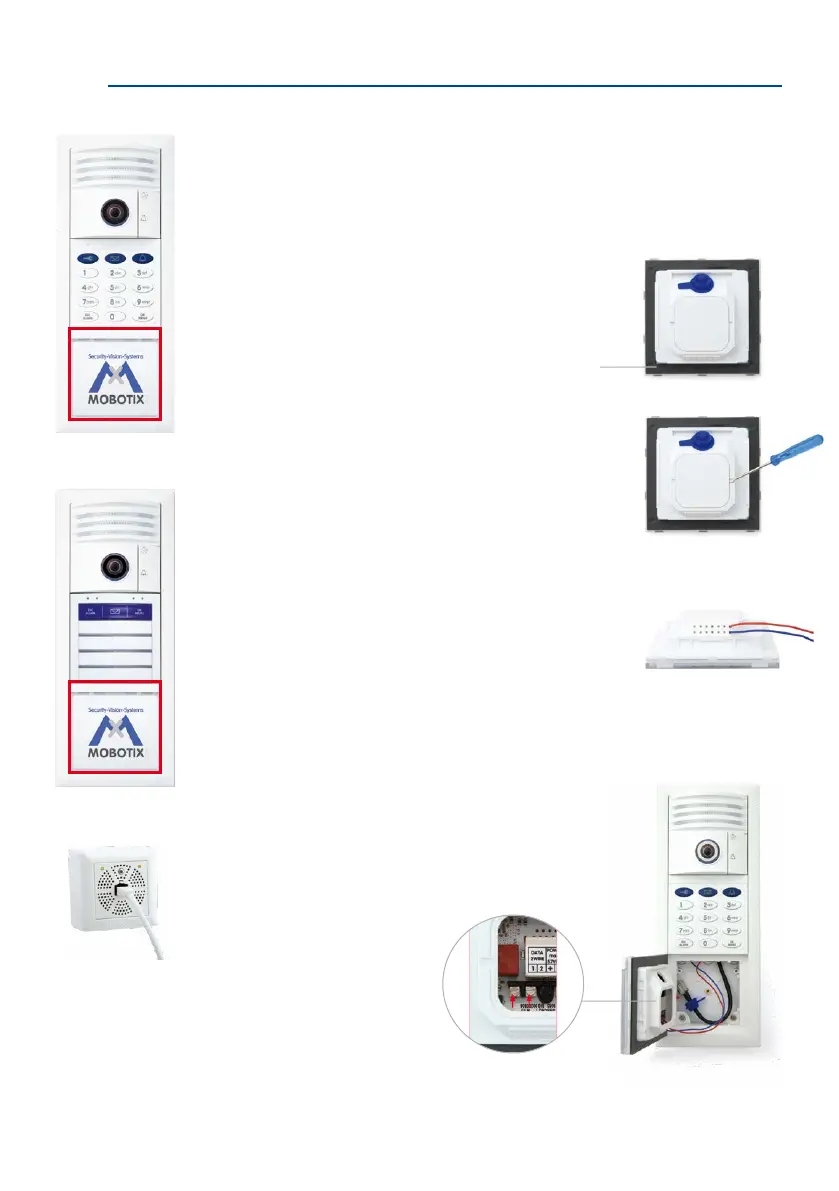
2.4.5 Installing the Info Module Mx2wire+
The info module with integrated Mx2wire+ technology is used to connect the door station
to the network via a two-wire cable such as a bell wire and has an info eld with permanent
LED backlighting.
1. Ensure that the gasket is tted to the info module.
2. Loosen the rear cover plate (using a
small screwdriver or similar tool) and remove it. You
now have a clear view of the connectors located directly
on the info module board.
3. Remove approximately 5 mm of insulation from each
of the cables to be connected and feed each cable through
one of the
wire apertures
in the housing (piercing the
rubber membrane with the cable).
4.
Connect the two-wire cable, which leads to the separate
Info Module Mx2wire+ unit in the building, to the board.
– First wire to Data 1 terminal
– Second wire to Data 2 terminal
T26 with KeypadRFID
Cindy Jones
Thomas Jones
The Jones Family
Dr. Jones, MD
T26 with BellRFID
Gasket
Mx2wire+ indoor unit (for
installation, see Section 2.6)