112
T26 System Manual Part 1: Installation
2.6.2 Mounting Instructions
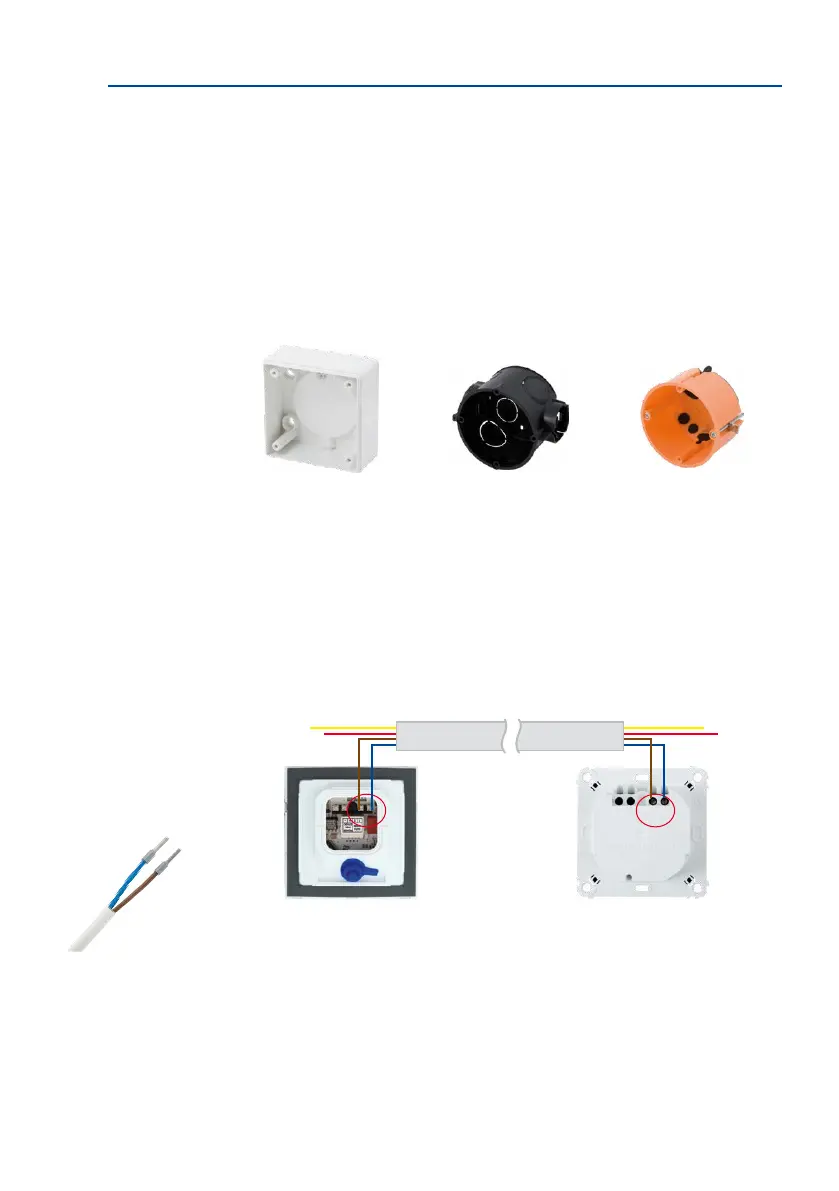
Mounting Options
In addition to an on-wall installation using the supplied surface-mounted socket, you can
also choose to install the Mx2wire+ indoor unit using a standard in-wall socket or a cavity
socket (for wood or plasterboard, for example). Included in the delivery is a cavity socket
of very high quality with so rubber gaskets on the rear that needs to be punctured by the
two wires that feed in. The tight seal provided here is far superior to that oered by standard
cavity sockets without this feature.
Please follow the installation instructions in Section 2.5.3. They also apply to the Mx2wire+
indoor unit.
Preparing and Testing the Two-Wire Cable
In general, Mx2wire+ is used with existing cables (bell wire). When cables have more than
two wires, make sure (color coding) that the same cable pair is used for both Mx2wire+ units
(see gure). Approximately 5 mm of insulation must be stripped from both ends of the
two-wire cable.
Prior to installation, test the cable connection to ensure that it is functioning properly (if
necessary, draw up a test chart).
In-wall socket Cavity socketSurface-mounted socket
Info Module Mx2wire+ Mx2wire+
indoor unit
Cable with wire-end sleeves
(for exible cores)