63
Overview: Connection and Wiring Diagrams
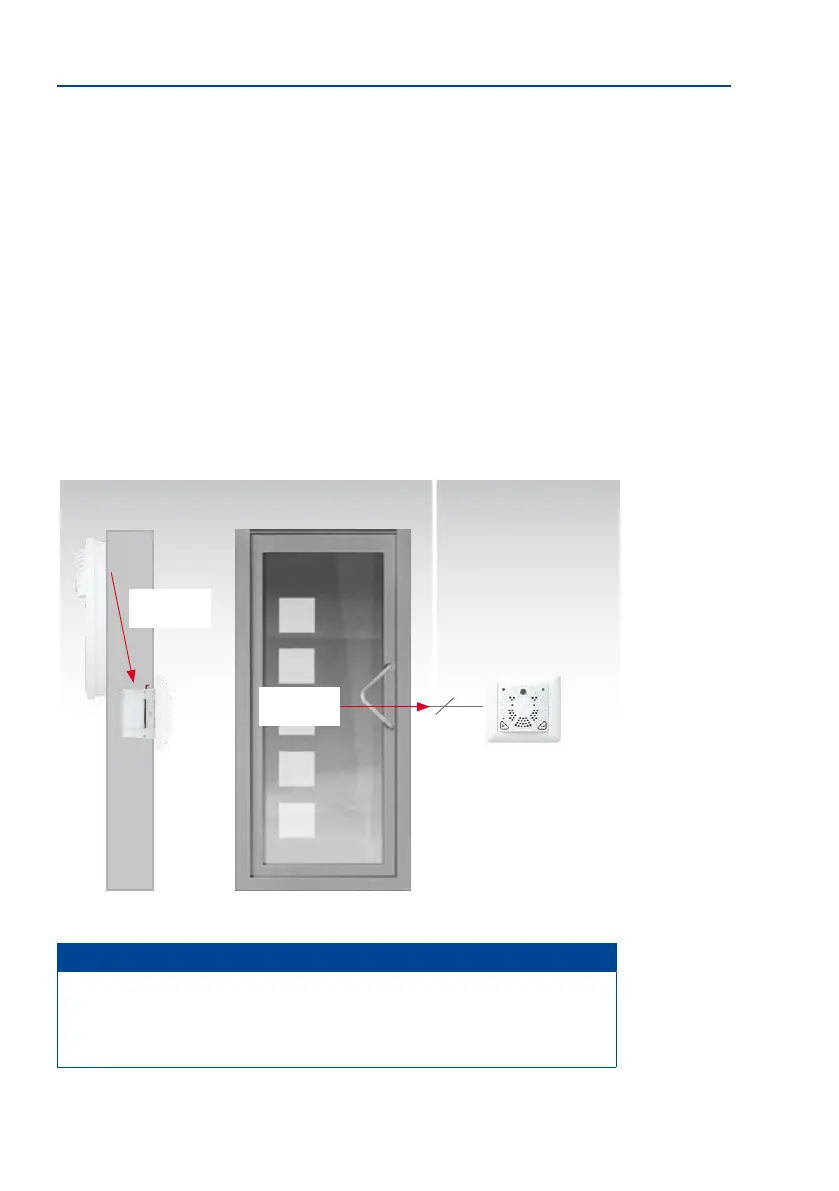
Step 2: Install and Connect the MX-DoorMaster
Install the MX-DoorMaster in a in-wall socket on the wall behind the door station (inside
the building). Besides the in-wall socket, only two holes are required for the entire cabling.
Hole A
Use a long drill bit to drill a hole from the door station downwards at an angle, through the
brickwork to the in-wall socket of the MX-DoorMaster on the interior wall surface. Insert
a 4-wire cable for MxBus and the the protection (see Section 2.1.4, «Recommendation
for Cabling»).
Hole B
Use a shorter drill bit to drill a hole through the brickwork from the door lock/
door opener to the in-wall socket of the MX-DoorMaster. Feed the connectors for the door
opener, door sensor and door lock sensor through this hole (see Section 2.5, «Installing the
MX-DoorMaster»).
Note
Please contact a specialist (e.g. a locksmith) for the installation and selection of
any components that may be required (door opener, magnetic sensors). Door open
-
ers and door sensors are available as accessories from other suppliers (e.g. www.
assaabloy.com).
Door
MX-DoorMaster
Hole A
Wall
Inside
Hole B
Outside
6