Getting Started 1 - 5
Connecting a Synapse Cable Interface
Synapse Smart Cables enable interfacing to a variety of hosts. The appropriate Synapse cable has the built-in
intelligence to detect that host.
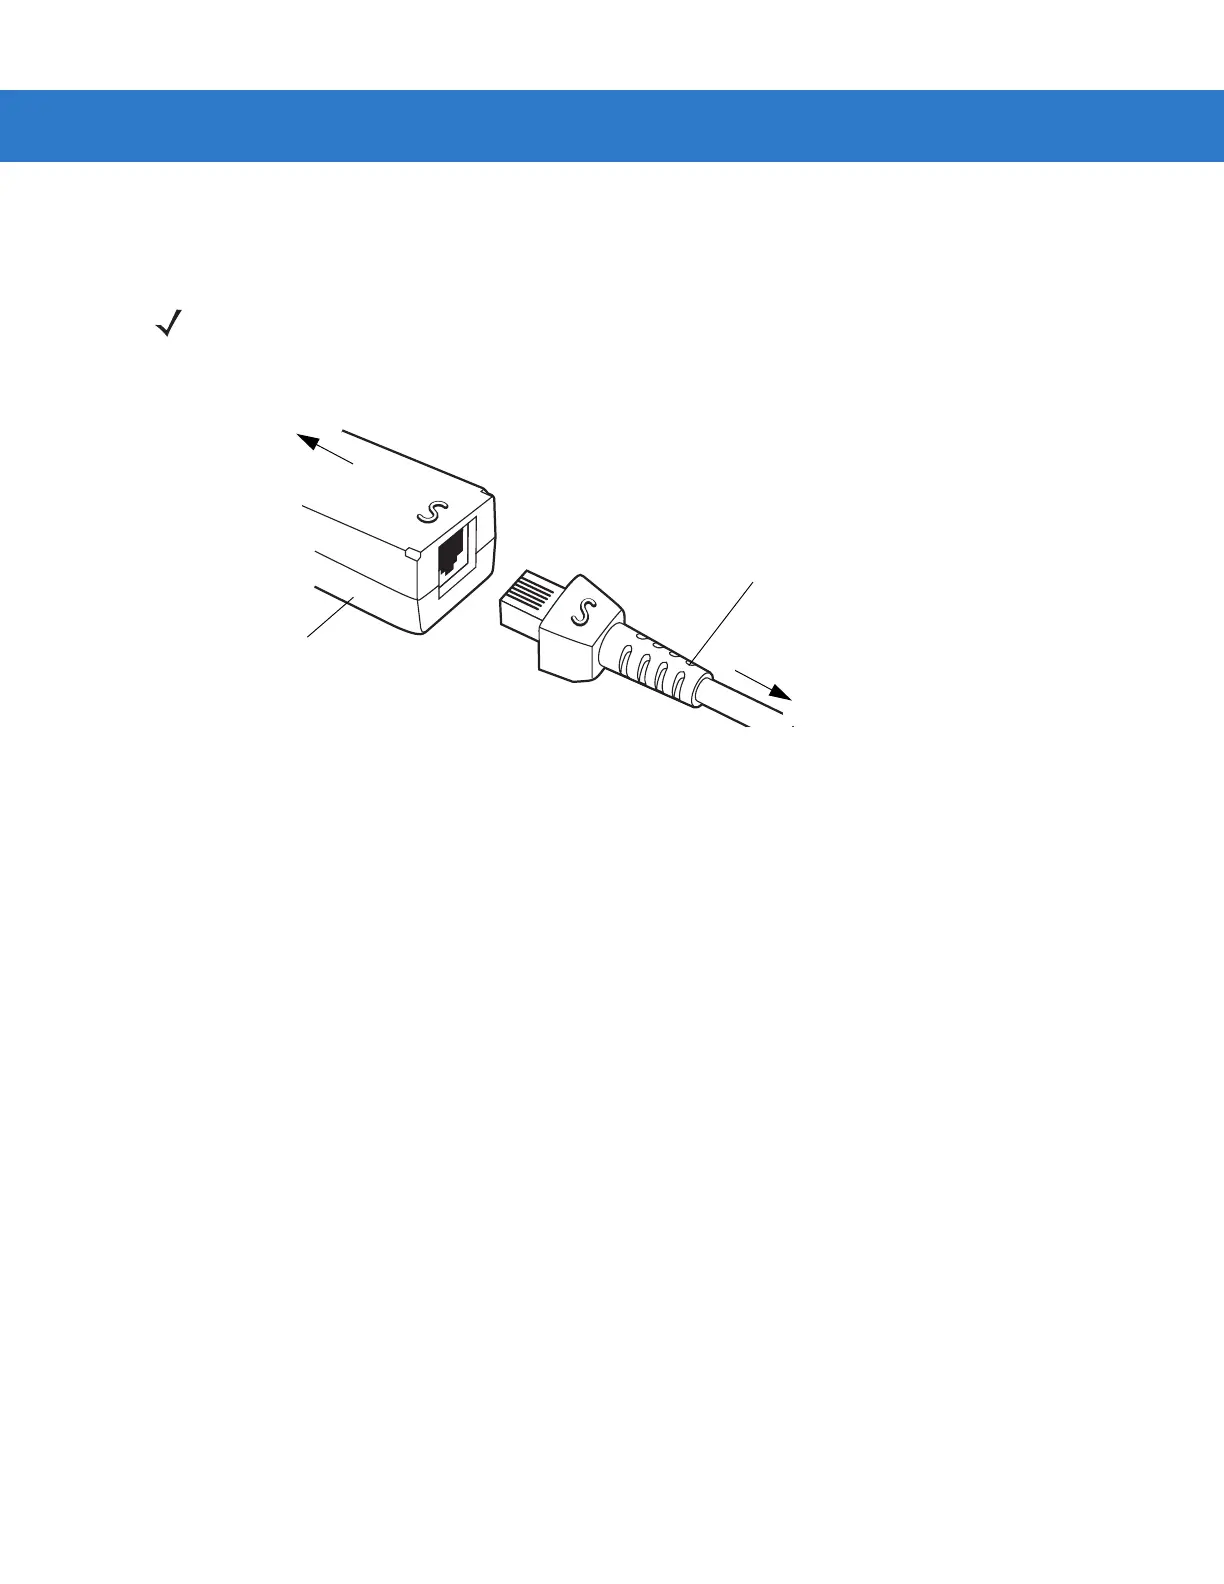
Figure 1-5
Synapse Cable Connection
1. Plug the Synapse adapter cable into the bottom of the scanner, as described in Installing the Interface Cable
on page 1-3.
2. Align the ‘S’ on the Synapse adapter cable with the ‘S’ on the Synapse Smart Cable and plug the cable in.
3. Connect the other end of the Synapse Smart Cable to the host.
Removing the Interface Cable
1. Loosen the two screws on the cable clamp at the bottom of the scanner and gently pull the clamp away from
the bottom of the scanner.
2. Open the clamp and unplug the interface cable modular connector from the cable interface port on the bottom
of the scanner handle. Carefully slide out the cable.
3. Follow the steps for Installing the Interface Cable on page 1-3 to connect a new cable.
Configuring the Scanner
Use the bar codes included in this manual or the 123Scan
configuration program to configure the scanner. See
Chapter 4, User Preferences and each host chapter for information about programming the scanner using bar code
menus. See Chapter 11, 123Scan to configure the scanner using this configuration program. A help file is available
in the program.
NOTE Refer to the Synapse Interface Guide provided with the Synapse cable for detailed setup instructions.
Synapse adapter cable
To scanner
Synapse Smart Cable
To host

 Loading...