1.23 EDH0162En1040 – 06/99
MM4005 Introduction
If the components listed match with the actual motion devices installed,
you are ready for the first motion test.
On the other hand, if there is a discrepancy, it must be corrected immedi-
ately. In this case, you should perform the following steps:
1 From the main MOTOR menu, select the key.
2 In the main setup menu press function key.
3 From the next menu press function key. This will let you select
which axis you want to modify. (Note the symbol on the first line, in
front of the existing axis number.) Using the numerical keypad, enter
the axis number to be corrected and then press key to accept
the selection and return to the previous screen.
NOTE
Remember that any time a numerical entry on the keypad must be cor-
rected, the function key erases the last digit entered.
4
Now press the key. This enters the product family selection
screen.
5 Use the or keys scroll through the product families
until you find the one you need.
6 Press the key to accept the product family currently on the dis-
play. The next menu level consists of product models is the chosen
product family.
7 Use the or keys to scroll through the different product
models of the chosen family.
8 Press the key to accept the product model on the display and
to advance to the next menu.
9 The next two screens are for changing the default axis parameters, but
do not attempt to do at this point. Press the key to pass
through these screens without making any modifications.
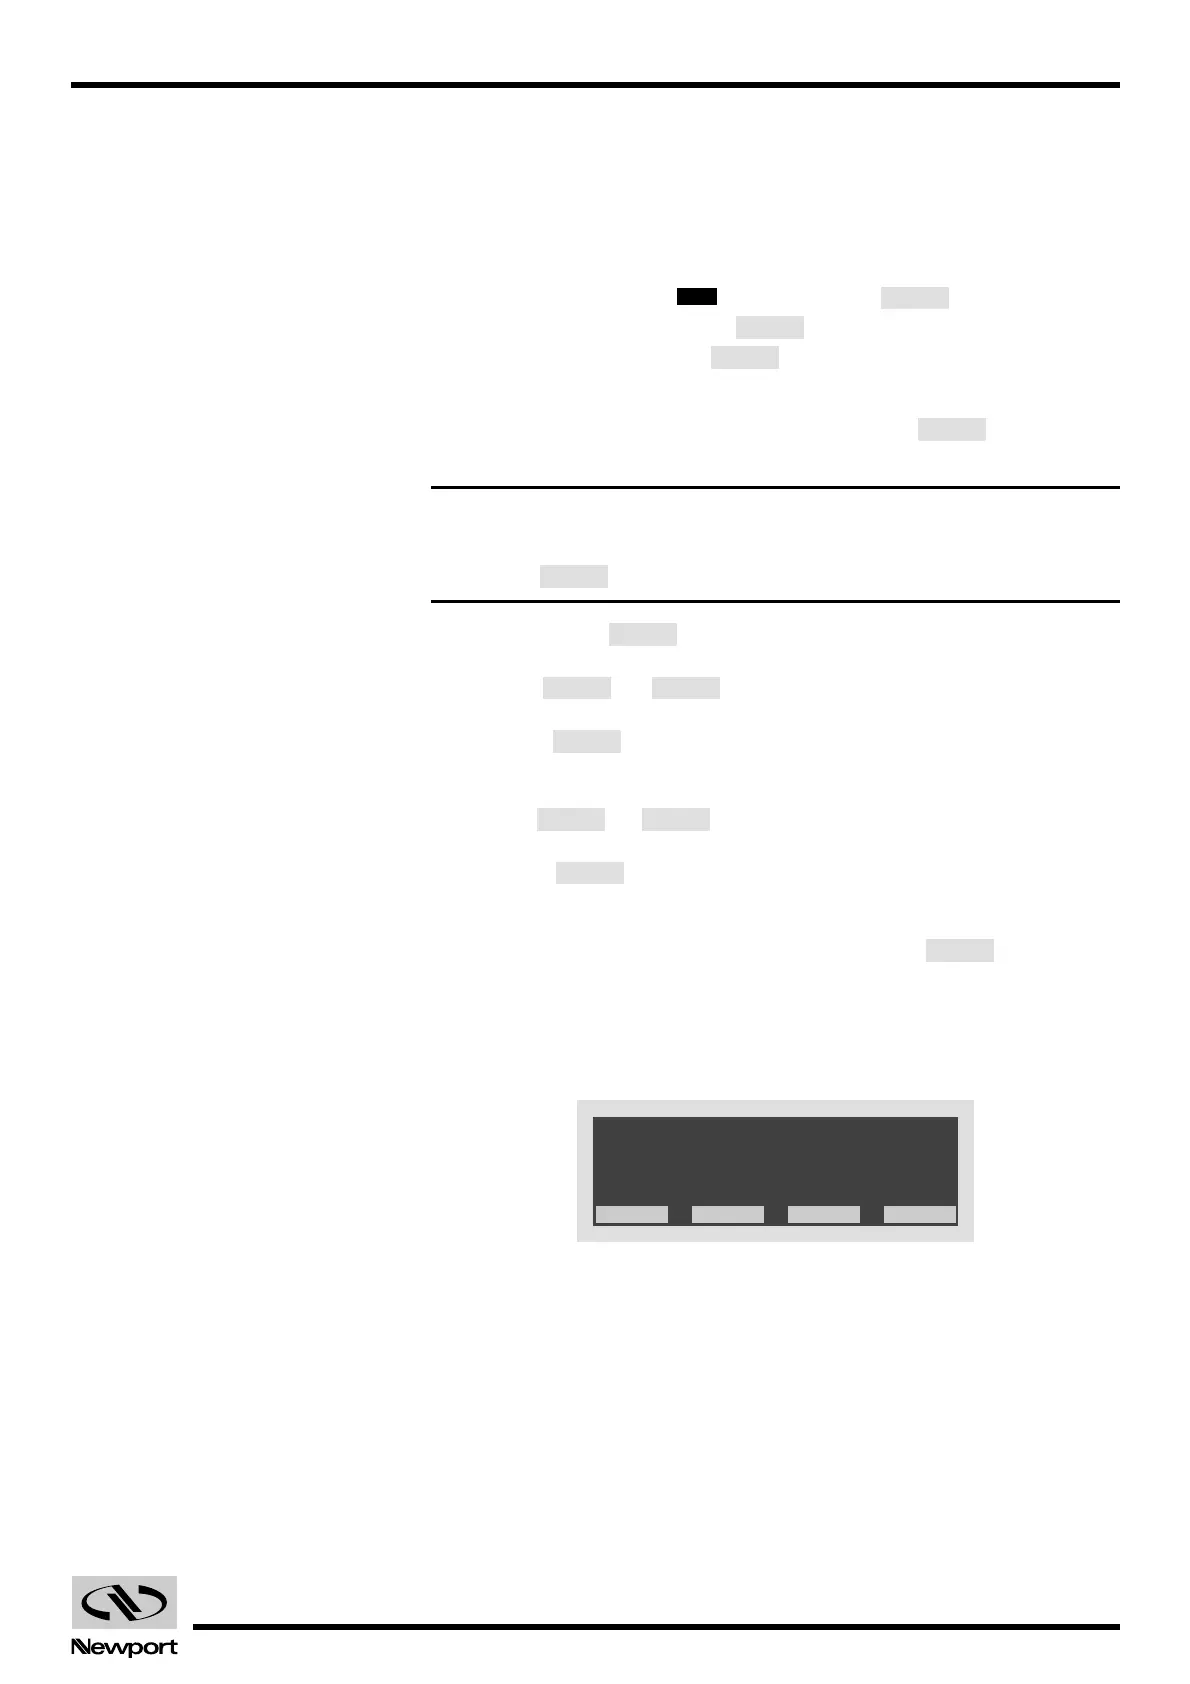
10 When the display returns to a screen similar to Fig. 1.14, observe the
axis specified on the first line and the component on line two. They
should correspond to the selections you made and to the motion device
used on that axis.
Fig. 1.14 — Axis/Device Assignment.
11 If you need to modify another axis, repeat all steps starting with number 3.
Artisan Technology Group - Quality Instrumentation ... Guaranteed | (888) 88-SOURCE | www.artisantg.com
 Loading...