ACCESS GATEWAY
282 System Administration
2. Enter the Destination IP/Prefix Length address of the route you want to add to the routing
table. This is the Destination IP or Subnet that the Route is trying to reach, with the prefix
length to determine how large the subnet might be.
3. Enter the Gateway IP address for the Route being added so that the NSE knows what to
use to try to reach the destination IP/Subnet.
4. Choose the Port Name, the physical NSE Port to which the route is attached.
5. Choose the Role based on what the route is designed for. This will normally be wan.
6. Choose the Type, Static or Persistent.
7. Click on the Add button to add this route to the routing table, or click on the Reset button
if you want to reset all the values to their previous state.
Deleting a Route
To deleted a route, click the
Delete link in the routing table. The route is immediately deleted.
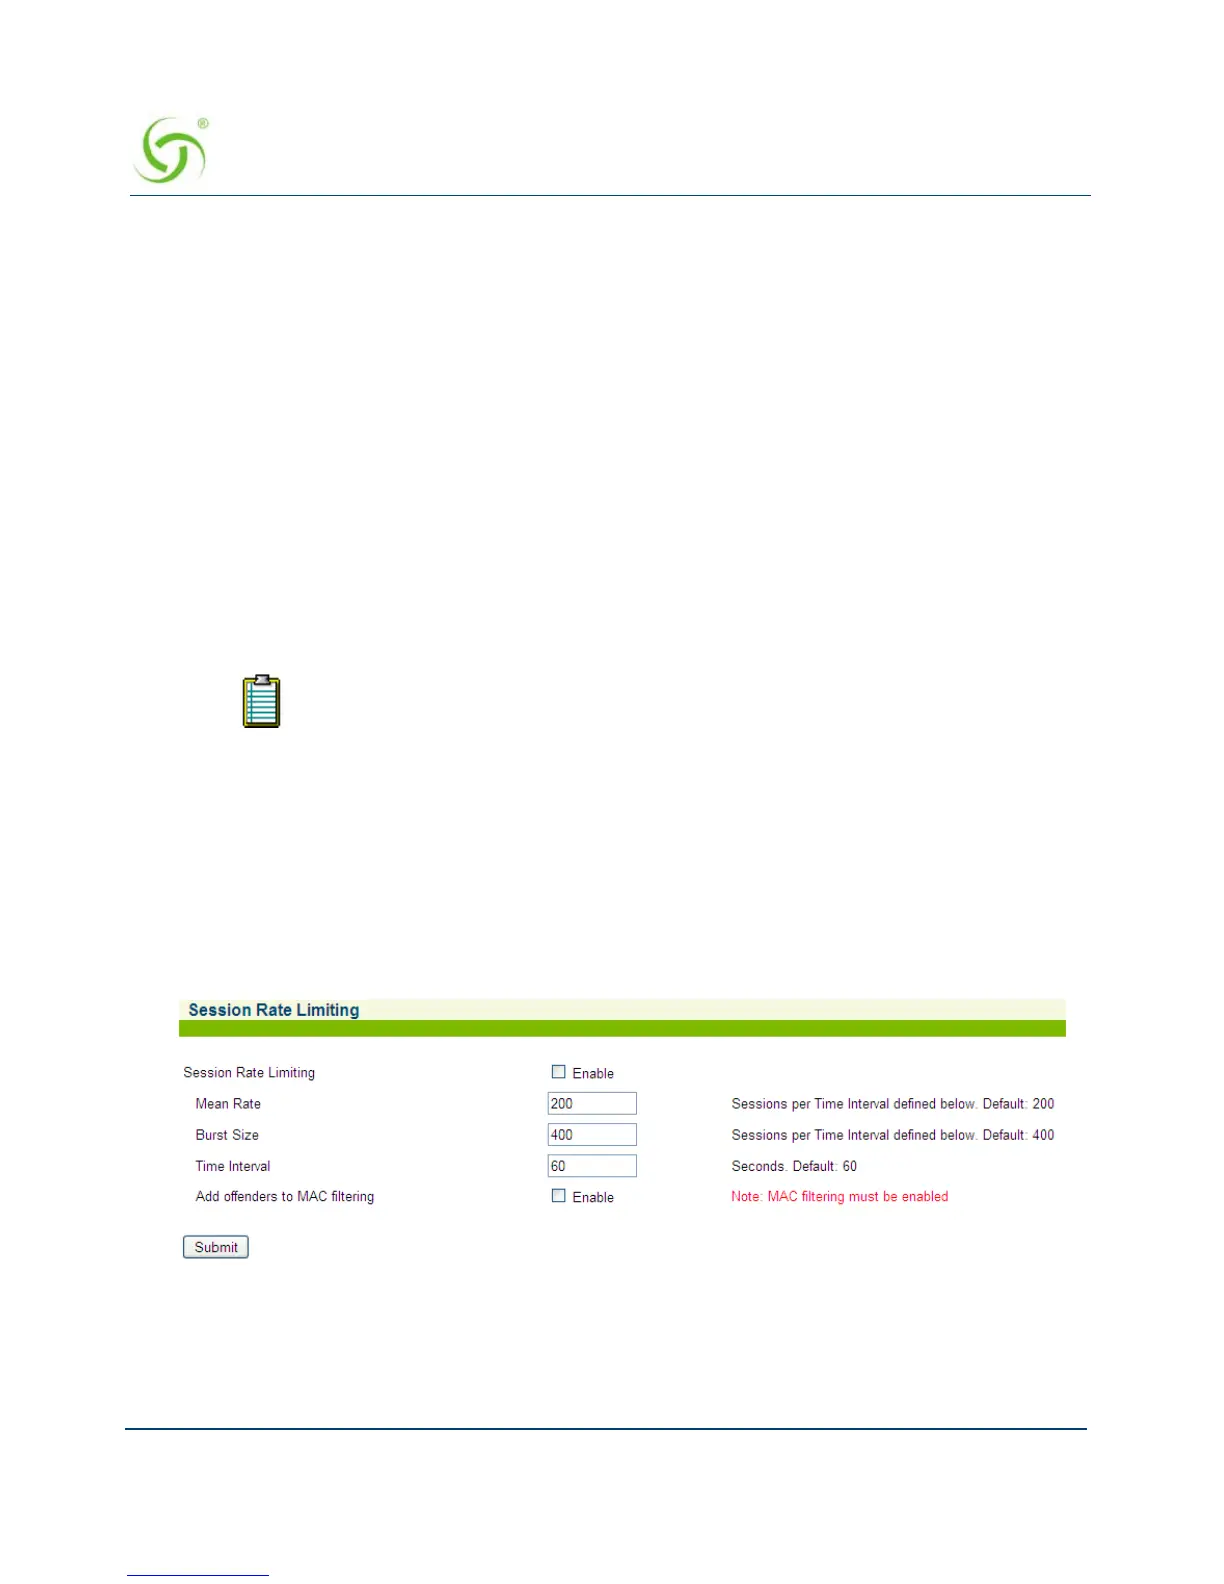
Establishing Session Rate Limiting {Session Limit}
Session Rate Limiting (SRL) significantly reduces the risk of “Denial of Service” attacks by
allowing administrators to limit the number of DAT sessions any one user can take over a given
time period and, if necessary, then block malicious users.
1. From the Web Management Interface, click on System, then Session Limit. The Session
Rate Limiting screen appears:
2. Click on the check box for Session Rate Limiting to enable (or disable) this feature, as
required.
3. Enter values for the following session “limiting” parameters:
To restore a deleted route, reboot the NSE (which will restore auto-generated
routes) or manually re-enter the route.