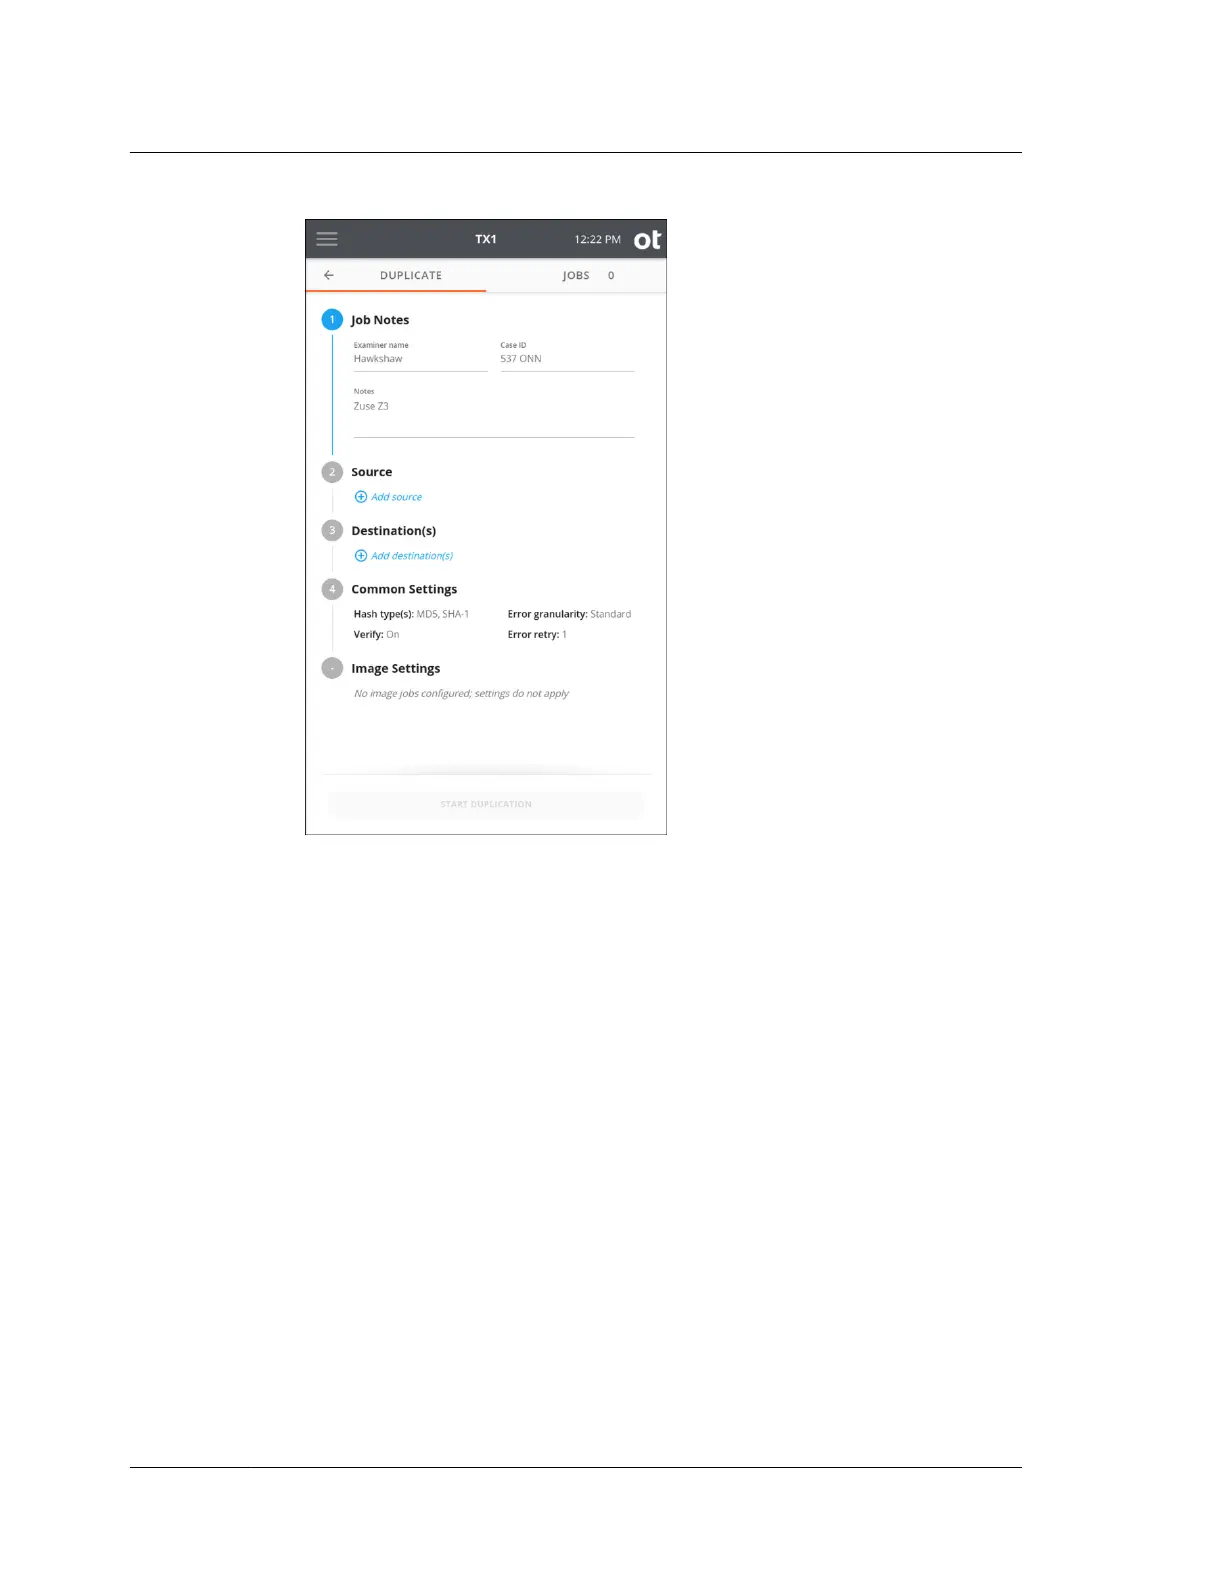
3. To set TX1 into Automated Acquisition mode, tap the 2 or Source heading. The
top source drive tile is used for automated acquisition setup and will be present
whether other source drives are connected or not. Tap the Automated
Acquisition setup tile to start the automated job configuration process. Three
options will be shown that need to be set before proceeding, as follows (and as
shown in the screenshot below):
• Acquire currently connected ‒ If this option is enabled, any source drives
currently connected to and detected by the system will have jobs
automatically started when the Automated Acquisition mode is fully
enabled.
• Acquire newly connected ‒ If this option is enabled, any source drives that
are detected by the system for the duration of the automated acquisition run
will have jobs automatically started as soon as drive detection is complete.
• Shelve AMA/DCO as needed ‒ If this option is enabled, any drives with
detected AMA or DCO settings will have those settings disabled prior to the
start of the job and then replaced after the job is complete. See “Disabling
drive capacity limiting configurations” on page 60 for more information
regarding the Shelve AMA/DCO feature.
Chapter 4 Using TX1
88
OpenText™ Tableau™ Forensic TX1 Imager
ISTX240300-UGD-EN-1