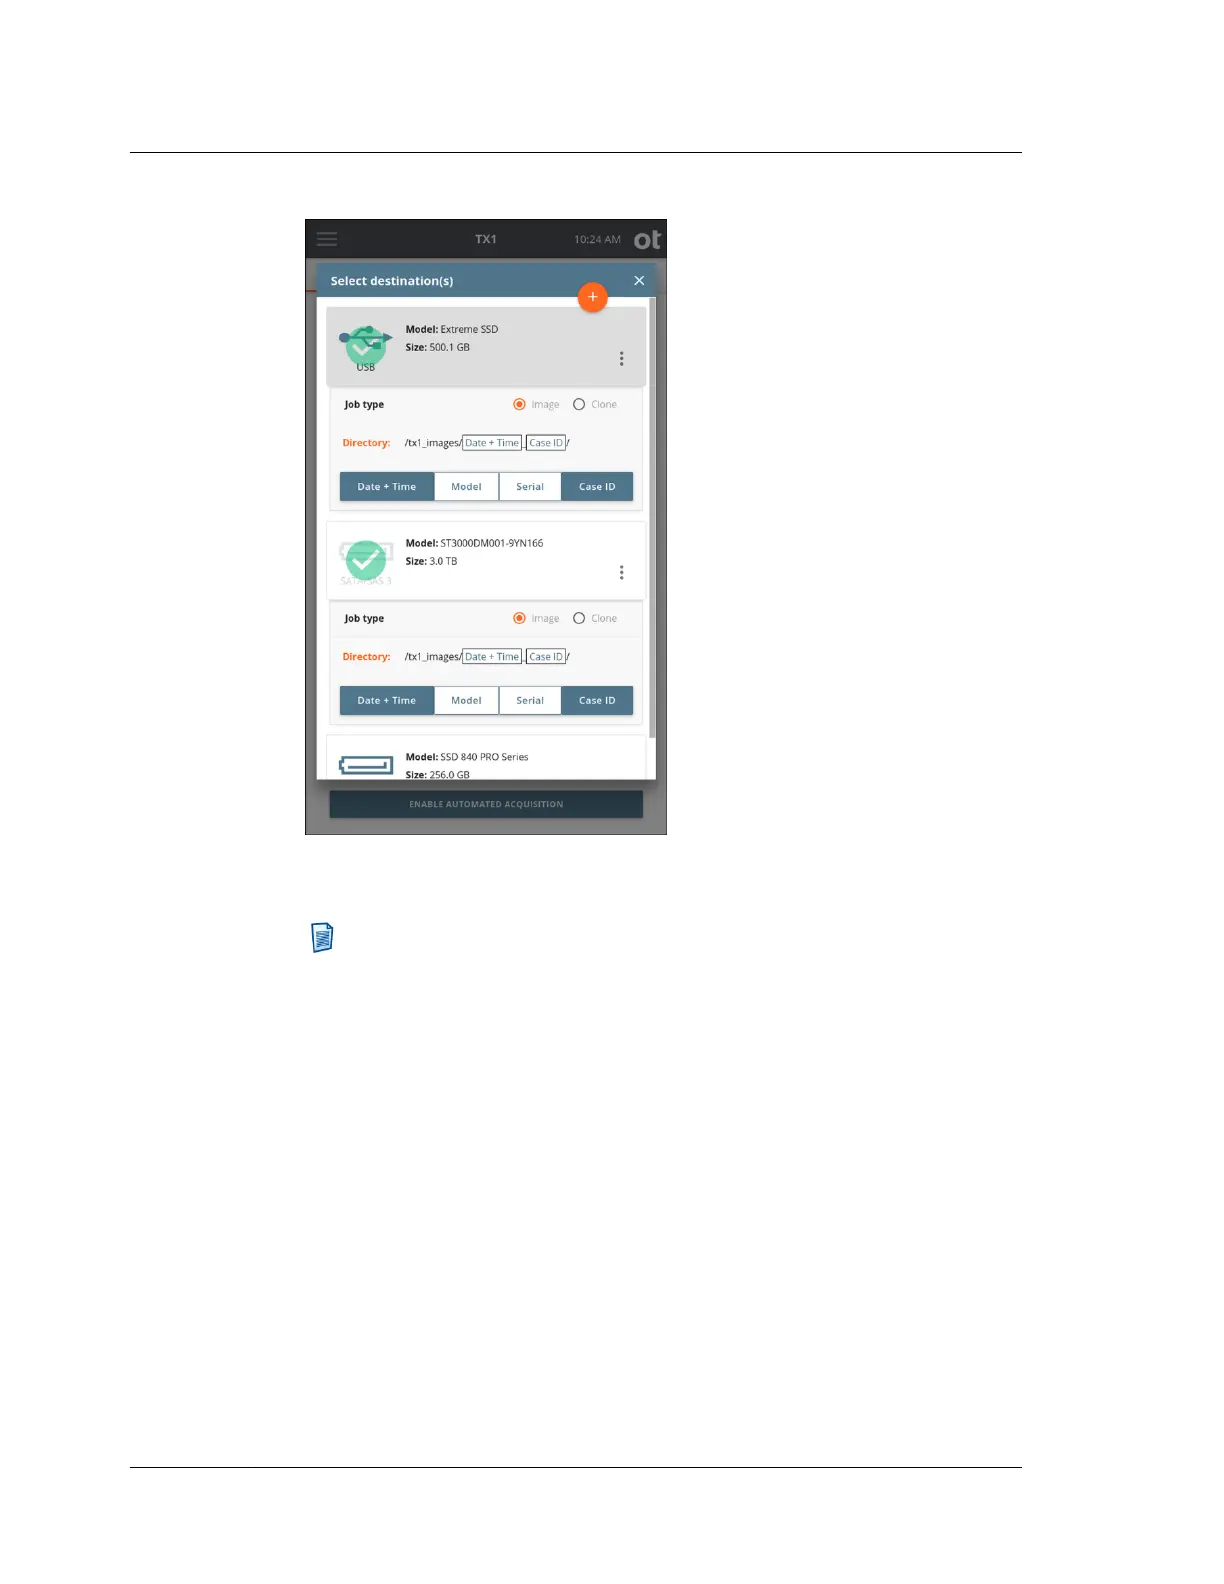
For each selected destination drive, a Job type panel expands below the Drive
tile.
Note: Make sure to select Image as the job type for each destination drive.
While it is possible to set a Clone job type here, that is not an option for
automated acquisition jobs.
For image job types, the default destination directory path is displayed. To
change the destination base directory, tap the orange Directorylabel to enter a
Browse modal where you can select a different destination base directory, create
and select a new directory, or delete a directory. Tap one or more of the four
buttons (Date and Time, Model, Serial, or Case ID) under the directory path to
add variables as names for a destination sub-directory. Each variable can only be
selected once.
Underscores are printed as separators between multiple variable names.
The Image option in the Job type panel will be disabled if the destination drive
does not have a recognized filesystem. If an image destination is desired, format
the destination drive by selecting the details option from the additional options
menu (three vertical dots at the right side of the drive tile) or from the
Destinations button on the Home screen.
Chapter 4 Using TX1
90
OpenText™ Tableau™ Forensic TX1 Imager
ISTX240300-UGD-EN-1