Install the Motherboard
8.
Reinstall the System Remind button assembly (air divider) by sliding it into the
chassis.
Caution - After replacing the motherboard, inspect the gasket on the air divider before installing
the air divider securely. This dividing wall maintains a pressurized seal between the server
cooling zones. Without this pressurized seal, the power supply fans will not be able to draw
enough air to cool the drives properly.
9.
Reconnect all cables from the power supply backplane, drive backplane, and fan
board to their original locations on the motherboard.
10.
Reinstall all memory risers.
See “Install a Memory Riser” on page 104.
11.
Install the SPM that you removed from the old motherboard.
See “Install the SPM” on page 131.
12.
Install the eUSB drive that you removed from the old motherboard.
See “Install the eUSB Drive” on page 116.
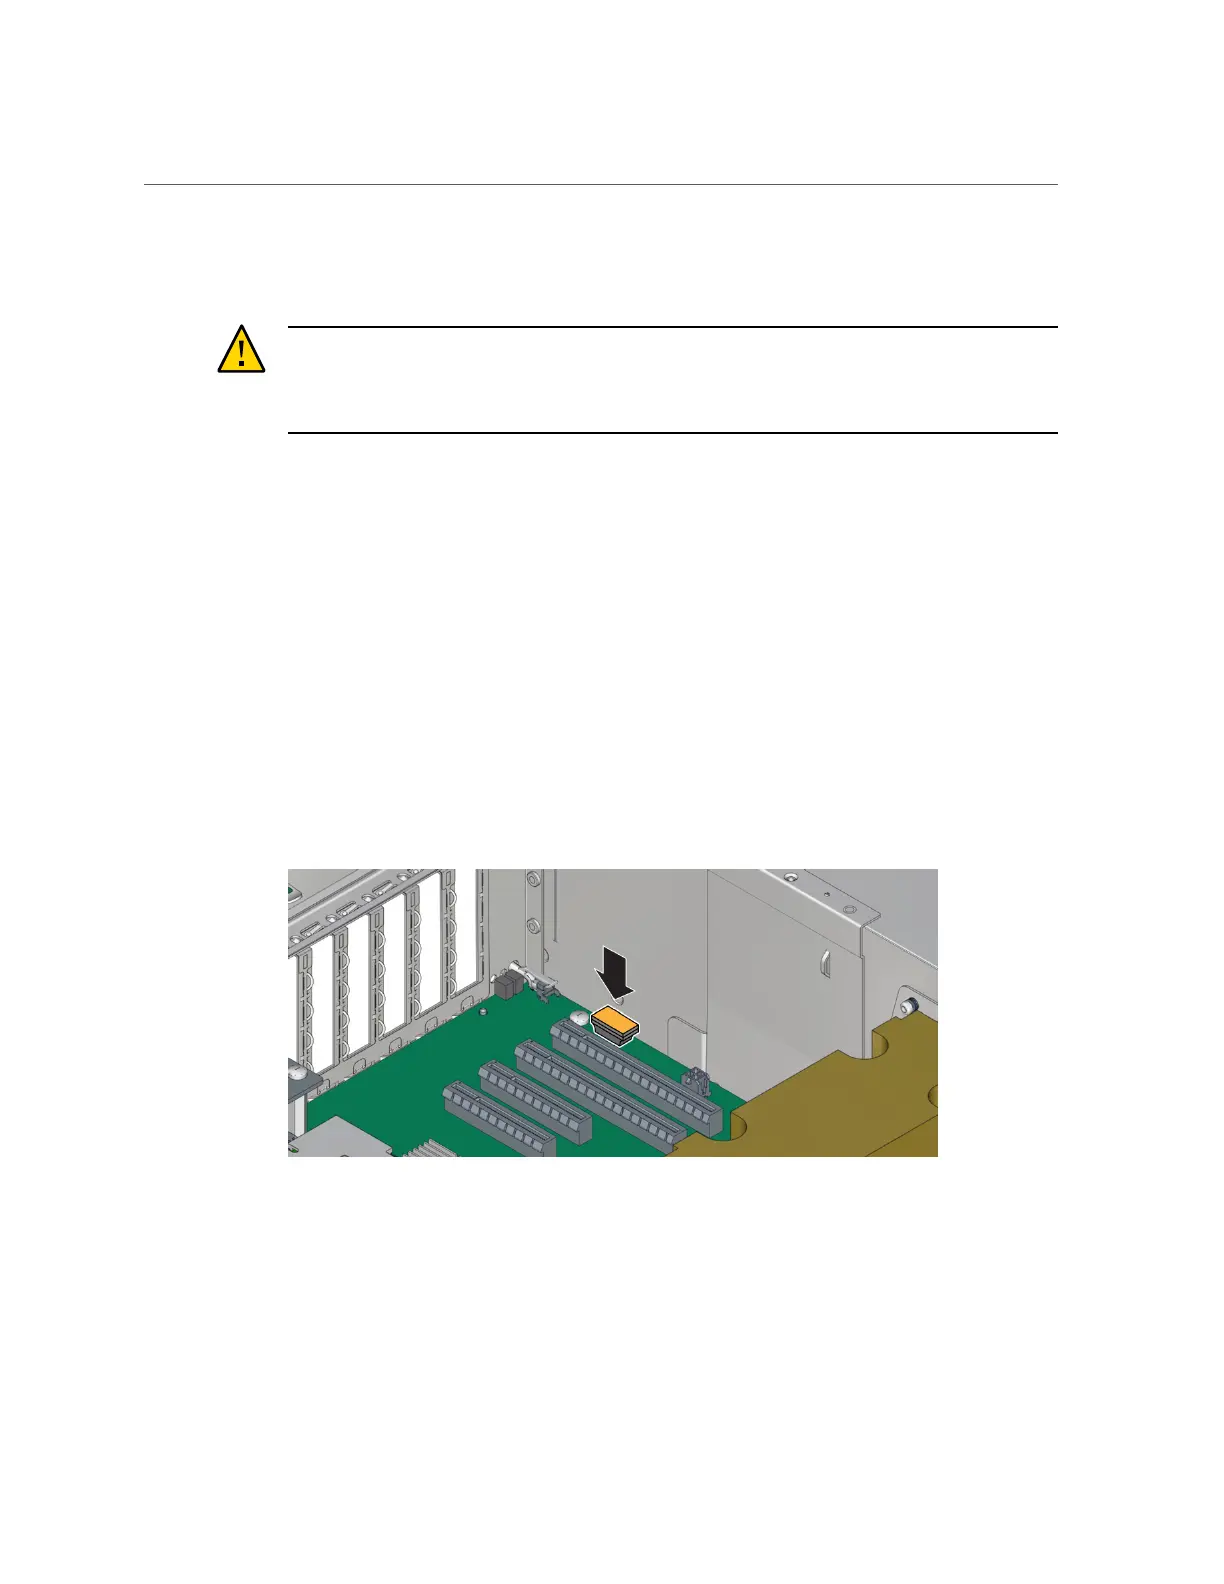
13.
Install the SCC PROM that you removed from the old motherboard.
14.
Reinstall all PCIe cards.
See “Install a PCIe Card or Filler” on page 125.
15.
If necessary, reinstall NVMe cables.
Servicing the Motherboard 153

 Loading...


