Moving the Library
Maintenance and Upgrades 8-11
Drive icons are identified by the library module number, physical position (To p or
Bottom), and SCSI address of the corresponding drive.
4. Select Restart Drive from the drive icon's context menu.
The Restart Drive dialog appears.
5. To close the dialog without restarting the drive, press Cancel.
6. To restart the drive and close the dialog, press OK.
Preparing Tape Drives for Removal
When you need to remove a drive, prepare it for removal using the procedure below:
Prepare a Drive for Removal
1. Select Library from the menu on the left side of the interface.
The graphical library map appears.
2. In the graphical library map, locate the drive that you need to remove.
Drive icons are identified by the library module number, physical position (To
p or
Bottom), and SCSI address of the corresponding drive.
3. Right-click on the required drive.
A context menu appears.
4. From the drive context menu, select Remove Drive.
The Re
move Drive dialog appears.
5. To close the dialog without preparing the drive for removal, press Cancel.
6. To prepare the drive for removal and close the dialog, press OK.
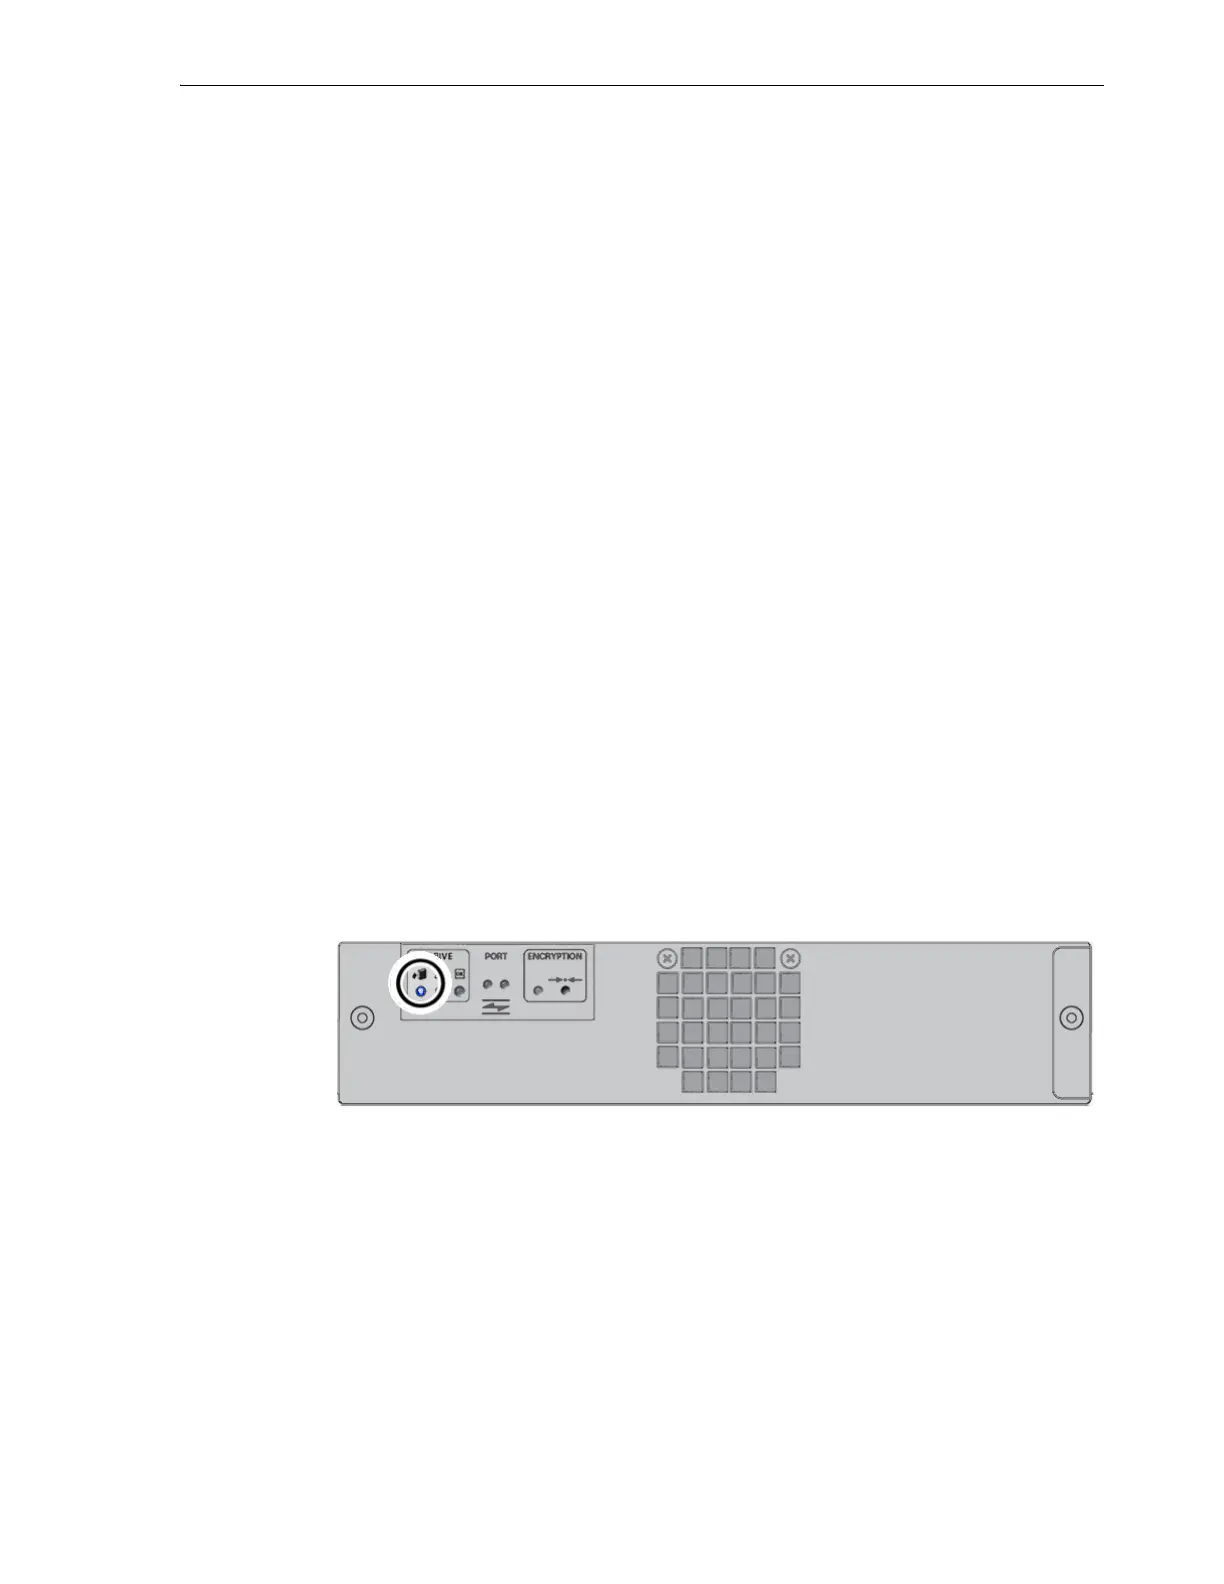
In upper left corner of the drive, a blue LED lights up to show that the drive can be
saf
ely removed.
Updating Drive Firmware
For instructions on obtaining and installing updated tape-drive firmware, see "Check
for Updated Oracle-Supported Drive Firmware" on
page 4-13 and "Update the Drive
Firmware" on page 4-15.
Moving the Library
Always follow the procedure below when moving the library:
Move the Library
1. Power the library off.

 Loading...


