Loading the Magazines
3-8 StorageTek SL150 Modular Tape Library User's Guide
Do not use letter openers, knives, box cutters, scissors, or other sharp instruments.
3. Carefully examine each cleaning cartridge and replace any that show signs of
damage or manufacturing defects.
4. Clean the surface where the label will be placed using the smallest practical
quantity of an isopropyl alcohol-based cleaning solution.
Never use other solvents!
5. Locate the correct label for the cleaning tape.
Labels for universal cleaning cartridges take the form
CLNUxxCU
, where
CLNU
is a
descriptive prefix,
xx
is a sequence number, and
CU
is the media descriptor for
universal cleaning media.
6. Peel the backing from the label.
7. Hold the cartridge so that the write-protect switch is toward you.
8. Position the cartridge label with the bar-code characters at bottom (towards the
hub side of the cartridge) and the alphanumeric characters at the top.
9. Carefully align the label with the slight indentation provided, and press the label
into place. The label must not overlap the edges of this indentation!
10. Repeat the preceding steps for each remaining cleaning tape.
11. When the cleaning tapes have been labeled, set them aside and prepare the data
tape cartridges.
Prepare the Data Tape Cartridges
1. Select the required number of data tapes. Choose cartridges that have been at
room temperature for at least 24 hours.
2. Unwrap each new data cartridge as you are ready to label it. Remove the wrapper
using the string or pull tab provided for the purpose.
Do not use letter openers, knives, box cutters, scissors, or other sharp instruments.
3. Make sure that the cartridge is at operating temperature and free of condensation.
If the cartridge appears to have been stored below operating temperature, stop.
Before proceeding, leave the cartridge in its intended operating environment for
24 hours, so that temperature and humidity ca
n equalize.
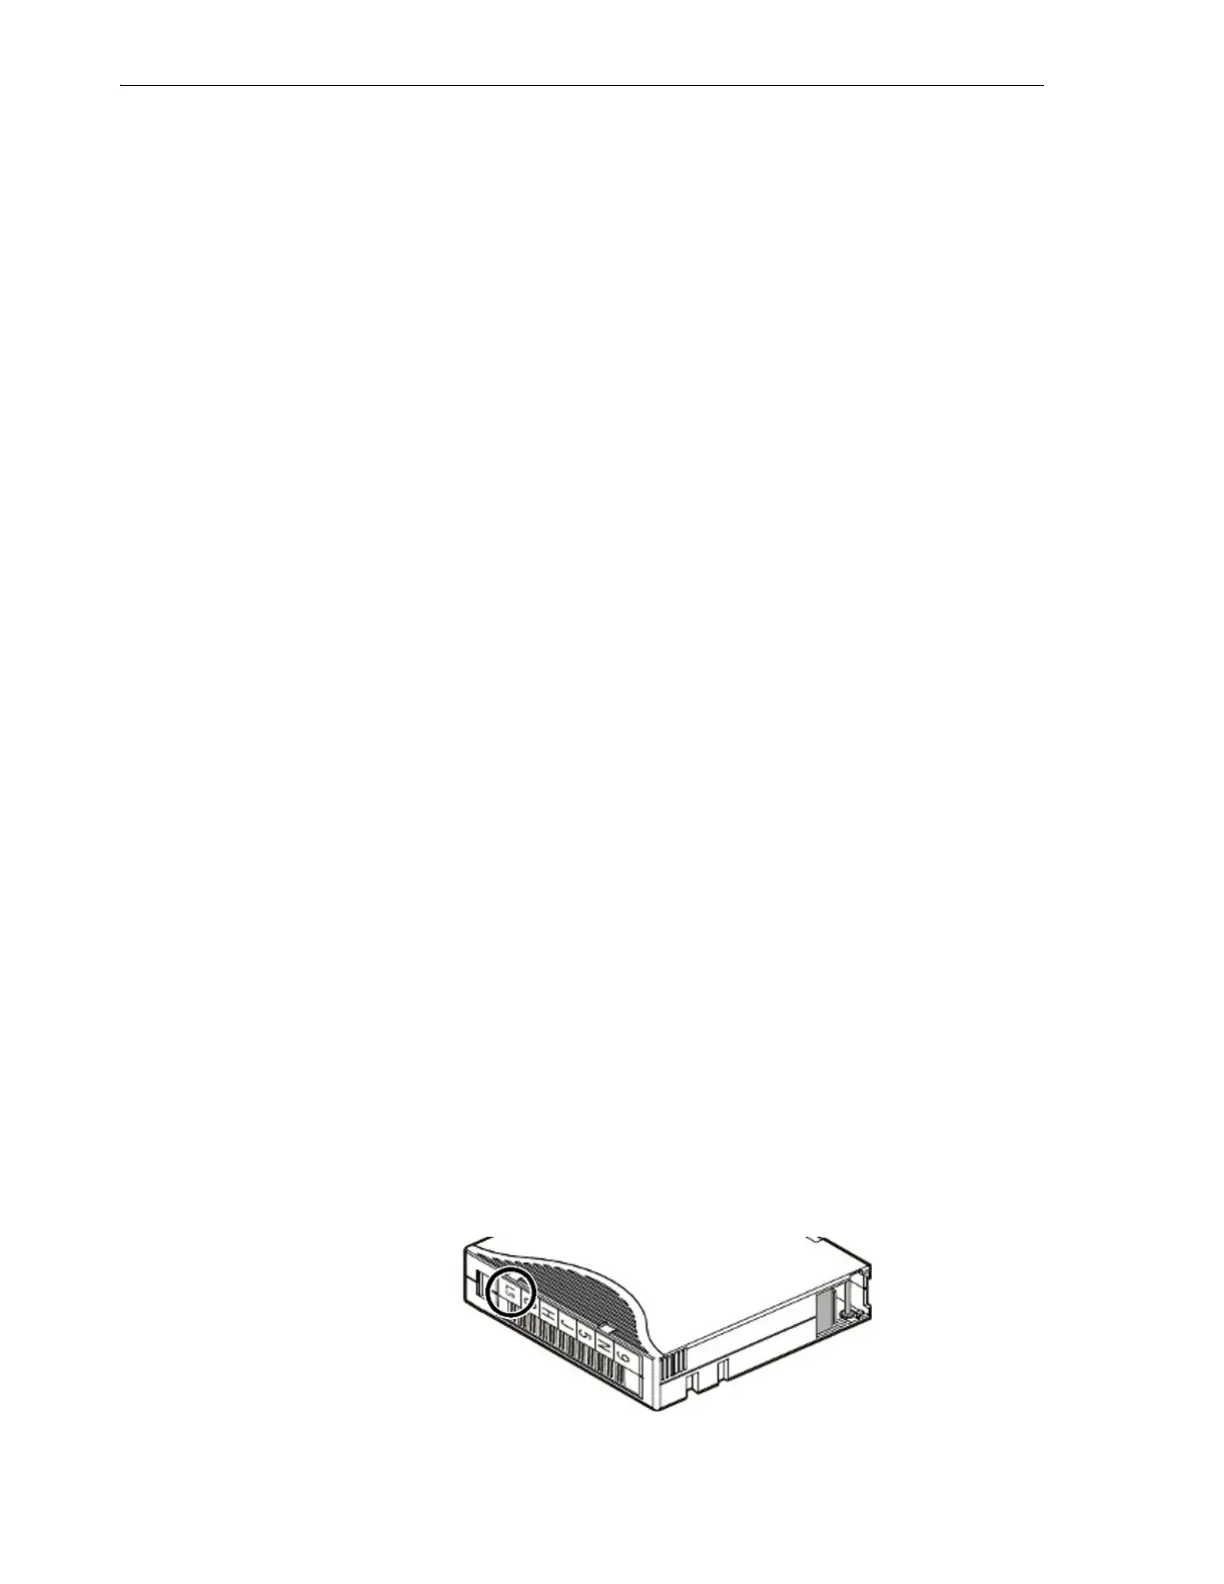
4. Hold the cartridge hub down, with the write-protect switch and the label facing
you and the leader latch at right rear.
5. Make sure that the cartridge is an LTO Ultrium Gen-7, Gen-6, or Gen-5 data
cartridge. The media type is shown in the last field of the label, adjacent to the
write-protection switch at left:
L7
or
LX
indicates Gen-7 media,
L6
or
LW
indicates
Gen-6 media, and
L5
or
LV
indicates Gen-5.
 Loading...


