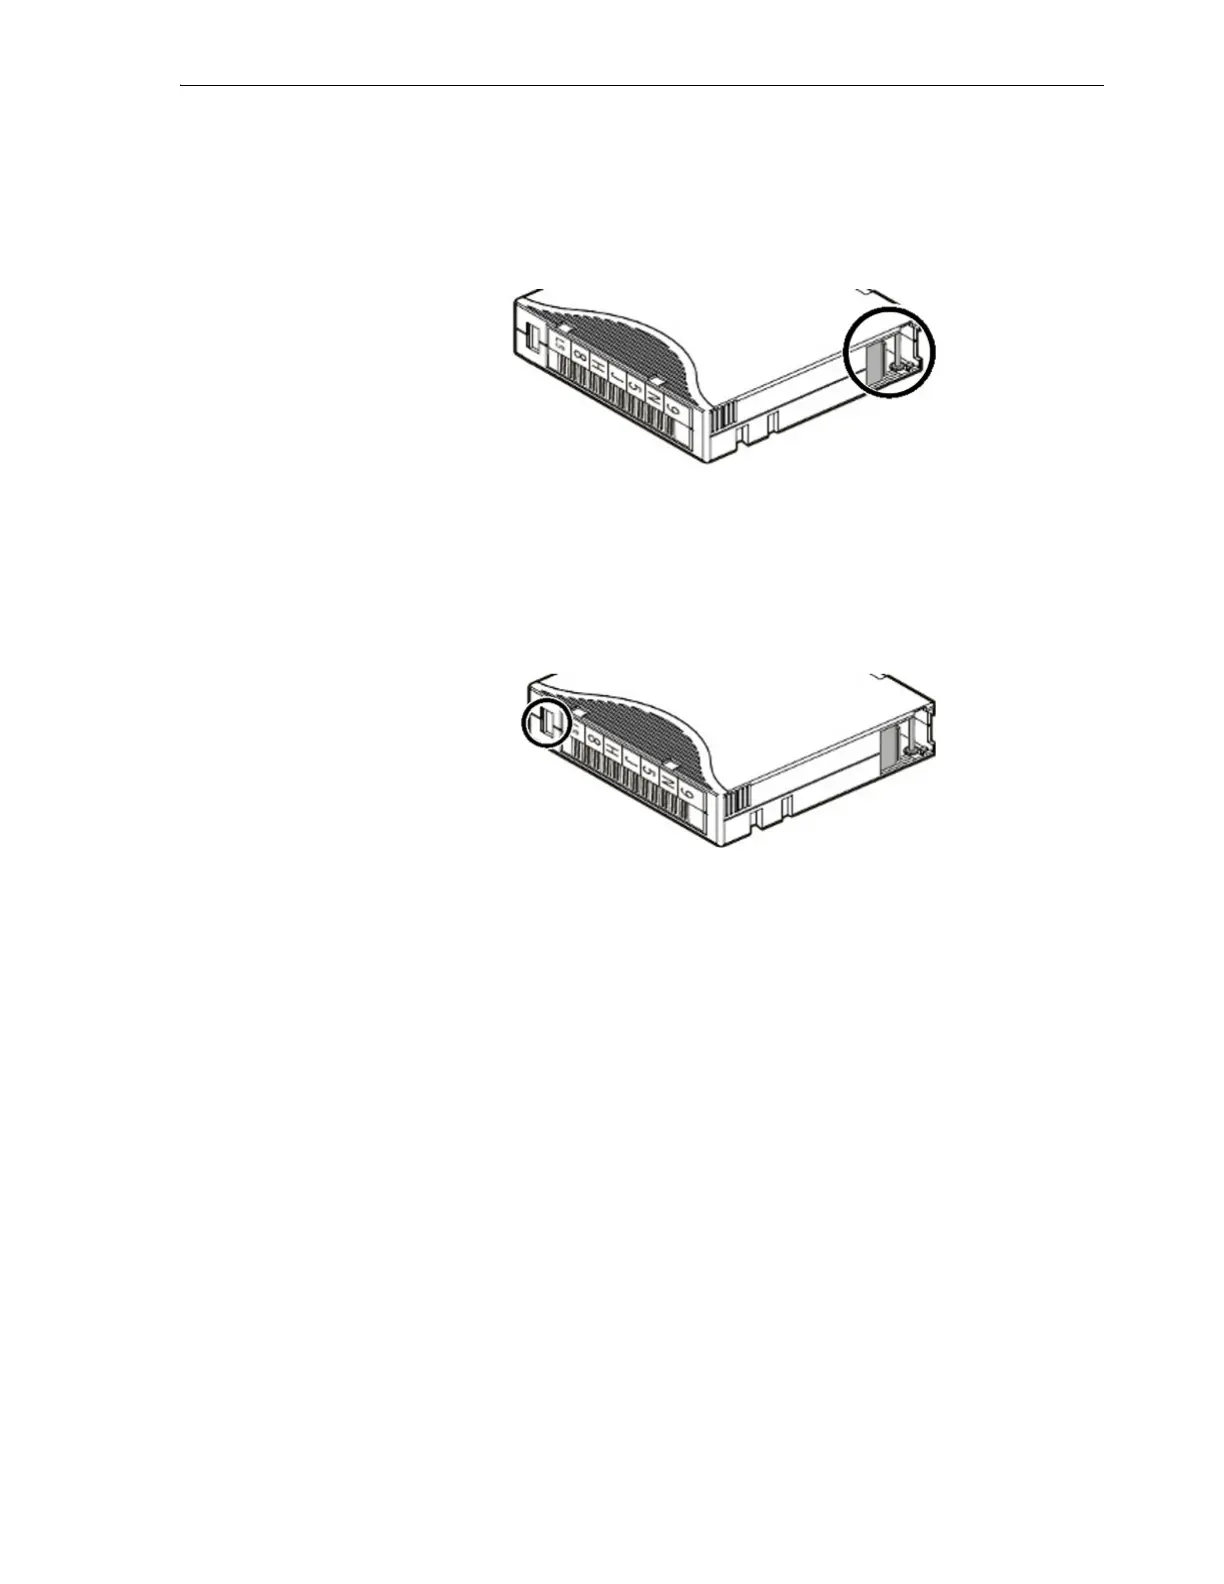
Loading the Magazines
Loading Media and Running Self Checks 3-9
6. Make sure that the case is not cracked, split, or otherwise visibly damaged. If you
note damage, do not use the cartridge.
7. On the right side of the cartridge near the rear, make sure that the spring-loaded
leader door opens cleanly and snaps shut when released. If the door is damaged or
does not open and close properly, do not use the cartridge.
8. Open the leader door, and make sure that the leader pin is straight, undamaged,
and correctly positioned in its detents within the case. If the leader pin is damaged
or out of position, do not use the cartridge!
9. Make sure that the write-protect switch slides freely from side to side and snaps
into position with a positive click. If the write-protect switch is broken or does not
latch positively, do not use the cartridge.
10. Turn the cartridge over, and examine the plastic teeth and tabs that surround the
metal hub. If any parts are broken or significantly worn, do not use the cartridge!
11. Clean the surface where the label will be placed using the smallest practical
quantity of an isopropyl alcohol-based cleaning solution.
Never use other solvents!
12. Locate the correct label for the data tape.
Standard LTO data cartridges are label
ed with a unique, customer-assigned,
six-character volume ID, followed by a media ID field. For LTO-7 data cartridges,
the media ID can be either
L7
for read/write and diagnostic cartridges or
LX
for
WORM cartridges. Corresponding LTO-6 media are identified by
L6
and
LW
, and
LTO-5 by
L5
and
LV
.
If you need to configure the library for a n
on-standard labeling scheme, see
Appendix A, "Accommodating Non-Standard Label Formats".
13. Peel the backing from the label.
14. Hold the data cartridge so that the write-protect switch is toward you.
15. Position the cartridge label with the bar-code characters at bottom (towards the
hub side of the cartridge) and with the alphanumeric characters at the top.
16. Carefully align the label with the slight indentation provided, and press the label
into place. The label must not overlap the edges of this indentation!

 Loading...


