ー 117 ー
Operating Instructions Intelligent Controller
142
Conguring the system
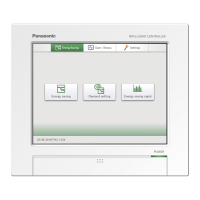
Setting
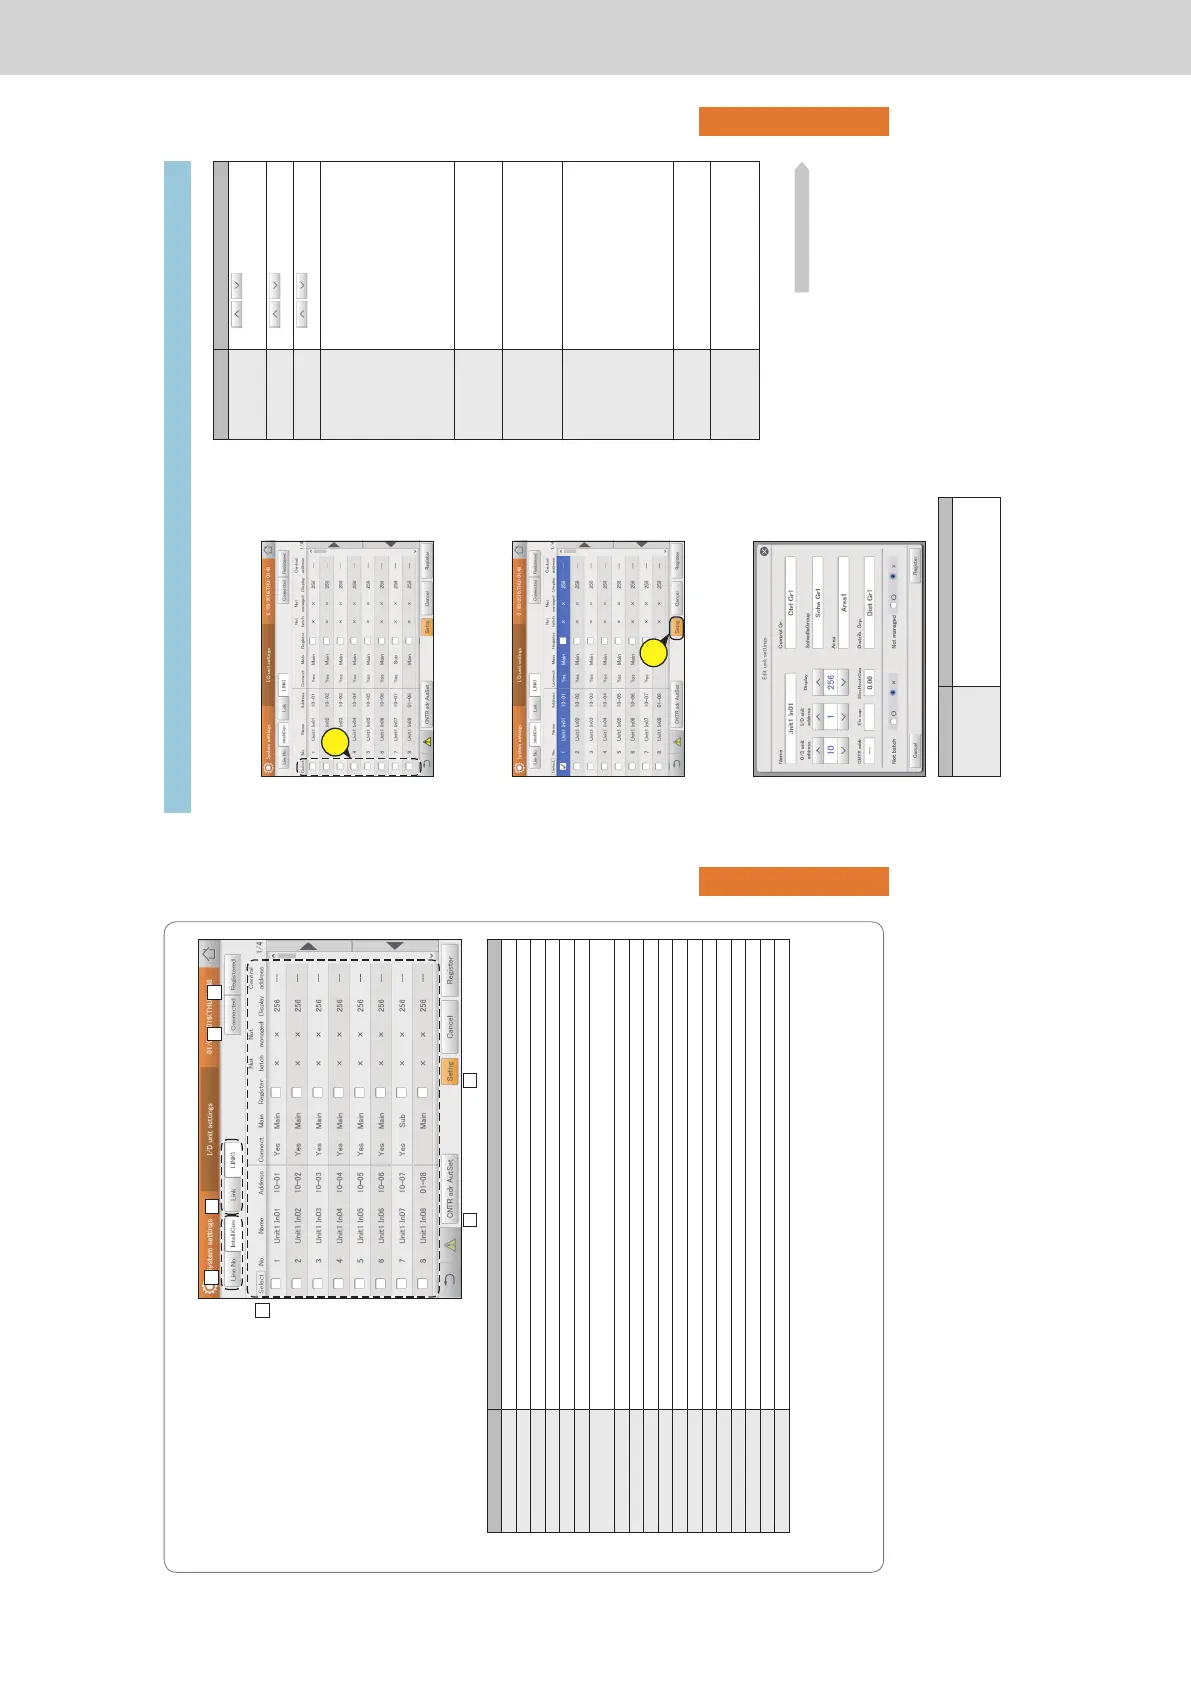
The “I/D unit settings” screen
A: Select the adaptor (this unit, communication
adaptor) that the indoor unit is connected to.
B: Select the linked system that the indoor unit
is connected to.
C: A list of indoor units with “Yes” in the
“Connect” column is displayed when you
touch this (turn the setting on). Touch again
and all indoor units are displayed in a list.
(turn the setting off)
D: A list of indoor units with a check mark in
the “Register” column is displayed when you
touch this (turn the setting on). Touch again
and all indoor units are displayed in a list.
(turn the setting off)
E: Details about indoor units are displayed in a
list.
Item Explanation
[Select] Select the indoor units whose settings you want to change.
Name The names of the indoor units are displayed.
Address The addresses of the indoor units are displayed.
Connect If connected to this unit, “Yes” is displayed.
Main If the parent device, “Main” is displayed.
Register If you want it to be managed by this unit, put a check mark here.
Not batch “” is displayed if the device is not subject to batch operations, and “” is displayed if it is subject to batch
operations.
Not managed “” is displayed if the device is not subject to management, and “” is displayed if it is subject to management.
Display This indicates the display order.
Central address This shows the central address.
Control Gr. This shows the control group name it belongs to.
SchedleGroup This shows the schedule group name it belongs to.
Area This shows the area group name it belongs to.
Distrib. Grp.* This shows the distribution group name it belongs to.
Cap This shows the operational capacity values for the indoor unit.
Fix cap The xed capacity values of the indoor unit.
I/D type This shows the model name of the indoor unit.
PrdctTyp This shows the product type (PAC or GHP).
ElcHeatr This shows the capacity values of the electric heater.
* If the distribution mode (P.160) is set to “Time”, do not allocate PAC and GHP to the same distribution groups.
F: Central addresses are automatically set for indoor units with a check mark in the “Register” column. (→ “Automatically setting
central addresses” (P.144))
G: When you touch this, the “Edit unit settings” dialogue is displayed for indoor units with a check mark in the “Select” column.
A
F G
E
B
C D
Basic settings on the indoor unit
143
Conguring the system
Setting
Item Explanation
O/D unit address
Use
to set the addresses of
the outdoor units (1 to 31). (“31” is set for
interface adaptors)
I/D unit address
Use
to set the addresses of the
indoor units (1 to 64).
Display
Use
to set the order when
displayed in a list (0 to 256).
CNTR addr. Set the central addresses (1 to 64).
Touch the text box and enter with the
touchscreen numeric keypad.
Note
y The central address is shared with other
centralised controllers (system controllers,
etc.). Do not change unless necessary.
y An error message is displayed if you set
an address that is already in use.
y This cannot be set if multiple indoor units
are selected.
Fix cap Set the xed capacity values of the indoor
unit. (When interface adaptors are installed)
Touch the text box and enter with the
touchscreen numeric keypad.
ElecHeatrCap Set the capacity of the electric heater if
the model has an electric heater. (when
calculating load distribution)
Touch the text box and enter with the
touchscreen numeric keypad.
Group registration
y Control Gr.
y SchedleGroup
y Area
y Distrib. Grp.
Register the group the unit belongs to.
The group names are displayed when you
touch the text boxes.
Note
y By putting a check mark in the “Select”
column of the indoor units belonging to
the same group, you can edit the settings
at the same time and register them all
together.
Not batch Select “” if the device is not to be subject to
operations and select “” if it is to be subject
to operations.
Not managed Select “” if the device is to be remove as
a subject of management by this unit, and
select “” if it is to be subject of management
by this unit.
Continued on next page
1
Put a check mark in the “Select” column.
z You can select more than one.
1
2
Touch [Setng].
z The “Edit unit settings” dialogue is displayed.
2
3
Change the settings.
Item Explanation
Name Change the name of the indoor unit.
Touch the text box and enter with the
touchscreen keyboard.
You can enter up to 16 letters or numbers.
Basic settings on the indoor unit
Editing settings
TGR-318_ENG.indb 117 2017/04/06 10:44:04
 Loading...