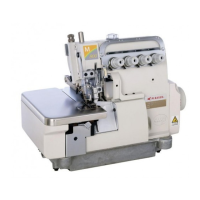
CAUTION
Always turn off the power, disconnect the power cord and
then only authorized technicians are allowed to replace and adjust
the knife.
Pay close attention to the knife edges not to injure your
hands and/or finger.
Replacing the upper knife
1.
1
2
1
2.
3
4
3
3.
4
A
6
1
1
4.
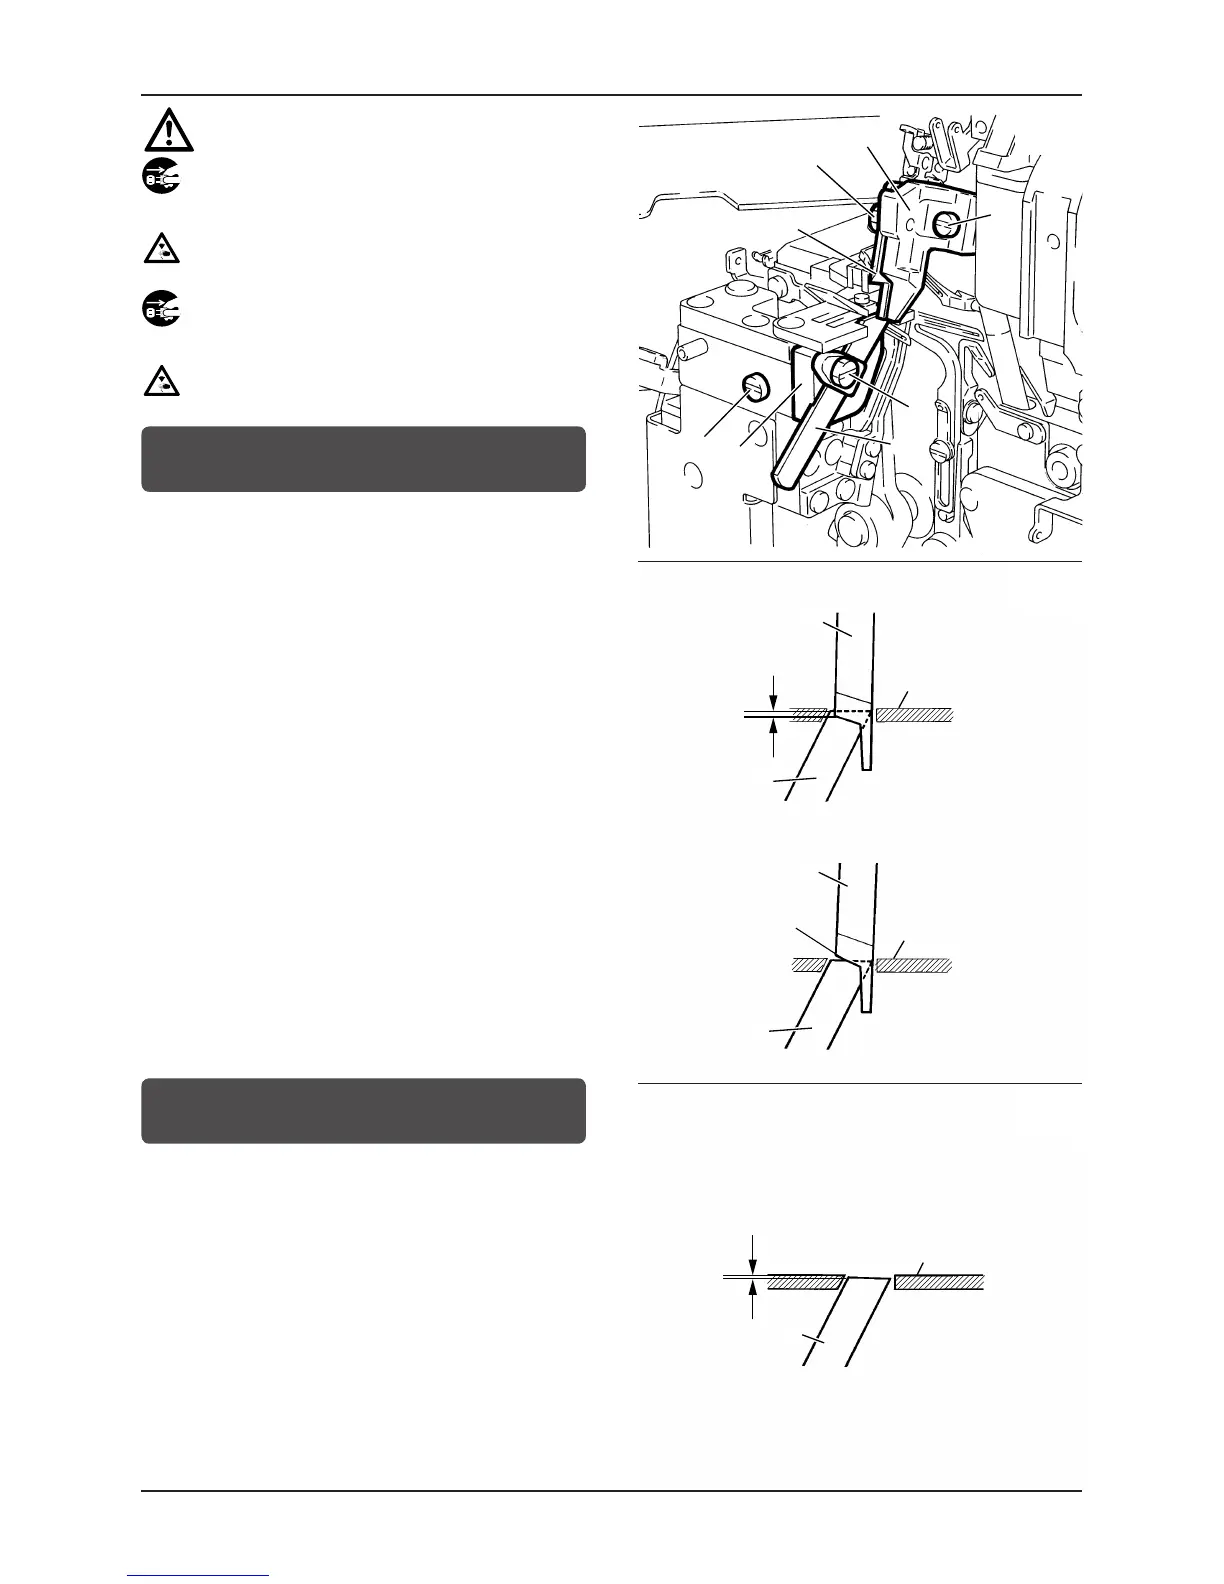
1.
Loosen screw
1
. Bring lower knife holder
2
to its farthest
position to the left. Tighten screw
1
temporarily.
2.
Remove screw
3
and upper knife
4
. Replace the lower
knife with a new one. Tighten screw
3
temporarily. Turn the
machine pulley until the upper knife holder is at its lowest
position.
There should be 0.5 ~ 1.0mm overlap of the upper and lower
knives. Adjustment is made by moving the upper knife up or
down. Tighten screw
3
.
3.
Cross upper knife
4
and lower knife
6
with each other
at the center (
A
) of their cutting edges (see Fig.21).
Loosen screw
1
.
Then check to make sure that the upper
knife tightly touches the lower knife. Tighten screw
1
.
4.
To check for proper cutting, place a thread between the upper
and lower knives and turn the machine pulley.
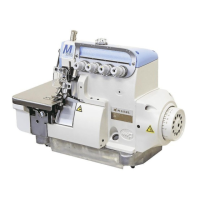
Replacing the lower knife
1.
1
2
1
2.
5
6
5
3.
1.
Loosen screw
1
. Bring lower knife holder
2
to the farthest
position to the left. Tighten screw
1
temporarily.
2.
Loosen screw
5
. Remove lower knife
6
.
Replace it with a new knife. Adjust the lower knife so that
the cutting edge is 0 ~ 0.3mm below the top surface of the
needle plate. Tighten screw
5
.
3.
Follow procedures 3 and 4 in “Replacing the upper knife”.