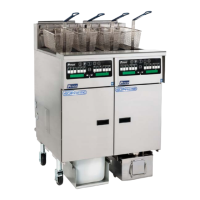
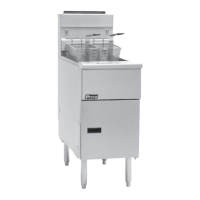
PitcoSolsticeandSolsticeSupremeHighEfficiencyGasFryers
SG/SSHSeriesServiceManual 41
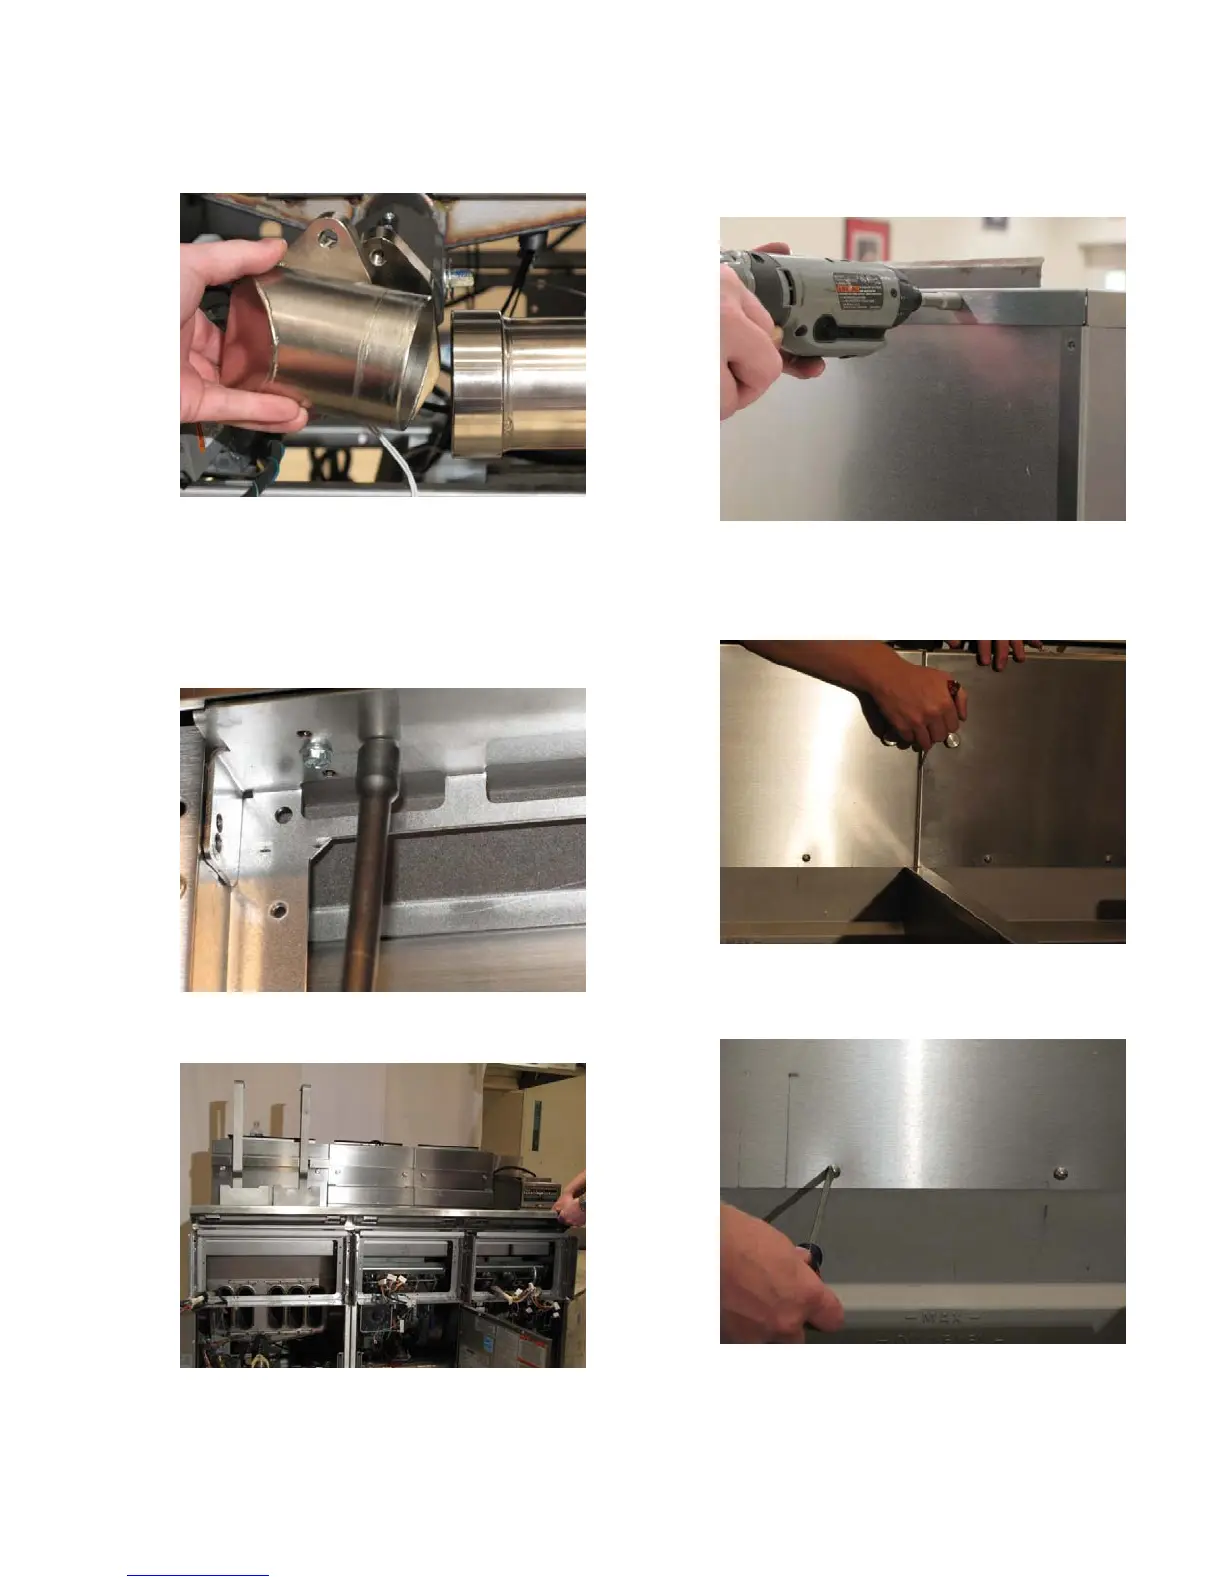
7. Remove the flange elbow.
8. Remove the control box and wiring harness for
each fryer that shares a common top deck.
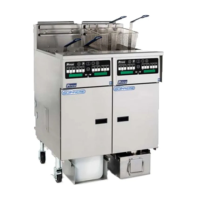
9. Remove the four (4) screws per fryer, which
hold the top deck down, using a 5/16 inch
socket.
10. Remove the top deck by pulling up.
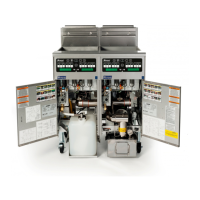
11. Remove the six (6) screws, which hold the back
of the splash back, using a 5/16 inch socket.
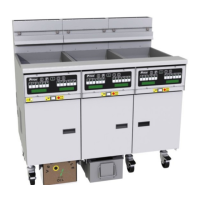
12. Score the silicon sealer between the front of the
splash backs using a flathead screwdriver or
utility knife.
13. Remove the two (2) screws, which hold the front
of the splash back, using a flathead screwdriver.