EasyManuals Logo

Pitco SSH Series User Manual

Pitco SSH Series
94 pages
To Next Page IconTo Next Page
To Previous Page IconTo Previous Page
Page #42 background imageLoading...
Page #42 background image
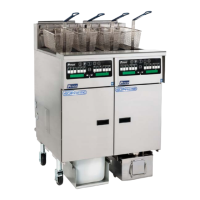
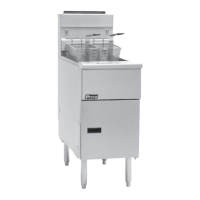
PitcoSolsticeandSolsticeSupremeHighEfficiencyGasFryers
SG/SSHSeriesServiceManual 42
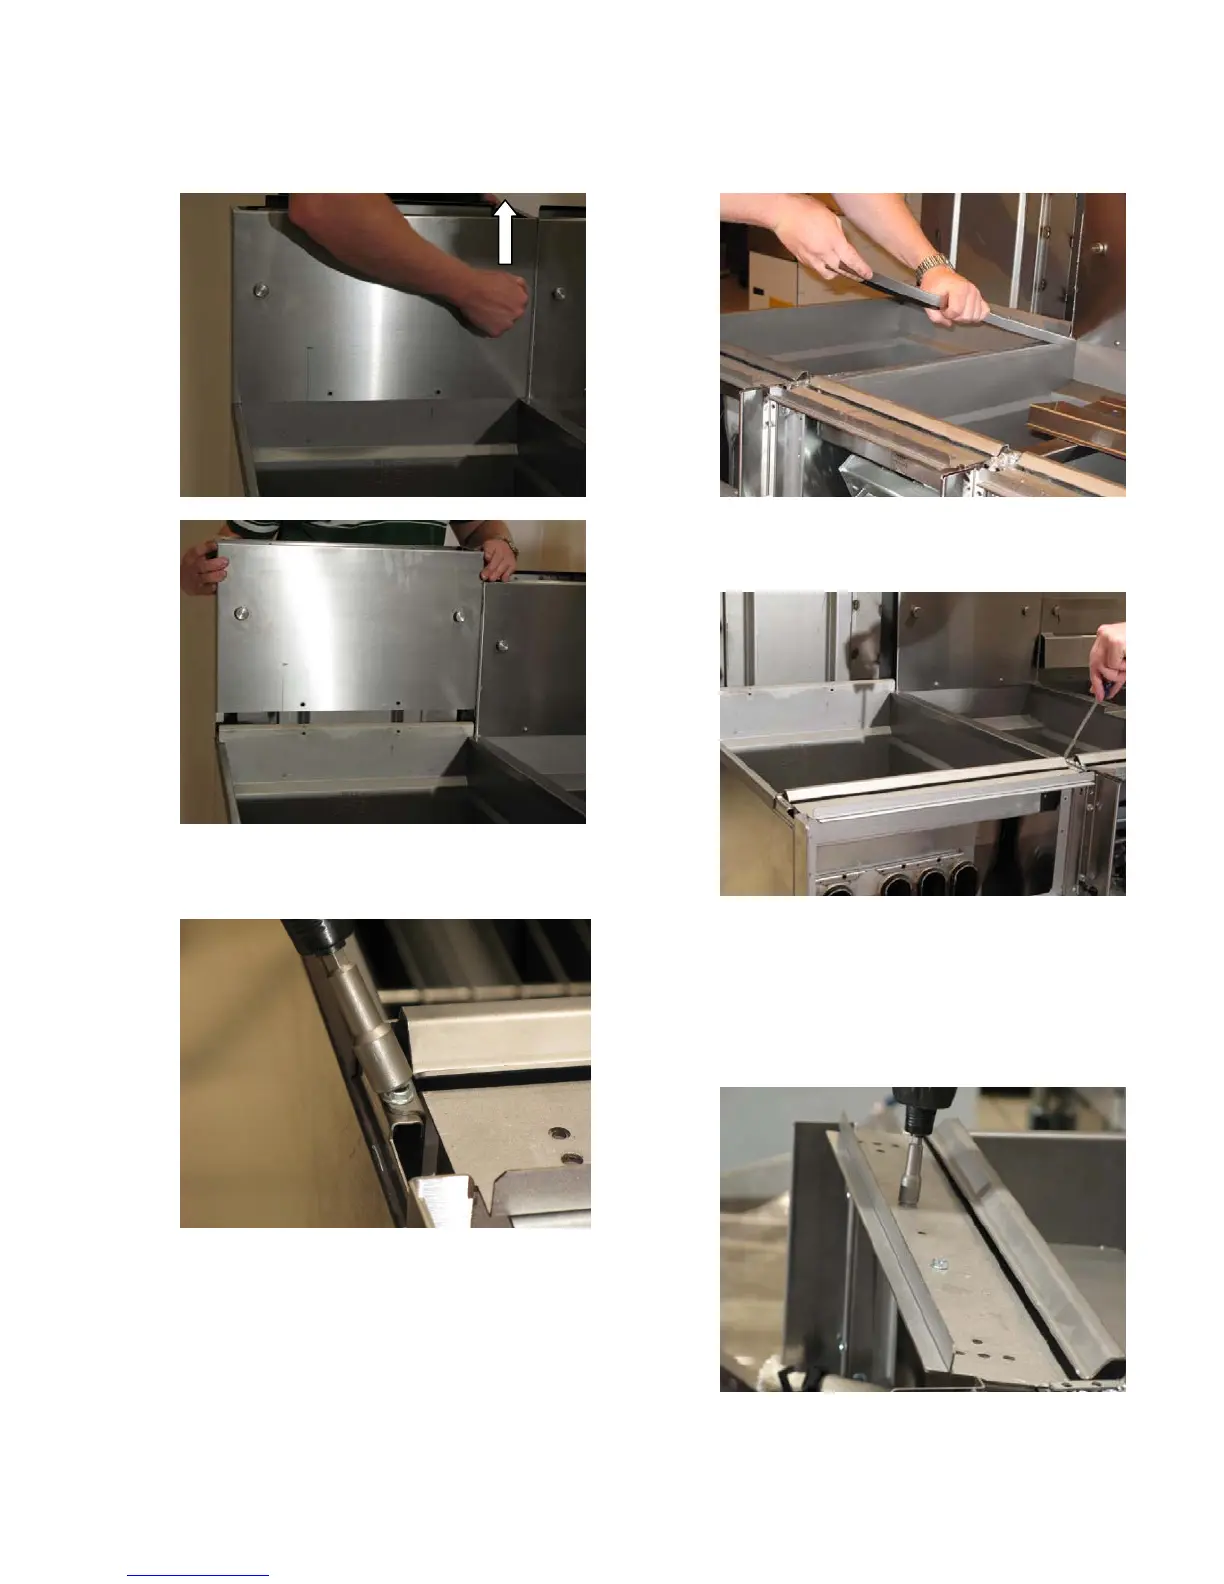
14. Remove the splash back by lifting up.
15. Remove the six (6) screws, which hold the tank
to the cabinet, using a 5/16 inch socket.
16. Remove the channel strip by pulling up.
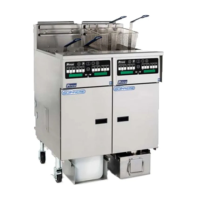
17. Score the silicon sealer between the tanks using
a flathead screwdriver or utility
knife.
18. Remove high-limit and temperature probes. See
Replacing the Hi-Limit Thermostat” on page
58.
19. Rem
ove the two (2) screws, which hold the top
deck support, using a 5/
16 inch socket.

Table of Contents

Questions and Answers:

Question and Answer IconNeed help?

Do you have a question about the Pitco SSH Series and is the answer not in the manual?

Pitco SSH Series Specifications

General IconGeneral
BrandPitco
ModelSSH Series
CategoryFryer
LanguageEnglish

Related product manuals