5-22 DA80F/DA95F AddressRight™ Printers Service Manual (SV61962 Rev. A)
5 • Removal and Replacement
DA80F (WF81) Parts Removal
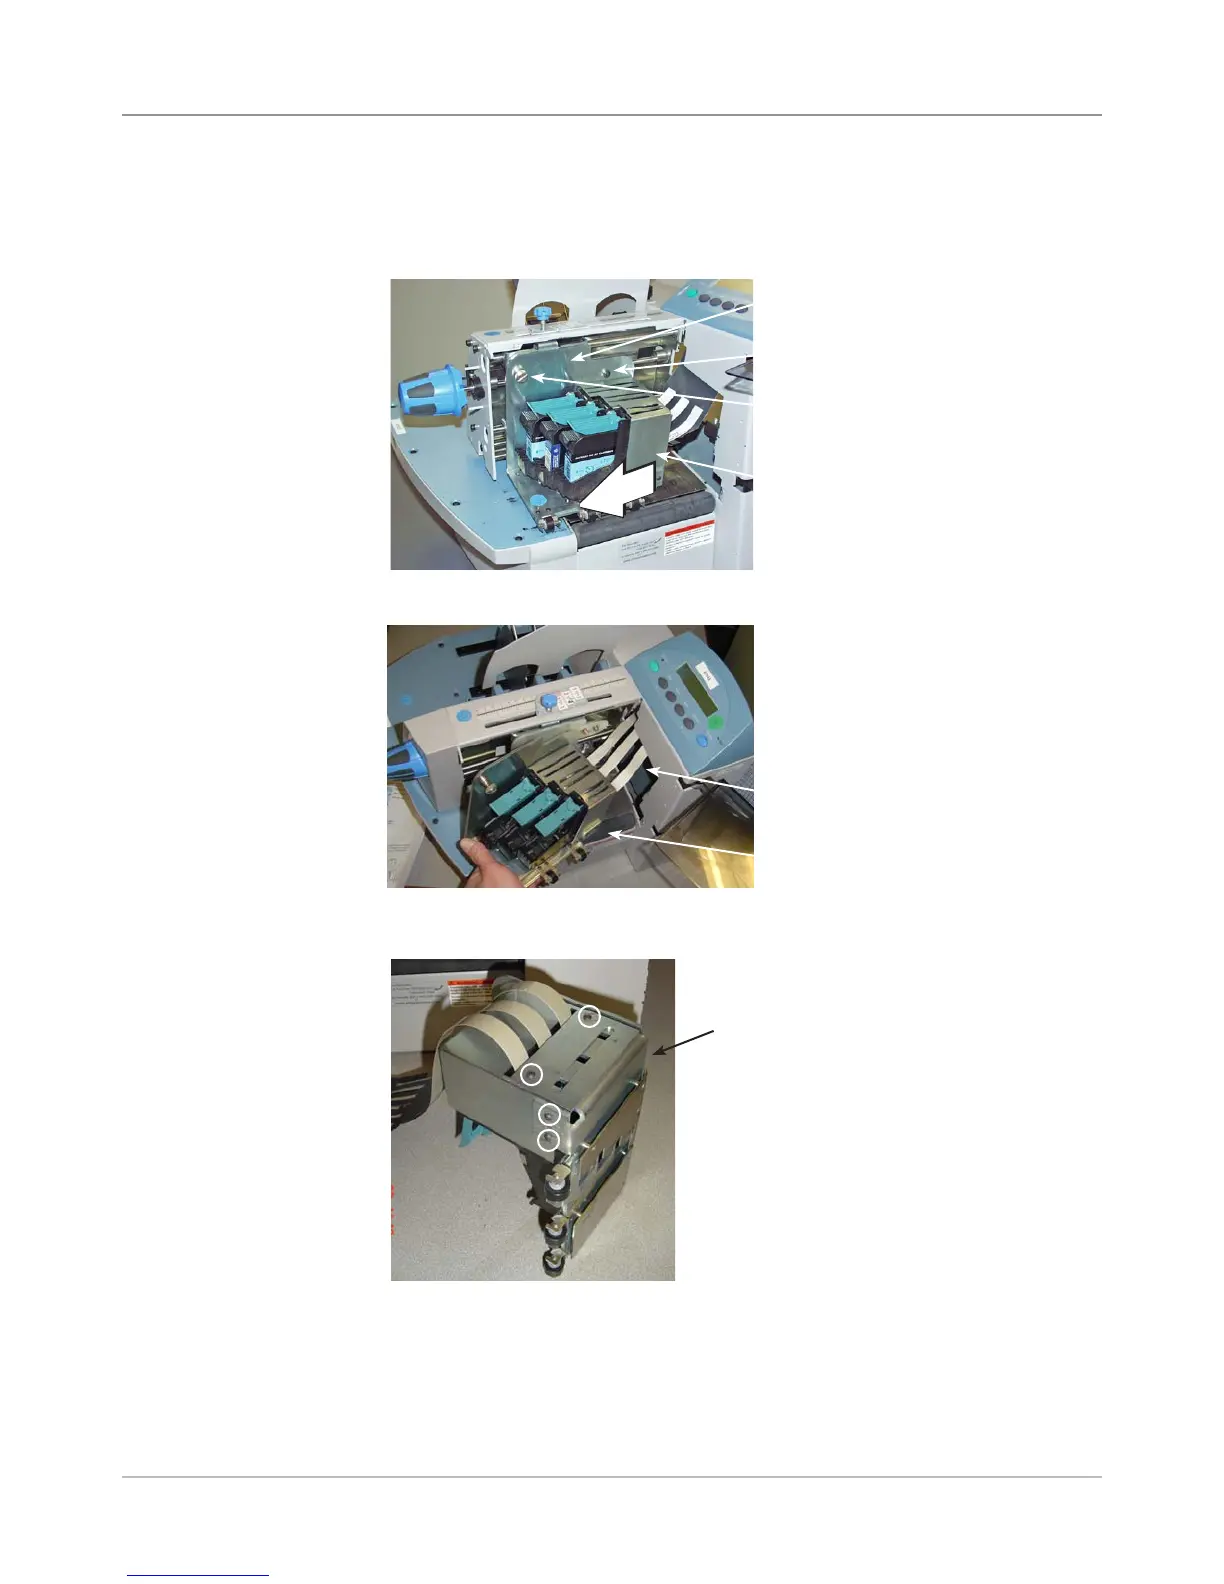
6. Remove the print head assembly and pull print cables through opening.
5.15 Print
Head Cables
and Boards
(continued)
5. Slide the print head assembly away from control panel. Unfasten the
black screw and washer (at the pivot point), and then the print head lock-
ing thumb screw on the print head lift bracket assembly.
Black Screw
Thumbscrew
Print Head Lift Bracket Assembly
Print Head
Assembly
7. Remove four screws (small allen size) for print head metal cover.
Screws for Print
Head Cover
(circled)
Print Head Cover
Print Head
Assembly
Opening for
Cables