DA80F/DA95F AddressRight™ Printers Service Manual (SV61962 Rev. A)
5-23
Removal and Replacement • 5
DA80F (WF81) Parts Removal
5.15 Print
Head Cables
and Boards
(continued)
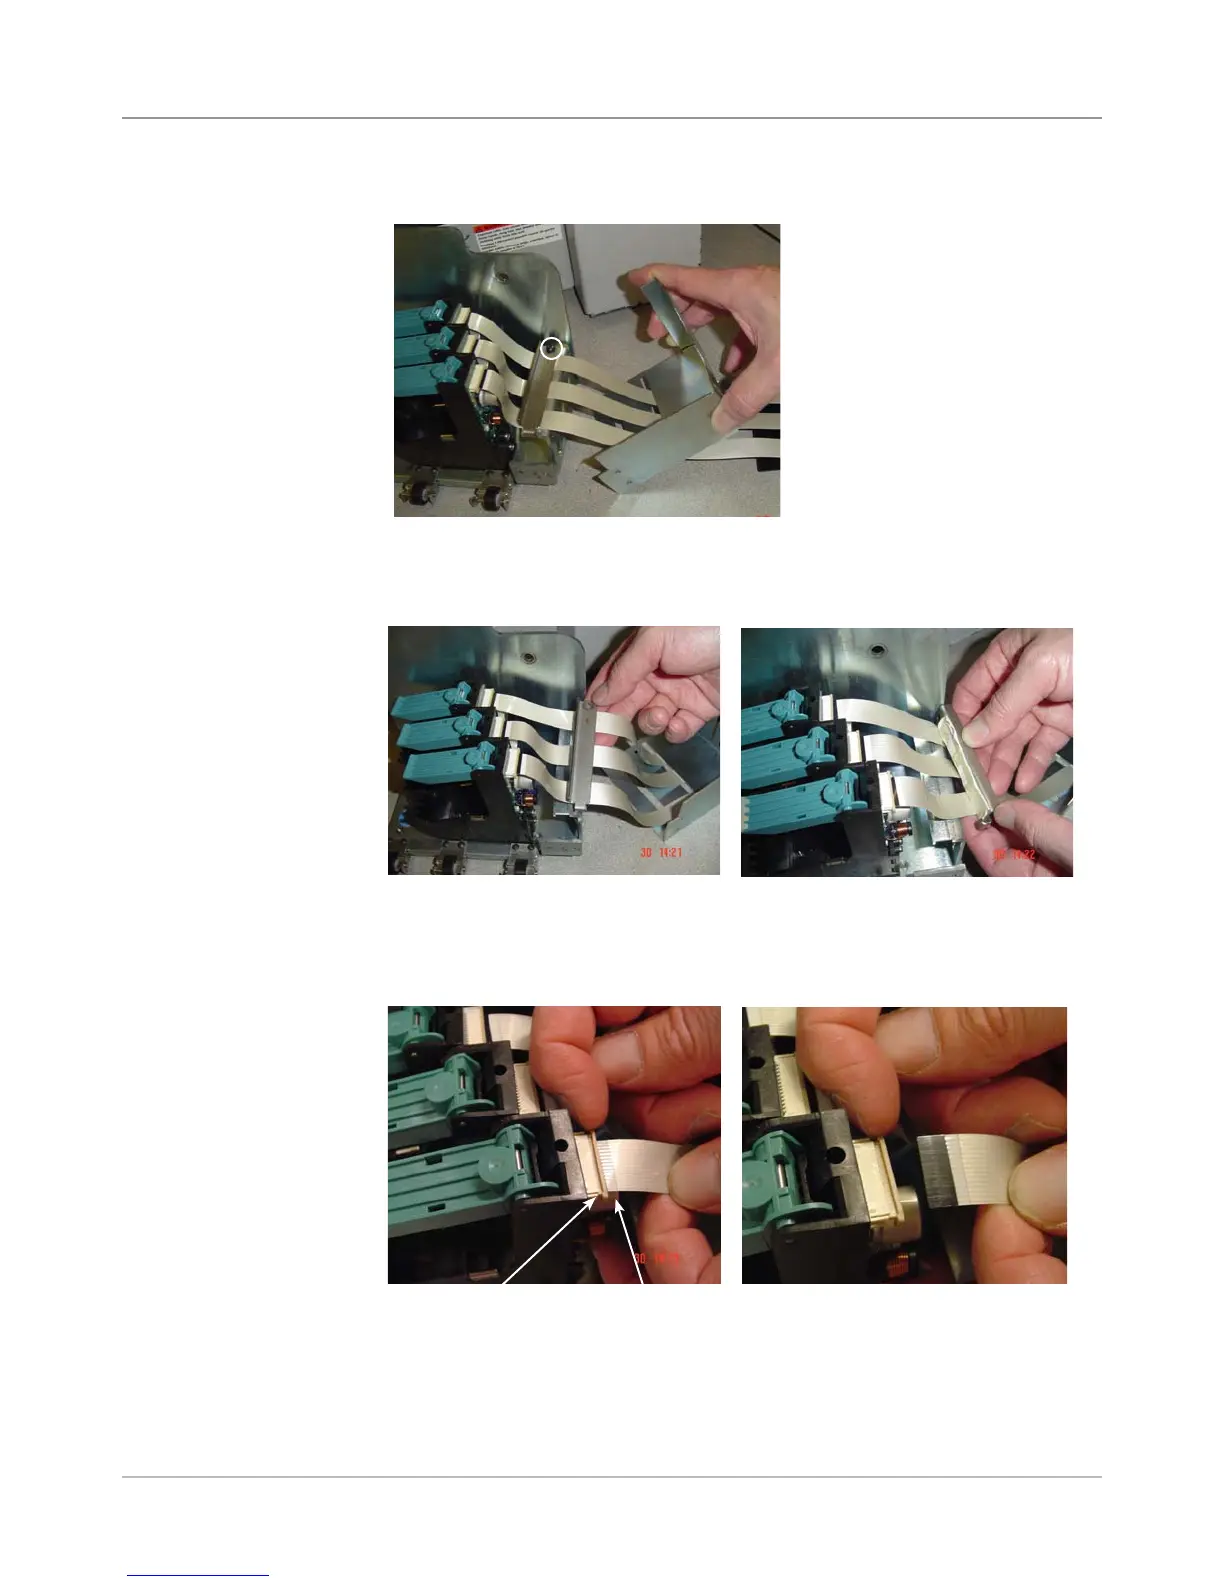
Metal Clamp for Print Head Cables
8. Slide metal cover up the ribbon cable.
9. Unfasten one screw (see figure above) and slide out and remove metal
clamp holding all three print head cables. NOTE: This clamp has tape on
one side.
Tape on Other Side of Metal Clamp
Screw for Metal
Clamp (Circled)
10. Pull out slightly the tan locking piece on the edge of the connector with
your fingernail and simply remove cable (uses zero insertion force).
Tan Locking
Piece
Edge of
Connector
Removing Cable from
Print Head Board