12
Step 5. Testing the Scanner
The following describes how you can check if the scanner is properly functioning
with your computer and the scanning software. Before testing your scanner, double
check to make sure that all connections are securely fastened.
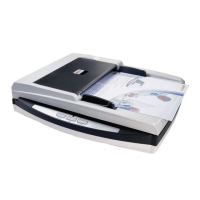
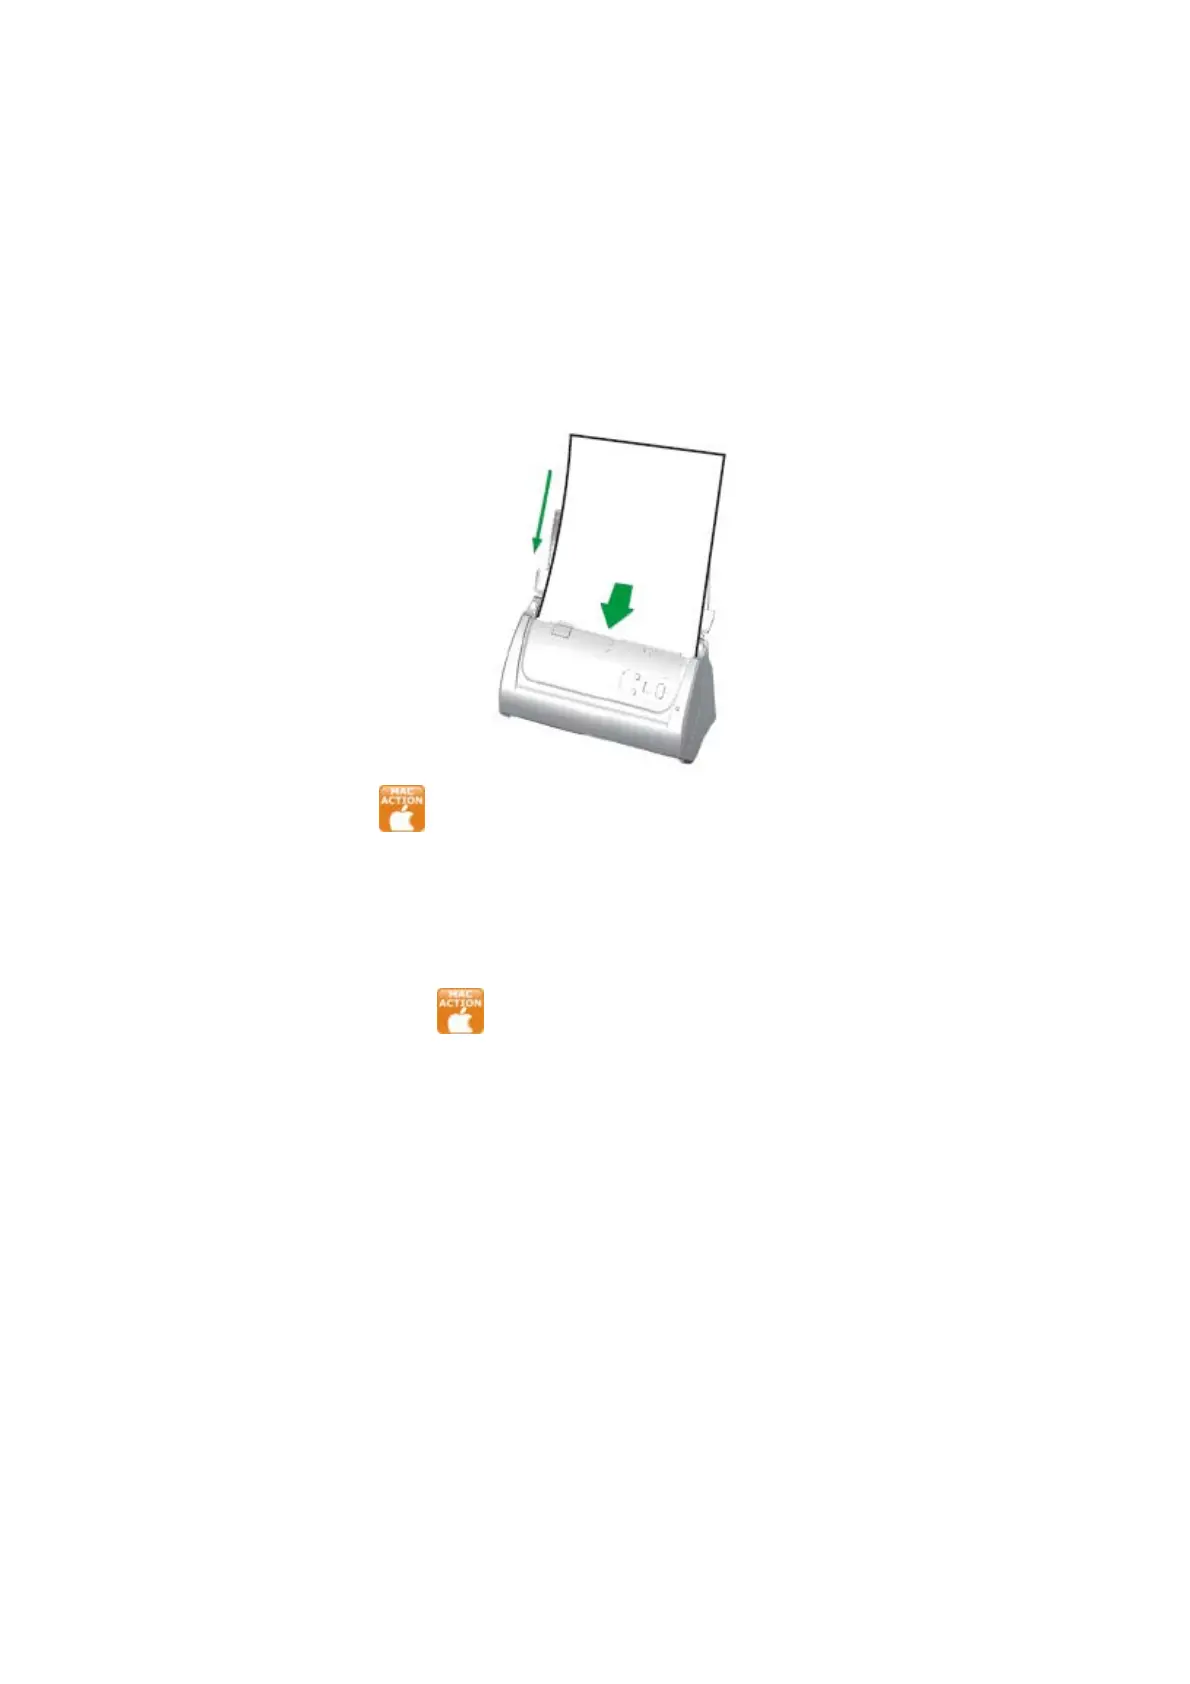
To test the ADF scanning:
1. Load a document headfirst and face down into the ADF with the text side facing
the paper chute.
2. Click the icon
in the Dock.
3. Within the “Button Configuration” window, select a task number by clicking on
the icon. Select the desired function from the drop-down list of Button Template
and adjust button settings. Select ADF (Front Side) as the Scan Type. Click
OK to exit the “Button Configuration” window.
4. Right-click the icon
in the Dock, and then choose Execute in the pop-up
menu that opens. Click the desired button function item in the pop-up menu.
5. The document in the ADF paper chute should be now loaded into the ADF and
scanned. The scanner starts to scan immediately and carry out the
corresponding action according to settings you have set up in the “Button
Configuration“ window.