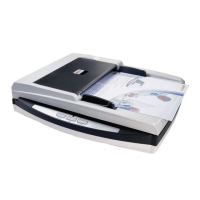
Program Window Overview 7
All rights are reserved.
You may import your desired scan profiles by right-clicking the
Double-click the desired scan profile to perform the scanning task.
Right-click the desired scan profile to:
: modify the scan profile settings.
: delete the scan profile settings.
: export the scan profile settings.
: set the scan profile settings to the desired button.
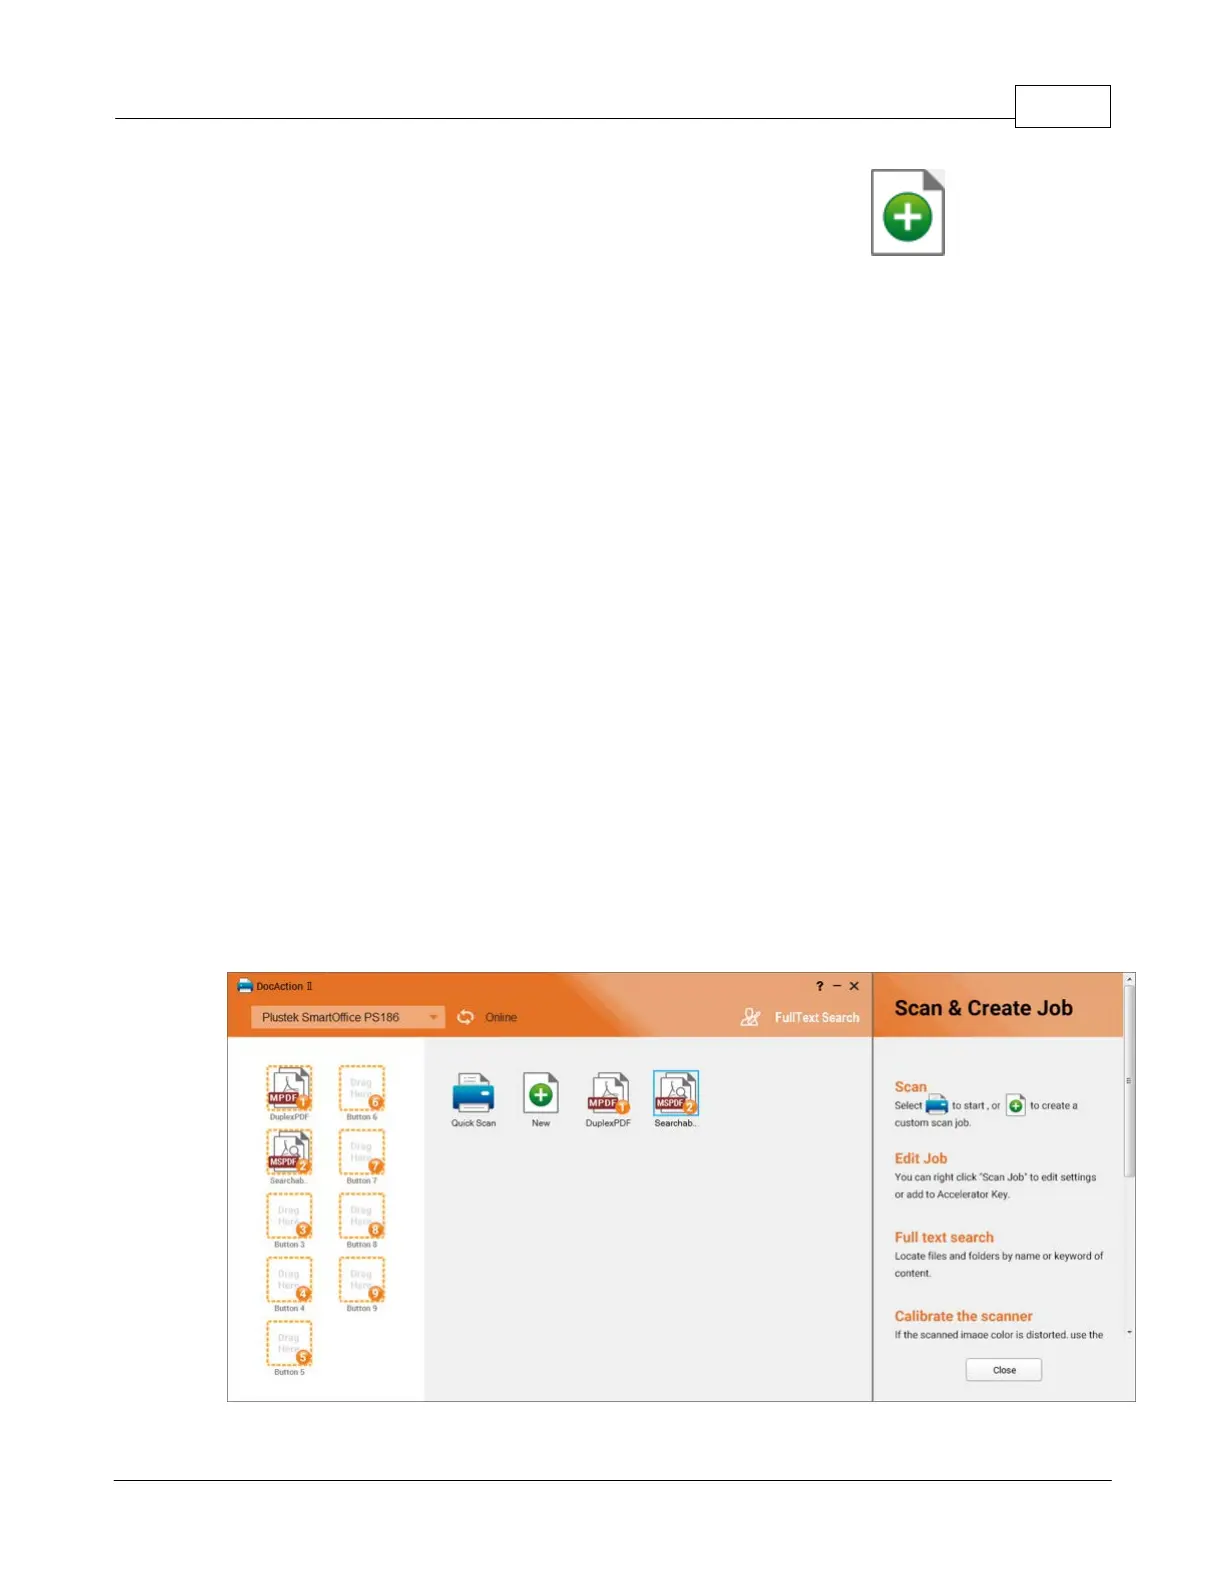
2.4
Button Display Area
Once your scan profile is created
the desired scan profiles from the
to set the button functions. Or
right-click the desired scan profile in the
from the pop-up menu to define the button number and function.
Each icon represents a scanning task, and the number on the icon corresponds to
the function number displayed on the scanner front panel. Once the button number
is set, press the up or down button to select the desired task and press the
button on the scanner front panel to perform the scanning task.