Using the Scanner Buttons 51
All rights are reserved.
Customize Button Settings
3.2
Scan from the Buttons on the Scanner and On-screen
MacAction's Execute Menu
To complete your scanning projects by using the scanner buttons is very easy
and convenient. The number of scanning task displayed on the scanner's front
panel is configured through
Action offers you quick access to
the most frequently-used scanning functions. They are especially useful when
you need to repeatedly scan with the same settings and send images to the
same destination. Before performing your first scan via scanner buttons, you
are recommended to configure the button settings to your needs and
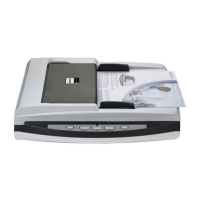
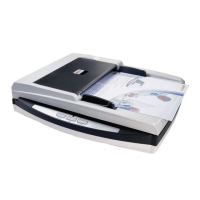
Scan from the Scanner Buttons
User's Guide for more information in placing paper into the ADF properly.)
Check current button settings by viewing the Button Configuration window.
If needed, you may also modify settings to meet your current needs.
Press the up or down button to select the desired task.
The scanner starts to scan immediately and carry out the corresponding action
according to settings you have set up in the Button Configuration window.
for OCR purposes. Do not scan a
photo using the OCR button.