Safety Features and Equipment
87
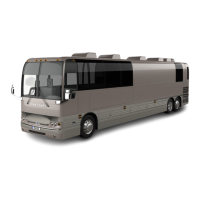
LIMP-HOME BELT ON TOP ALTERNATOR 01154
SPARE WHEEL AND TIRE
The spare wheel and tire is located in a
compartment behind the reclining front bumper.
In case of a flat tire, turn ON the hazard flashers
and bring the coach to a stop on the side of the
road. Apply the parking brake. Make sure the
coach is parked safely away from traffic. Set up
the triangular reflectors in accordance with
applicable highway regulations.
CHANGING A WHEEL
To access the spare wheel, lower the front
bumper. To remove the spare, untighten the
pressure screw holding the tire in place, then
press down on the spring loaded locking pin
located at the top of the retaining bracket and
remove the bracket. Using the strap, pull the
spare out of the compartment (refer to the
following illustrations). Rollers ease
manipulation. Remove the protective cover.
Install the flat tire in place of the spare by
reversing the procedure.
NOTE
Do not forget to have the flat tire repaired as
soon as possible.
SPARE WHEEL AND TIRE 18415
1. Loosen the wheel nuts about one turn;
2. Raise the vehicle by the closest jacking
point (See Jacking Points in this chapter);
3. Remove the wheel nuts and remove the
wheel;
4. Mount the spare wheel over the studs, being
careful not to damage the stud threads;
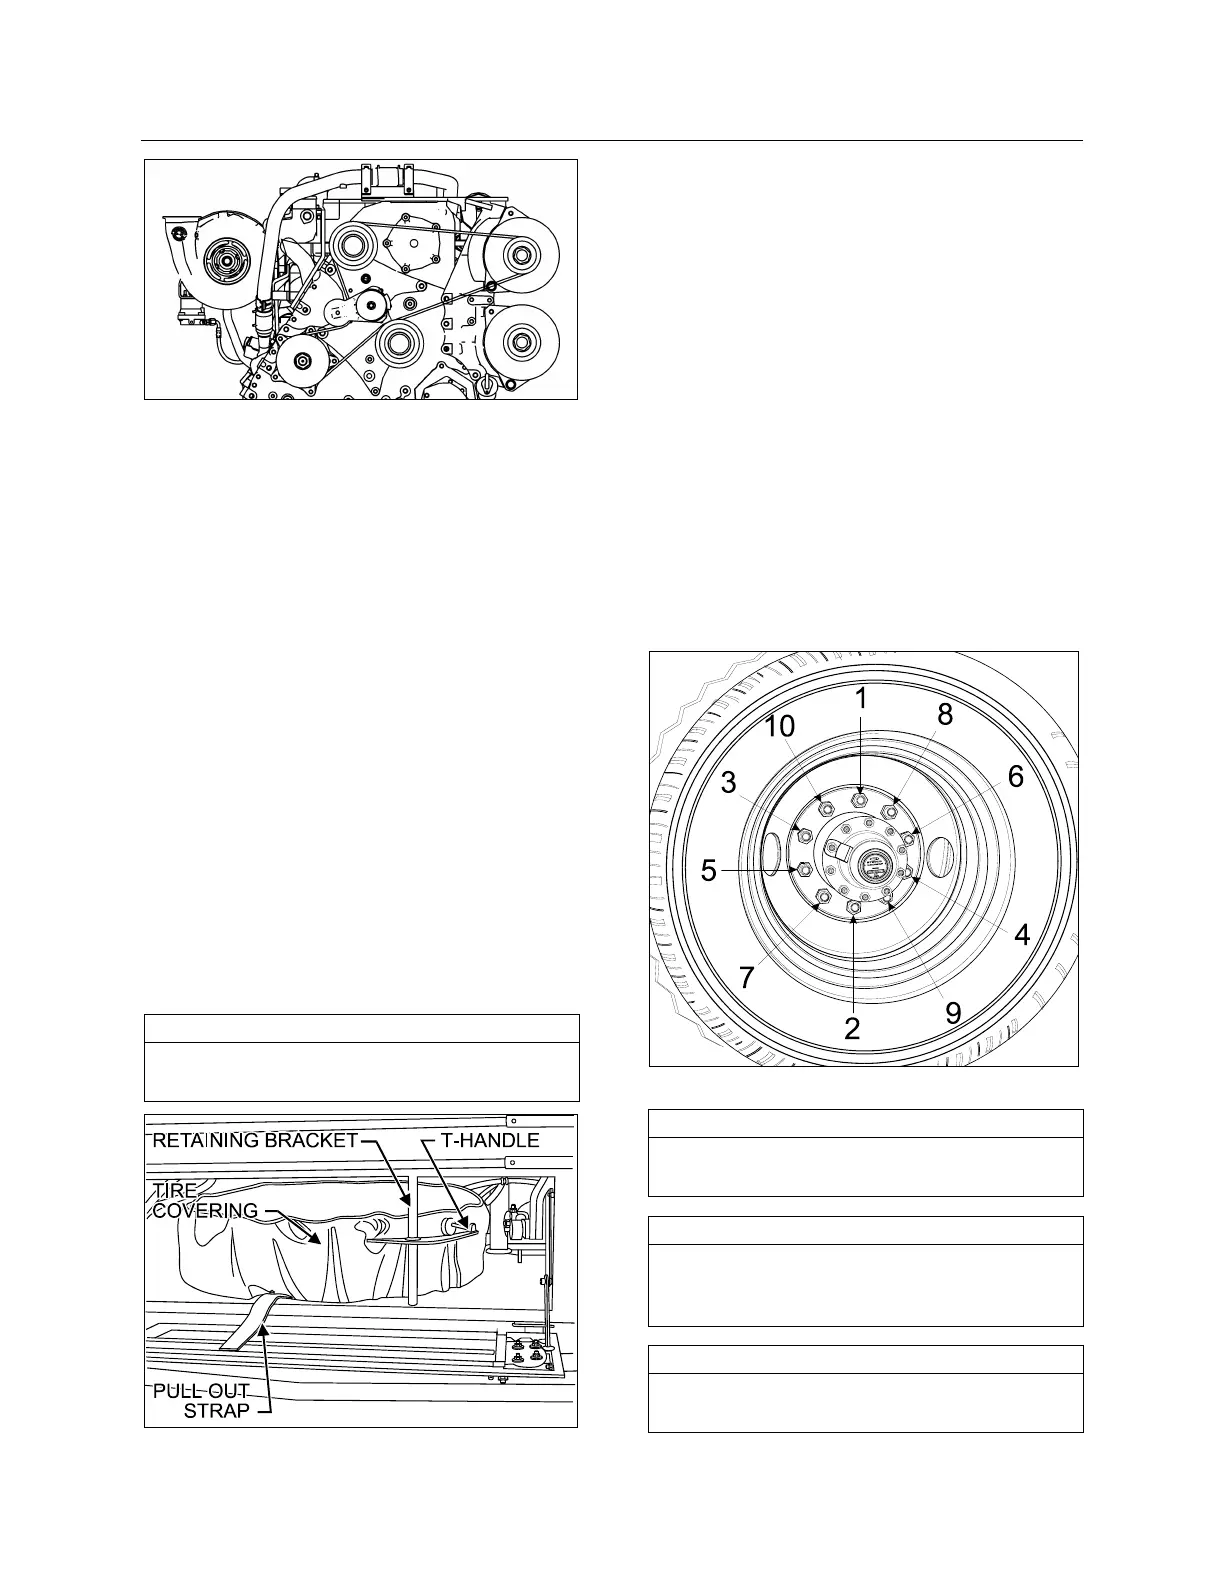
5. Screw in the wheel nuts according to the
sequence shown in the following figure and
tighten slightly more and repeat the
sequence a few times to position the wheel
correctly. Once tightening induces wheel
spin, lower the coach for final tightening;
6. Tighten the nuts progressively in the
sequence shown. Final tightening should be
done using a torque wrench. Dry tightening
torque is 450 – 500 lbf-ft (610 – 680 Nm) for
steel as well as for aluminum wheels.
TIGHTENING SEQUENCE 13018
NOTE
The jack and tools are located in the front
service compartment.
NOTE
Periodically check the spare’s inflation
pressure. Tire pressure should be the
maximum pressure specified in the chart.
NOTE
Periodically check that the spare is securely
fastened in its compartment.