Pegasus R6, R4 Product Manual
54
• From the Storage menu, choose Disk Array.
2. Mouse-over and click the disk array you want then click the Locate button.
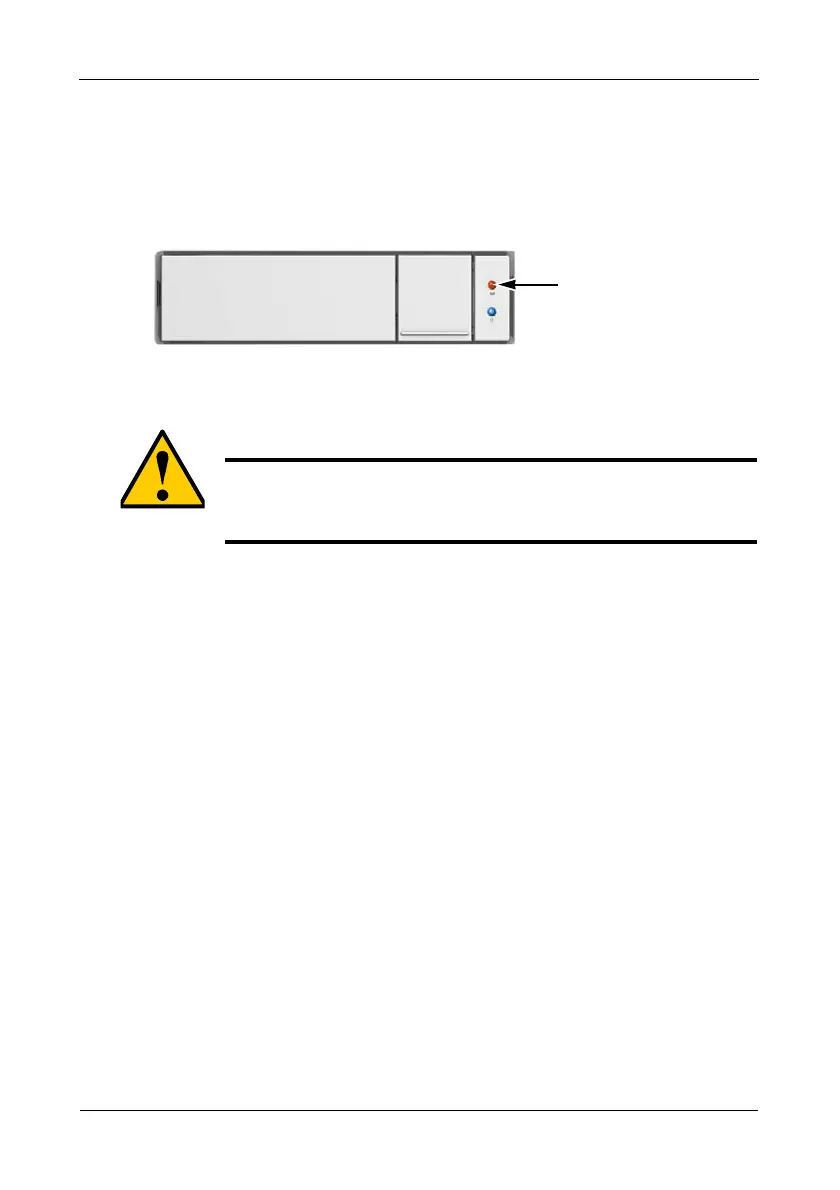
The Drive Power/Status LED for the physical drives that make up the disk
array blink blue and orange for one minute.
Figure 9. Running the Locate function to identify a disk array
Deleting a Disk Array
To delete a disk array:
1. Do one of the following actions:
• From the Dashboard window, click the Disk Array link.
• From the Storage menu, choose Disk Array.
2. Mouse-over and click the disk array you want then click the Delete button.
3. In the Confirmation box, type the word “confirm” in the field provided and
click the Confirm button.
Preparing a Disk Array for Transport
This feature prepares the physical drives that make up the disk array to be
removed from the enclosure and installed in a different location.
To prepare a disk array for transport:
1. Do one of the following actions:
• From the Dashboard window, click the Disk Array link.
• From the Storage menu, choose Disk Array.
2. Mouse-over and click the disk array you want then click the Transport
button.
3. In the Confirmation box, type the word “confirm” in the field provided and
click the Confirm button.
The disk array status changes to Transport Ready.
Caution
When you delete a disk array, you also delete any logical drives
that belong to it, along with the data on those logical drives. Back
up any important data before deleting a disk array.
Drive Power/Status
LEDs blink blue and
orange

 Loading...


