Chapter 5: Troubleshooting
109
4. Place the replacement drive into the carrier then install the four mounting
screws.
Tighten the screws just until they are snug.
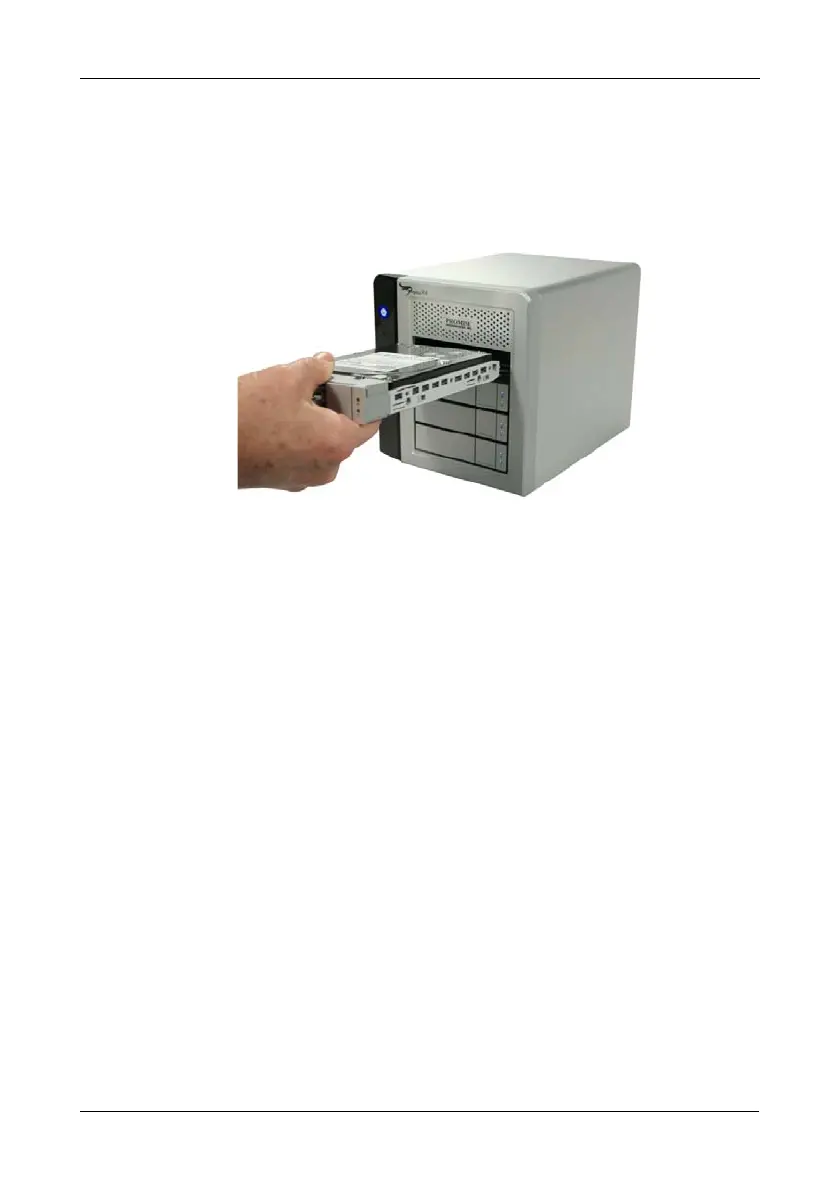
5. Position the drive carrier handle in outward position and slide the drive
carrier back into the Pegasus unit.
6. Press the drive carrier handle inward until it locks.
Physical Drive Warning Message
If you see messages that says, “ajar HDD from the backplane,” you must reseat
the physical drives.
To reseat the physical drives:
1. On the Pegasus unit, press and hold the Power Button LED until it turns red.
See page 102, Figure 1.
2. Wait until the Power Button LED goes dark.
3. For each drive carrier, press the Release button, pull the drive carrier part
way out of the unit, then press the drive carrier back in until it locks.
See “Replacing a Physical Drive” on page 107.
4. Press the Power Button LED to power up the Pegasus unit.

 Loading...


