SECTION 5
MAINTENANCE
106
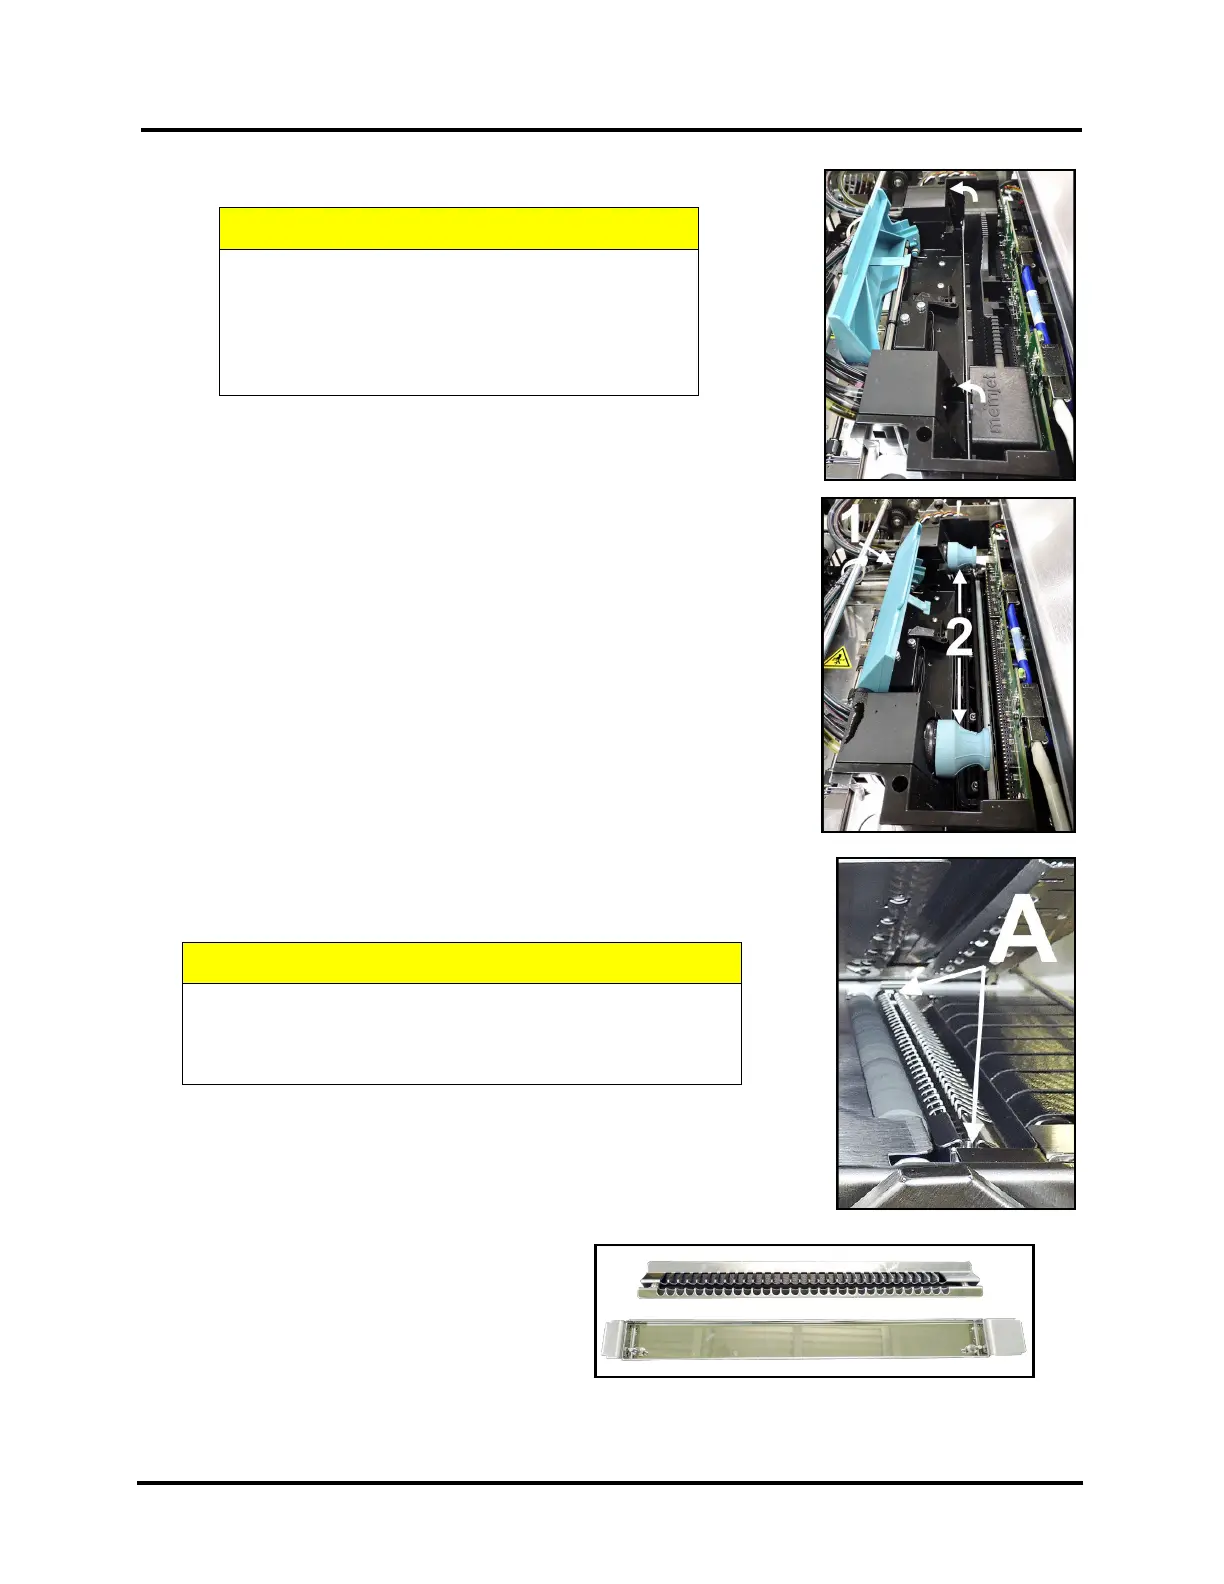
3. Fully Open released Printhead Latch. This will fully retract the Ink Revolver Couplings.
4. Carefully remove Printhead.
Rock the Printhead back to detach it from the electrical contacts.
Then lift the Printhead up, at a slight angle, to remove it.
5. Carefully repack Printhead Cartridge.
Place Printhead into original protective packaging (orange, plastic clip).
Then place Printhead into re-sealable plastic bag, along with a lint free
cloth dampened with distilled water.
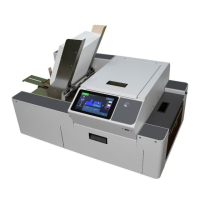
6. Install Ink Revolver Caps [2] to protect the ink system.
B. Empty and Clean Print Platen & Drip Tray
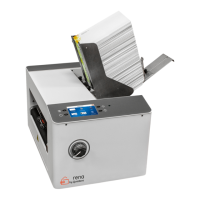
1. Open Ink Tank Door and release (open) Clamshell.
2. Carefully lift the two tabs out of the slots in the Print Engine Frame and
remove Print Platen & Drip Tray Assembly [A] from printer.
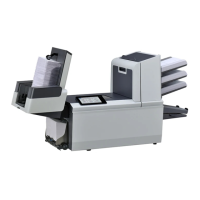
3. Carefully remove Print Platen from Drip Tray. Clean Print Platen with
damp cloth and distilled water, then pat dry.
4. Empty ink from Drip Tray. Drip Tray can then be rinsed out with tap
water. Pat dry with cloth.
5. Wrap Print Platen & Drip Tray in paper
towels and store in re-sealable plastic bag
then place in accessories box for shipping.
If moving just a short distance Print Platen
& Drip Tray may be placed back into the
printer. See “Installing Print Platen and Drip
Tray Assembly” for details.
IF PRINTHEAD LATCH IS NOT RELEASED,
DO NOT PRY OR MANUALLY LIFT LATCH OR
LATCH WILL BREAK. USE “SYSTEM DEPRIME”
or “RELEASE PRINTHEAD” BUTTONS, FROM
THE TOUCHSCREEN OR TOOLBOX, TO
WHEN REMOVING “PRINT PLATEN & DRIP TRAY
ASSEMBLY” FROM THE PRINTER, DO NOT TIP THE
DRIP TRAY! IF TIPPED, INK MAY SPILL INTO PRINTER
OR ONTO OTHER SURFACES, CAUSING DAMAGE.