COPYRIGHT © 2016 RED.COM, INC
RED RAVEN OPERATION GUIDE
955-0127_V6.3, REV-E | 136
REQUIRED CABLE
DSMC2 Base Expander, DSMC2 V-Lock I/O Expander, DSMC2 Jetpack Expander, or DSMC2 Jetpack-SDI Expander:
790-0154, 3BNC-to-00 LEMO
DSMC2 REDVOLT Expander: 75 ohm BNC cable (such as the RED HD-SDI Cable, P/N 790-0341)
SENSOR SYNC
NOTE: Using genlock requires a DSMC2 Base Expander, DSMC2 V-Lock I/O Expander, DSMC2 Jetpack
Expander, DSMC2 Jetpack-SDI Expander, or DSMC2 REDVOLT Expander. For more information, go to “Input/
Output Connectors” on page 167.
Sensor Sync is achieved when a genlock signal is provided that is compatible with the current monitor output
frequency, project time base, and recording frame rate. While operating in Sensor Sync, sensor timing is locked
to the genlock signal.
Sensor Sync requires the following synchronized settings:
SETTING MENU LOCATION PATH
Genlock signal frequency N/A; external genlock device
HD-SDI monitor output frequency Menu > Settings > Display > Monitor Control
Project Time Base Menu > Settings > Project > Frame Rate
Recording Frame Rate Menu > Settings > Project > Frame Rate
NOTE: HDRx is not available when Genlock Sensor Sync is enabled.
To set up and enable Sensor Sync Mode, follow the instructions below:
1. Connect the genlock device to the camera:
‒ DSMC2 Base Expander, DSMC2 V-Lock I/O Expander, DSMC2 Jetpack Expander, or DSMC2 Jetpack-SDI Ex-
pander: Connect the SYNC port (00B) on the expander to the device (green BNC) using a 3BNC-to-00
LEMO Sync Cable.
‒ DSMC2 REDVOLT Expander: Connect the GENLOCK port on the expander to the device using a 75 ohm
BNC cable.
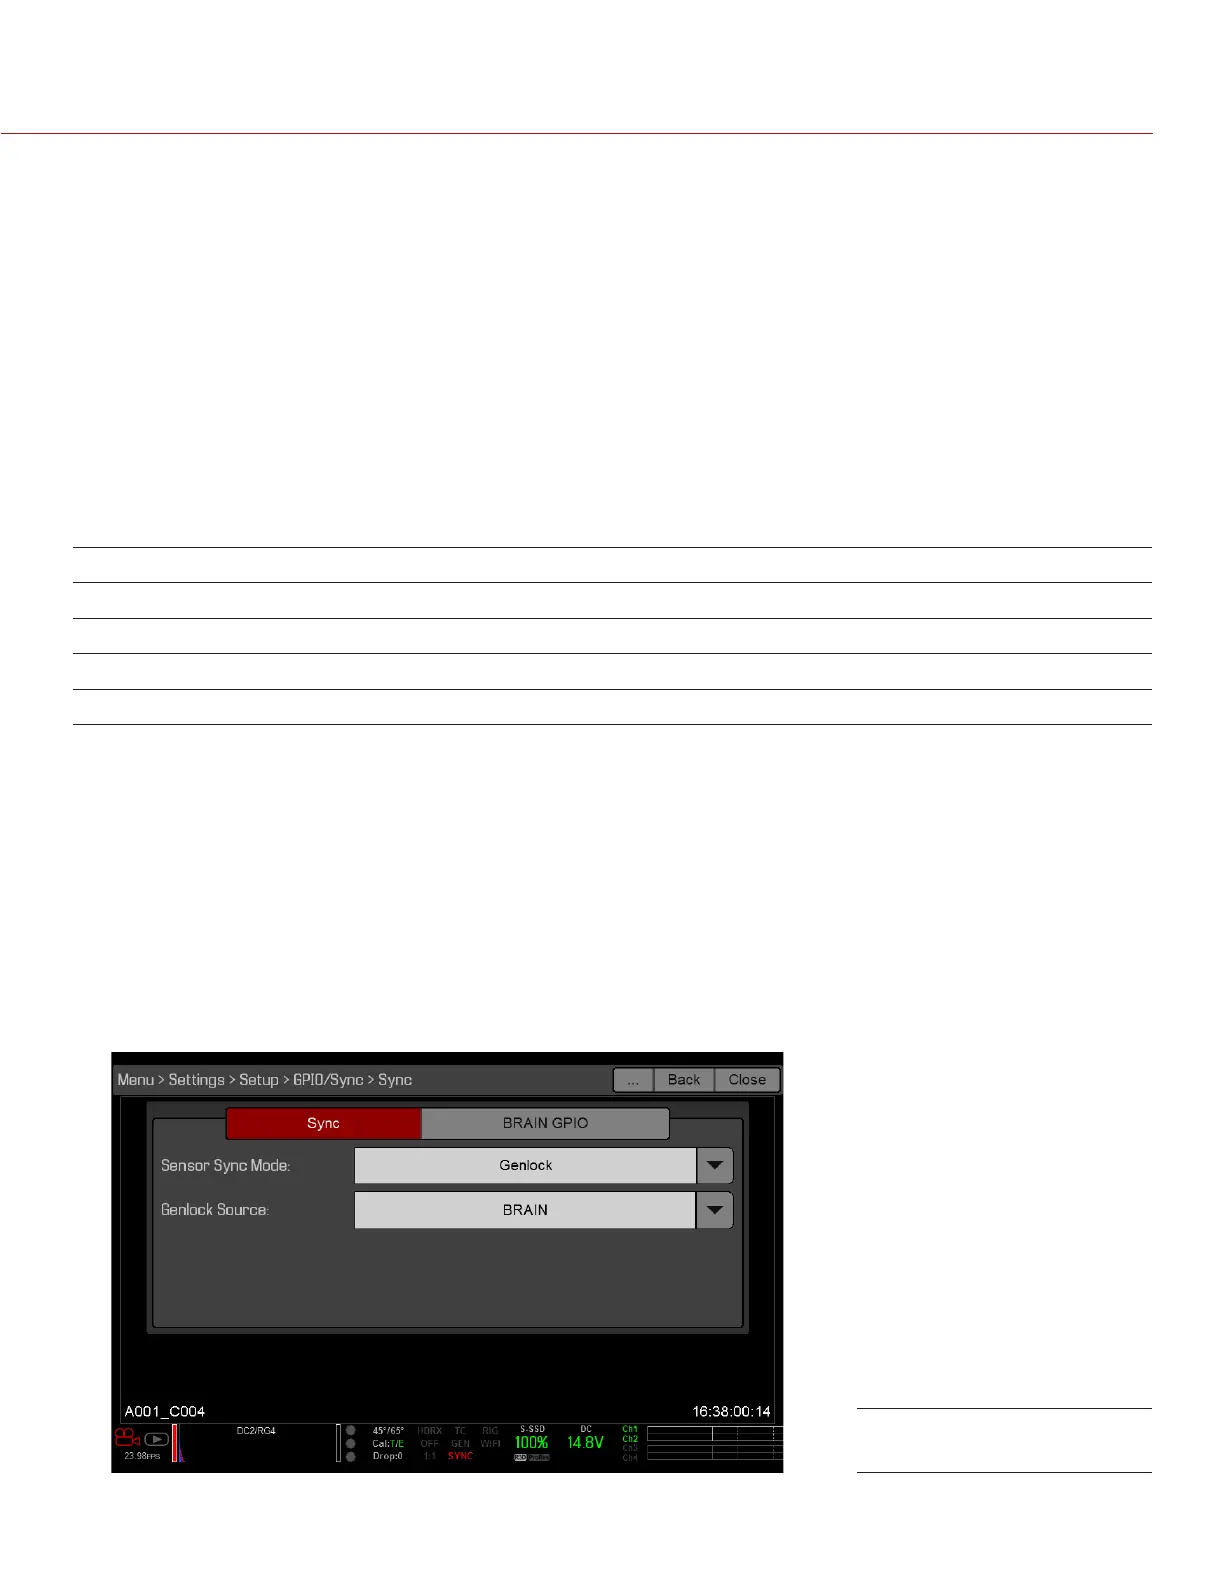
2. Go to Menu > Settings > Setup > GPIO/Sync > Sync.
3. Select Genlock from the Sensor Sync Mode drop-down menu.
4. Select BRAIN from the Genlock Source drop-down menu.
5. Go to Menu > Settings > Display > Monitor Control.
Sync Settings