• Change the settings to automatically select paper size.
Specifying Destinations
There are following methods to specify e-mail destinations:
• Select a destination registered to the email address book of the machine
• Select a destination registered in a public address book (Active Directory / LDAP server address)
that has been downloaded to the machine.
• Enter an e-mail address manually
• Select a destination from Email Address Entry History
• You can specify up to 30 e-mail addresses.
• You can add new entries to the email address book by selecting [Added Data Management] in
Administrator Settings. See page 146 "Managing an Email Address Book".
• To use a public address book, select the [Use Public Address Book Function] check box in the
"Network Settings" window, and configure the settings to access the public address book. See
page 132 "Configuring Network Settings".
• To use the Mail to Print function, touch [Option Settings for Saved File:] to display the option
settings, and then select the [Convert to Mail To Print format] checkbox.
• If RICOH Streamline NX is used for authentication, the e-mail address of the logged-in user is
automatically set as the destination address.
Select from Email Address Book
1. Select the e-mail address of the destination to which you want to send the pages from
[Imported Address Book] tab.
• Touch keyboard appears when you touch , the Search icon or the input box.
An incremental search of a destination is performed as you enter characters in the input box.
Also, you can perform AND search by entering multiple words separated by a space.
• When you select a group name in [Specify Group Name], you can display only the
destinations of the selected group names.
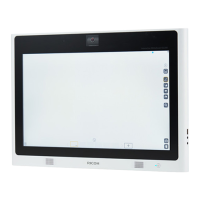
2. Using a Whiteboard
62