Do you have a question about the Risco LightSYS Plus and is the answer not in the manual?
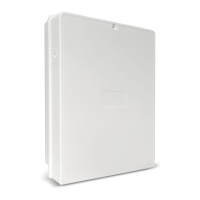
Describes the system's core attributes, flexibility, and technical limits.
Outlines user-facing features like cloud access and notifications.
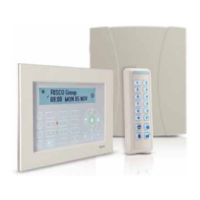
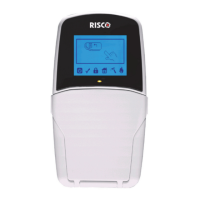
Details keypads, keyfobs, and remote controls.
Critical safety instructions for product use and installation.
Procedures for initial system configuration by the main user.
Explains button operations across different keypad types.
How to access and use system menus.
Covers permissions, user codes, and duress codes.
Enrolling, using, and deleting proximity tags.
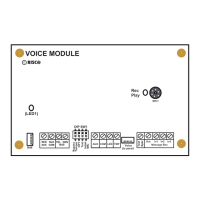
Configuring recipients, types, and testing notifications.
Learning, configuring, and deleting keyfobs for output control.
Verifying communication with monitoring station and scanning Wi-Fi.
Key training topics for system users.
Overview of operation modes and obtaining system info.
Acknowledging and responding to system notifications.
List of commands for remote SMS operation.
Understanding partition status indicators and blank display.
Viewing event logs, troubles, status, and service info.
Viewing not-ready zones and defining bypass status.
Describes various arming methods and steps.
Covers disarming all/individual partitions, duress, and alarm.
Procedures for system reset via installer codes or software.
Procedures for activating various emergency alarms.
Explains UO modes and manual activation.
Setting up one-time, weekly, and vacation schedules.
Explains menu structures and their settings.
Explains sound indicators and keypad visual indicators.
| Communication | GSM/GPRS/IP/PSTN |
|---|---|
| Network Protocol | TCP/IP |
| Wireless Zones | 32 |
| Programming | PC software |
| Mobile App | Yes |
| Operating Temperature | -10°C to +40°C |