Advanced Features
Automatic Sorting into Groups [Program]
53
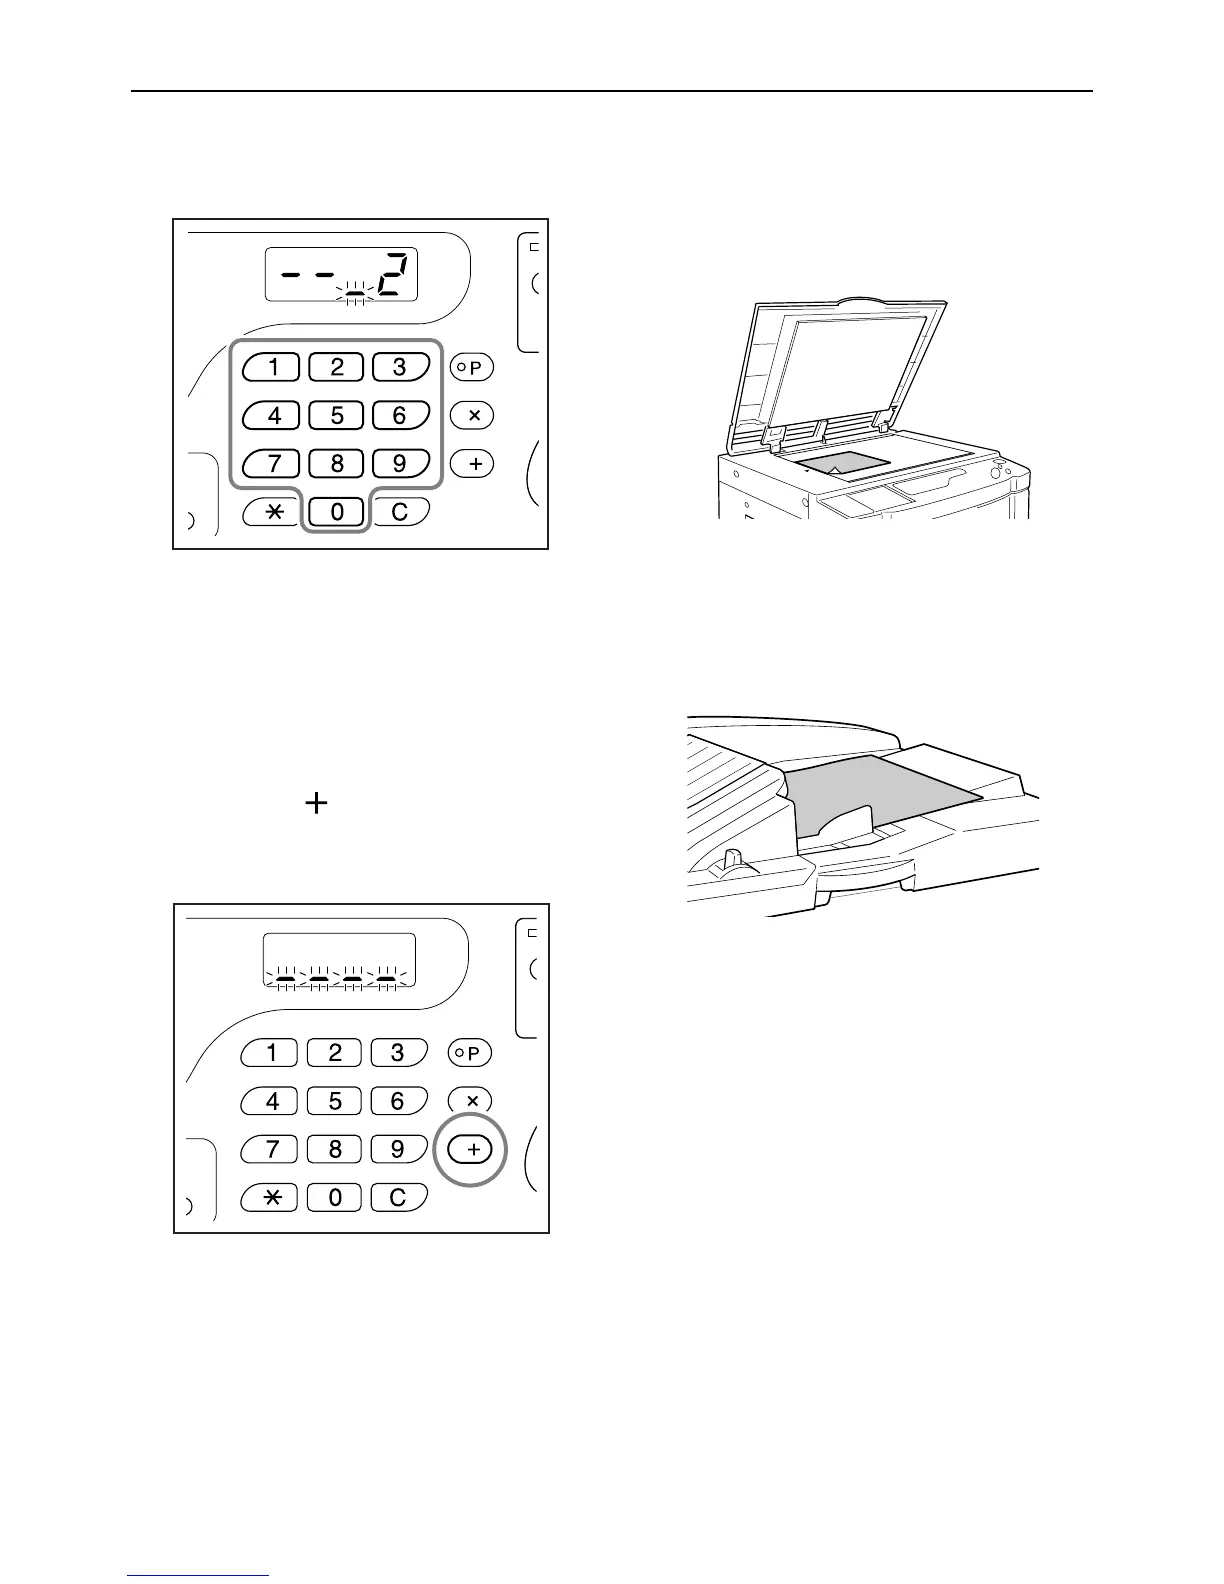
5 Enter the number of set using the
Print Quantity keys.
To set the next group, go to step 6.
To finish the setting and start printing, go to step 7.
Note:
• If you enter an incorrect number, press the [C]
key to clear the number, and then enter the cor-
rect number.
• If you do not enter a number, 1 is selected.
6 Press the [ ] key.
The machine then allows you to enter the number
of copies for the second group.
Repeat steps 3 through 6 to specify the number of
copies and sets for each group.
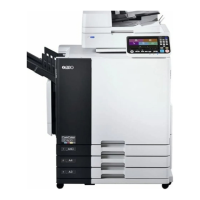
7 Place an original.
z When placing on the Glass Platen.
Place an original on the Glass Platen face
down and align its center with the mark on the
left-hand side of the glass.
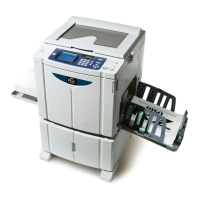
z When placing in the ADF unit (option)
Place an original face down and then adjust the
ADF Original Guides to the width of the origi-
nal. Insert the original as far into the ADF unit
as possible.
8 Make necessary settings.
Make various settings as necessary.
You can set the following functions:
• Image Processing mode
• Pencil
• Dot Process (For EZ3XX only)
• Scanning level
• Enlargement/reduction ratio
• Auto-Process
Important!:
• To save the current program settings, see “Sav-
ing Programs” ()p.57) for further information.
Once printing is finished, the settings cannot be
saved.