EasyManua.ls Logo

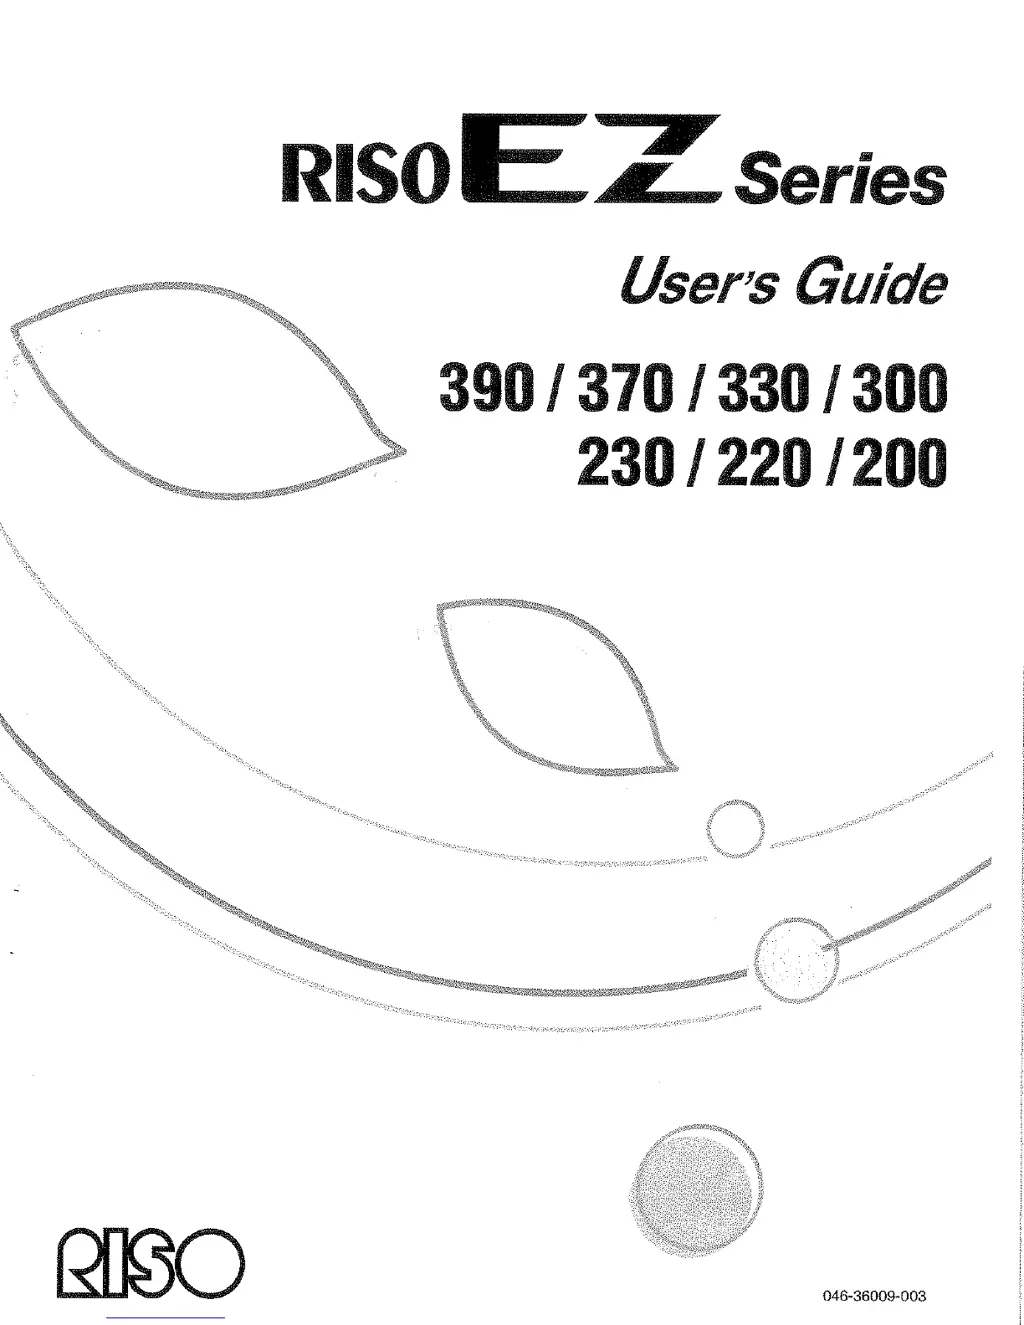
Riso 390 - User Manual

Riso 390
132 pages
Print Icon
To Next Page IconTo Next Page
Loading...

Table of Contents

Questions and Answers

  • E
    Elizabeth FletcherJul 31, 2025
    Why is the back of printed copies smudged with ink on my Riso All in One Printer?
    • K
      Katie SandersJul 31, 2025
      If the back of your printed copies from the Riso All in One Printer is smudged with ink, it is likely that the Pressure Roller has been stained. To resolve this, remove the Print Drum (Cylinder) and clean the Pressure Roller.
  • J
    Jeffery TrujilloAug 10, 2025
    How to fix paper jam on Riso All in One Printer paper feed tray?
    • J
      jenkinsgabrielAug 10, 2025
      If your Riso All in One Printer displays a paper jam on the Paper Feed Tray section, remove the jammed paper. Then, set paper again. If the error indications do not disappear, press the key.
  • A
    Anthony AustinAug 14, 2025
    How to resolve master jam in Riso 390?
    • N
      Nicholas Norman MDAug 15, 2025
      If a master jam has occurred in the master disposal section of your Riso All in One Printer: 1. Remove the Master Disposal Box. 2. Stand at the side of the Paper Feed Tray and push down the Master Disposal Roller Release Lever. 3. Remove the master jammed on the roller section. 4. Push the Master Disposal Roller Lock Lever inward. 5. Set the Master Disposal Box.
  • J
    Jerry GilbertAug 20, 2025
    What to do if custom-size paper is used during 2-Up printing on Riso 390 All in One Printer?
    • J
      Joel MartinAug 20, 2025
      If custom-size paper has been placed on the Paper Feed Tray at the time of 2-Up printing on your Riso All in One Printer, press the key and then place regular-sized paper.
  • K
    karencarrollAug 25, 2025
    How to close front cover on Riso 390 All in One Printer?
    • C
      croseAug 26, 2025
      If the Front Cover of your Riso All in One Printer is open or has not been completely closed, close the Front Cover completely.
  • C
    Cathy CarrollNov 4, 2025
    What to do if indicator blinks on Riso 390 All in One Printer?
    • K
      Keith ClarkNov 4, 2025
      If the indicator is blinking on your Riso All in One Printer, it could be due to several reasons: * A master has not been correctly wrapped around the Print Drum (Cylinder). To fix this: 1. Pull out the Print Drum (Cylinder). 2. Press the Print Drum (Cylinder) Release Lever, hold the edge of the Print Drum (Cylinder), and turn the Drum (Cylinder) until the clamp plate comes to the top. 3. Press the Clamp Plate Release Lever to unlock the clamp plate, hold the edge of the master, and then separate the master while turning the Print Drum (Cylinder). 4. Turn the Print Drum (Cylinder) until the marks meet. 5. Set the Print Drum (Cylinder) into the machine. 6. Pull out the Master Making Unit and set the master again. 7. Place the Master Making Unit into po...

Summary

Getting Acquainted

Parts and Components

Identifies and describes the various physical parts of the RISO EZ Series machine.

Control Panels

Main Control Panel

Details the primary control panel, its buttons, indicators, and display functions.

Sub Control Panel

Details the secondary control panel, its buttons, and their respective functions.

Before Starting to Use

Safety Guide - Installation

Provides essential safety precautions and guidelines for installing the machine.

Power connection

Details safety instructions and warnings related to connecting the machine's power cord.

Computer Connectivity

Explains how to connect the machine to a computer via USB or network for printing.

Basic Operations

Safety Guide - Handling and Operation

Essential safety precautions and guidelines for handling and operating the machine.

Printing from a Paper Document or Book

Detailed procedure for scanning and printing physical documents and books.

Setting up for Scanning Originals

Selecting the Image Processing Mode [Line, Photo, Duo]

Guide to choosing the correct image processing mode for different original types.

Automatic Printing [Auto-Process]

Saving Ink [Ink Saving]

Setting up for Printing

Adjusting the Print Density [Print Density Adjustment] (For EZ3 XX only)

Fine-tuning the print density levels for optimal output.

Adjusting the Print Position [Print Position Adjustment]

Correcting the print placement both vertically and horizontally.

Advanced Features

Customizing the Initial Settings [Custom Setting Mode]

Adjusting factory default settings to personalize machine behavior and preferences.

Setting Up User Management

Registering Administrator;Users [Create User]

Process for registering administrators and users with PIN codes for access control.

Replacing and Disposing Consumables

Replacing the Ink Cartridge

Instructions for replacing the ink cartridge when it becomes empty.

Replacing the Master Roll

Procedure for replacing the master roll when it has been fully consumed.

Removing and Installing the Print Drum (Cylinder)

Procedures for safely removing and reinstalling the print drum.

Cleaning

Safety Guide - Cleaning

Crucial safety precautions to follow before performing any cleaning operations.

Thermal Print Head

Instructions for carefully cleaning the delicate thermal print head.

Troubleshooting

Check & Error Display

Understanding error codes, locations, and indicators displayed by the machine.

Troubleshooting Display Issues

Explains abnormal display conditions like the 'H' indicator and how to resolve them.

Troubleshooting Tips

Provides solutions for common problems encountered during machine operation.

Machine does not start

Solutions for common issues preventing the machine from powering on or starting.

Riso 390 Specifications

General IconGeneral
BrandRiso
Model390
CategoryAll in One Printer
LanguageEnglish

Related product manuals