Installation
Electrical Connections
98 MagneMotion
Rockwell Automation Publication MMI-UM013B-EN-P - April 2020
• Connect the AC power cable from either the optional remote power supply or a
user-supplied power supply to the power distribution from the main power dis-
connect. Then, connect the DC power cable to the power connector on each
NC-E node controller as shown in Figure 4-12, tighten the mounting screws to
3 in•lb [0.34 N•m] – do not overtighten.
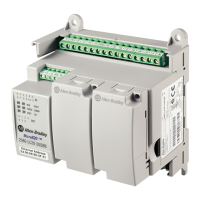
2. Connect power to each NC-12:
• Connect the AC power cable from either the optional remote power supply or a
user-supplied power supply to the power distribution from the main power dis-
connect. Then, connect the DC power cable to the power connector on each
NC-12 node controller as shown in Figure 4-13, tighten the connector shell fin-
ger tight only – do not overtighten.
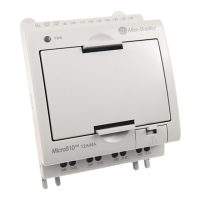
3. Connect power to each NC LITE:
• When supplying Power over Ethernet to the NC LITE, make sure that the
Ethernet connection goes to a PoE enabled switch then plug the switch power
supply into the power distribution from the main power disconnect. Then, con-
nect the cable from the switch power supply to the switch.
• When supplying power directly to each NC LITE, connect the AC power cable
from either the optional remote power supply or a user-supplied power supply
to the power distribution from the main power disconnect. Then, connect the
cable from the NC LITE power supply to the NC LITE as shown in Fig-
ure 4-14.
NOTICE
The NC-12 node controller does not support Power over Ethernet.
Never connect these node controllers to a powered Ethernet network
as damage to internal components can result.
NOTICE
The NC LITE node controller supports the MagneMotion custom
Power over Ethernet (+18V DC). Never connect the NC LITE to a
standard powered Ethernet network as damage to internal compo-
nents can result.

 Loading...