130
Recording/playing back a performance
Changing the location of a marker
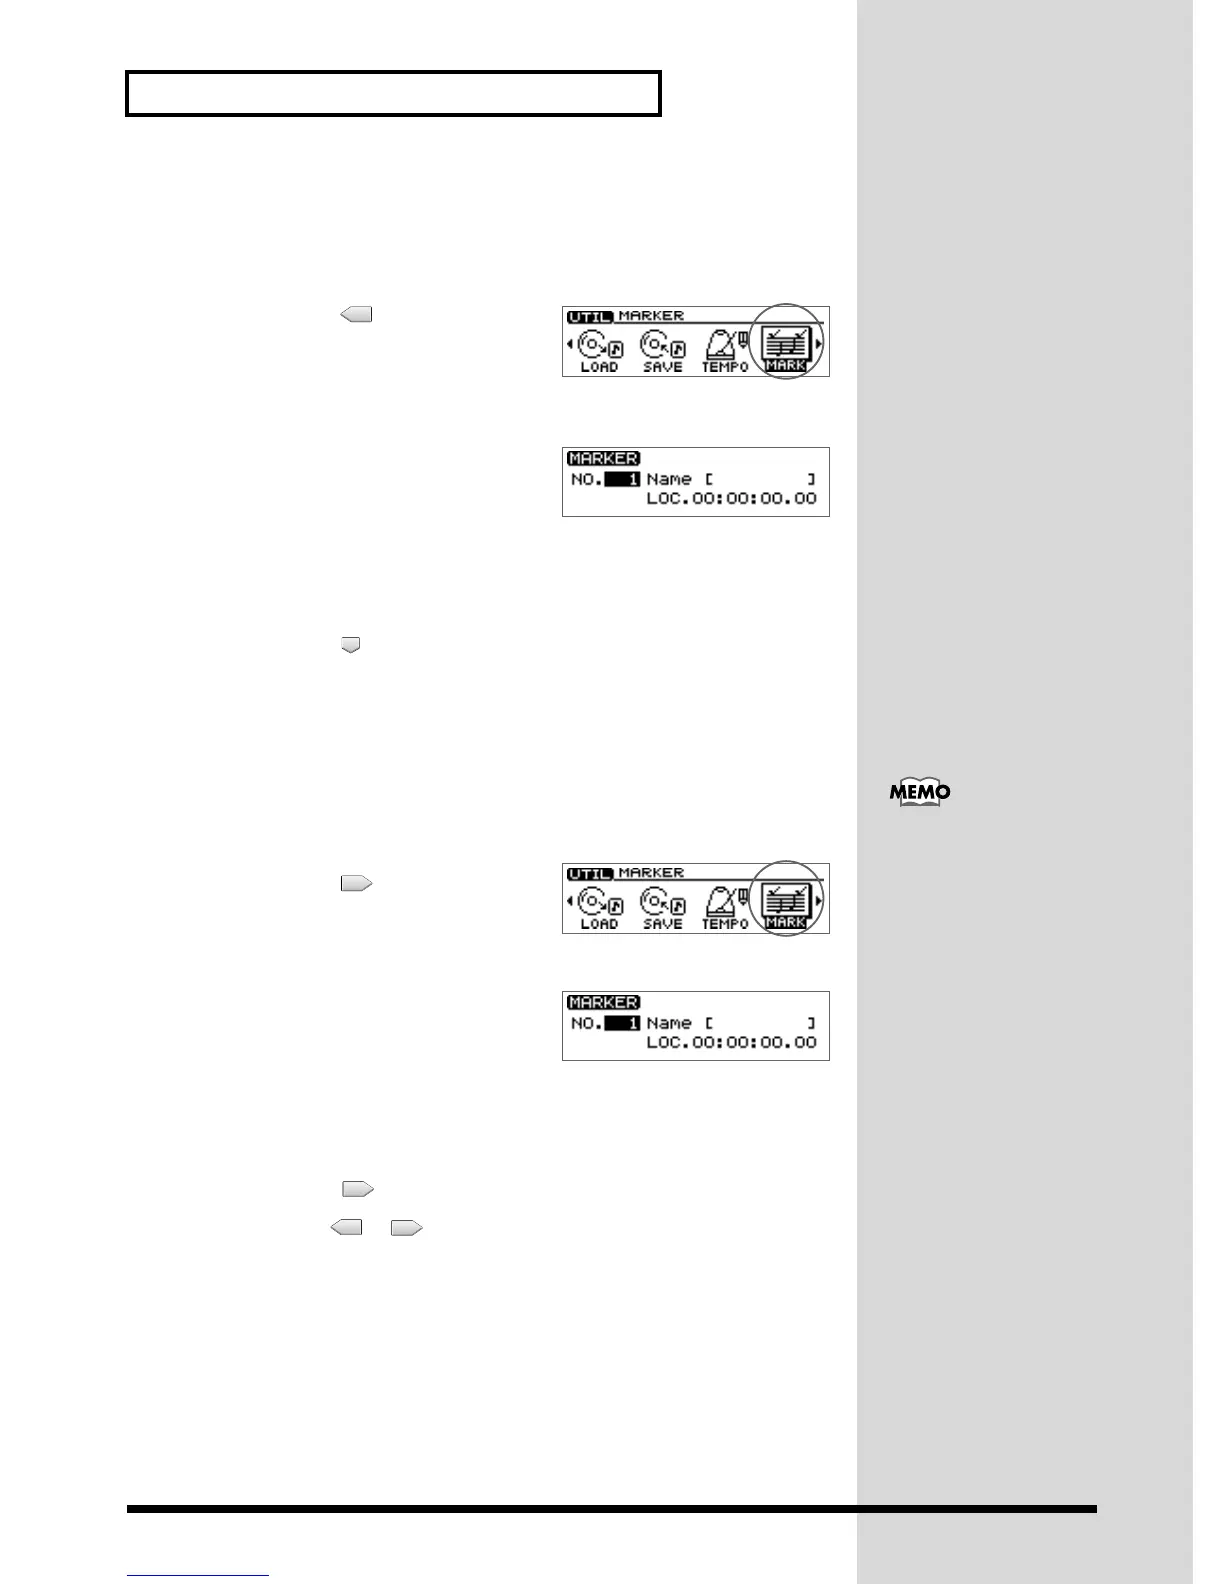
1. Press [UTILITY].
The Menu are displayed as icon.
fig.42-14
2. Press CURSOR [ ] to select the Marker
Edit icon.
3. Press [YES/ENTER].
fig.42-15
The Marker Edit screen appears.
4. Make sure that the cursor is located at the “NO.”
5. Turn the TIME/VALUE dial to specify the number of the marker that you wish to
edit.
6. Press CURSOR [ ] to move the cursor to “LOC.”
7. Turn the TIME/VALUE dial to specify the desired location for the marker.
8. Press [DISPLAY] to return to the Basic screen.
Naming a marker
1. Press [UTILITY].
The Menu are displayed as icon.
fig.42-14
2. Press CURSOR [ ] to select the Marker
Edit icon.
3. Press [YES/ENTER].
fig.42-15
The Marker Edit screen appears.
4. Make sure that the cursor is located at the “NO.” line.
5. Turn the TIME/VALUE dial to specify the number of the marker that you wish to
edit.
6. Press CURSOR [ ] to move the cursor to “NAME.”
7. Use CURSOR [ ] [ ] to move the character location, and turn the
TIME/VALUE dial to input the desired character.
8. When you have finished determining the name, press [DISPLAY].
The display returns to the Basic screen.
A marker can be assigned a
name of up to 8 characters.
 Loading...