Chapter 4 Getting Ready for and Performing Cutting Chapter 4 Getting Ready for and Performing Cutting
4-3 Starting Cutting
63
Chapter 4 Getting Ready for and Performing Cutting
2.
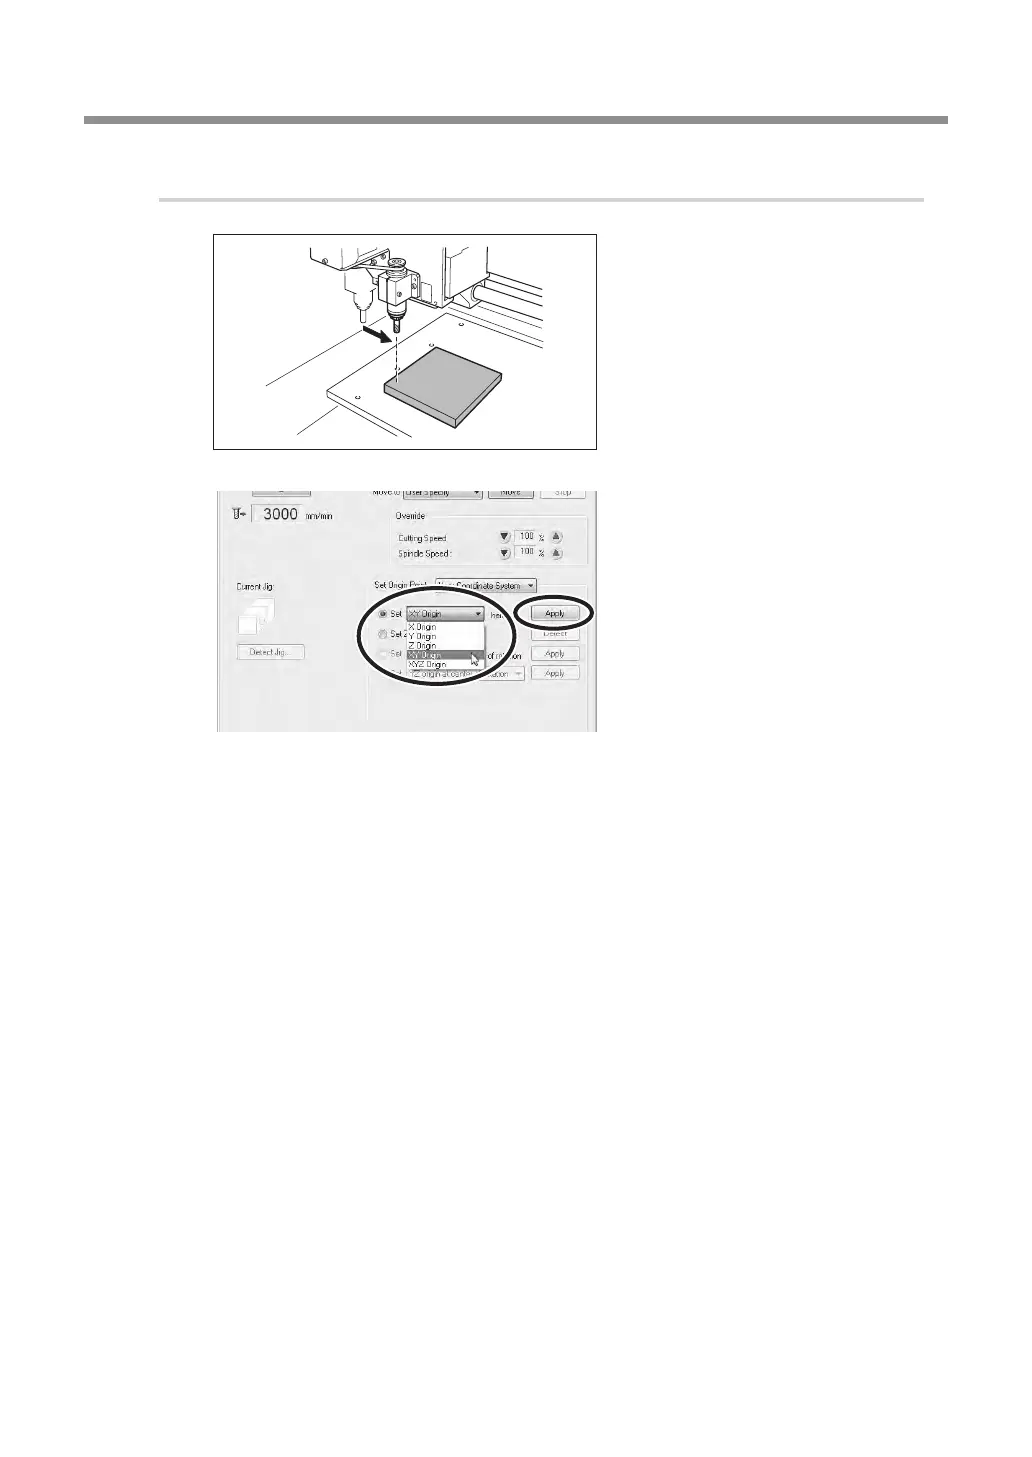
Setting the XY origin.
Move the tool to the location
you want to make the XY origin
point.
P. 48, "Moving the Tool"
With "Set Origin Point", select the
[Set "XY Origin" here], then click
[Apply].
The XY origin has now been set.
Using the Axis Designation
In steps
1.
-
and
2.
-
, you have selected "Z origin" or "XY origin", and performed the setting of
origin point for each axis. Other than the above, the axis of origin point setting can be specied with
this machine. For example, by selecting [XYZ Origin], all of the X, Y, and Z axes can be set at the same
time. Also, selecting [X Origin] (or [Y Origin] or [Z Origin]) allows each axis to be set separately, and
allows you to perform the setting of X only (or Y or Z only).
Origin Setting By Using Z0 Sensor
With this machine, you can also set the Z origin by using the Z0 sensor that comes with the machine.
Refer to page 70 "Using the Z0 Sensor" for the details.
 Loading...