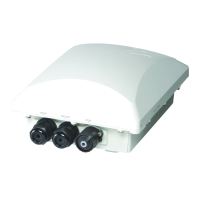
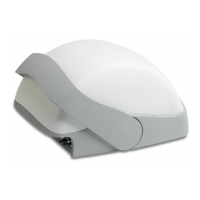
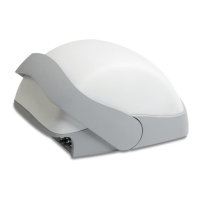
Installing the AP
Step 3: Deploying the AP
Ruckus Wireless Indoor AP 100.2.0 User Guide, 800-70892-001 Rev A 95
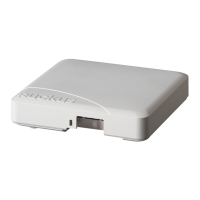
2. Connecting the AP to a Power Source and the
Network
Once you have placed the AP at its installation location, you are ready to connect
it to a power source and the network.
NOTE If your AP model supports PoE, you can also supply power to the AP from
a PoE switch or injector. For information on how to make the PoE connections, refer
to the documentation that was shipped with the PoE switch or injector.
CAUTION! If you are using PoE, you must use a Cat5e or better Ethernet cable for
the PoE connection.
1 Connect the power jack to the power connector on the rear panel of your Ruckus
Wireless AP.
2 Connect the power adapter to a power source.
3 Obtain an Ethernet cable that is long enough to connect the AP to your network’s
router, switch, or hub.
4 Connect one end to a LAN port on the AP, and then connect the other end to
your network’s router, switch, or hub.
5 Verify that the power LED on the AP is green.
Congratulations! You have completed setting up the AP on your network. To learn
how to configure and manage the AP, continue reading the next chapters.