Installing the AP
7441 Physical Installation
Ruckus Wireless Indoor AP 100.2.0 User Guide, 800-70892-001 Rev A 104
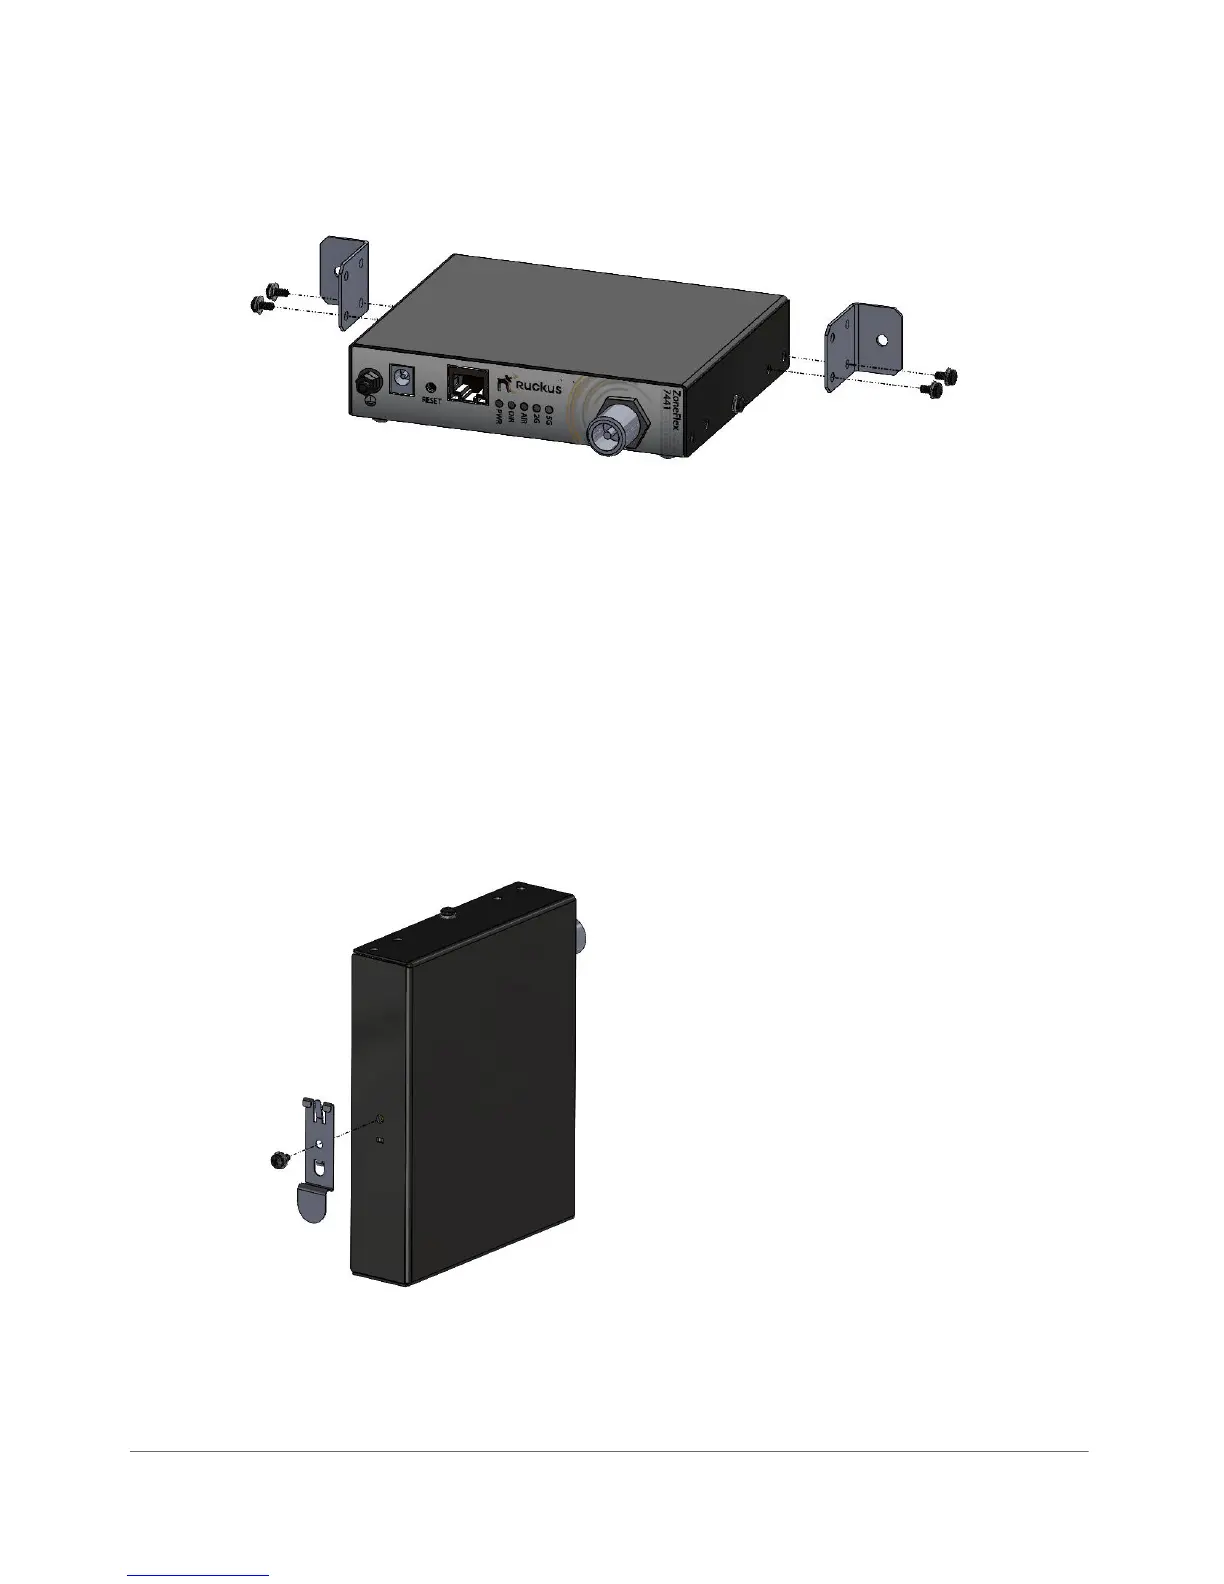
Figure 48. 7442 horizontal wall mount
1 Attach the brackets to the AP as shown in Figure 48.
2 Place the AP on the wall and mark the locations for screw holes.
3 Drill screw holes, place the AP onto the wall and insert screws.
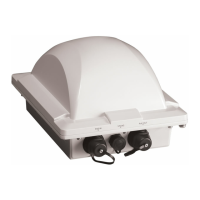
DIN Rail Mounting
Use the DIN rail clip on the rear of the AP to connect mount to a DIN rail.
1 Remove the screw on the housing back wall and use to attach the DIN rail clip
to the rear of the AP as shown in Figure 49. The clip has a tab to prevent rotation
which fits into the corresponding slot in the housing.
Figure 49. 7441 DIN rail clip
2 Mount the AP to the DIN rail as shown in Figure 50.