Section 7: Replacement Procedures
Page 7-6
CG4 Series Service Manual
7.4 DC POWER TERMINAL BOARD REPLACEMENT
1. Remove the Bottom Housing Cover as explained in the earlier Section 7.3 Removal of the Bottom
Housing cover
.
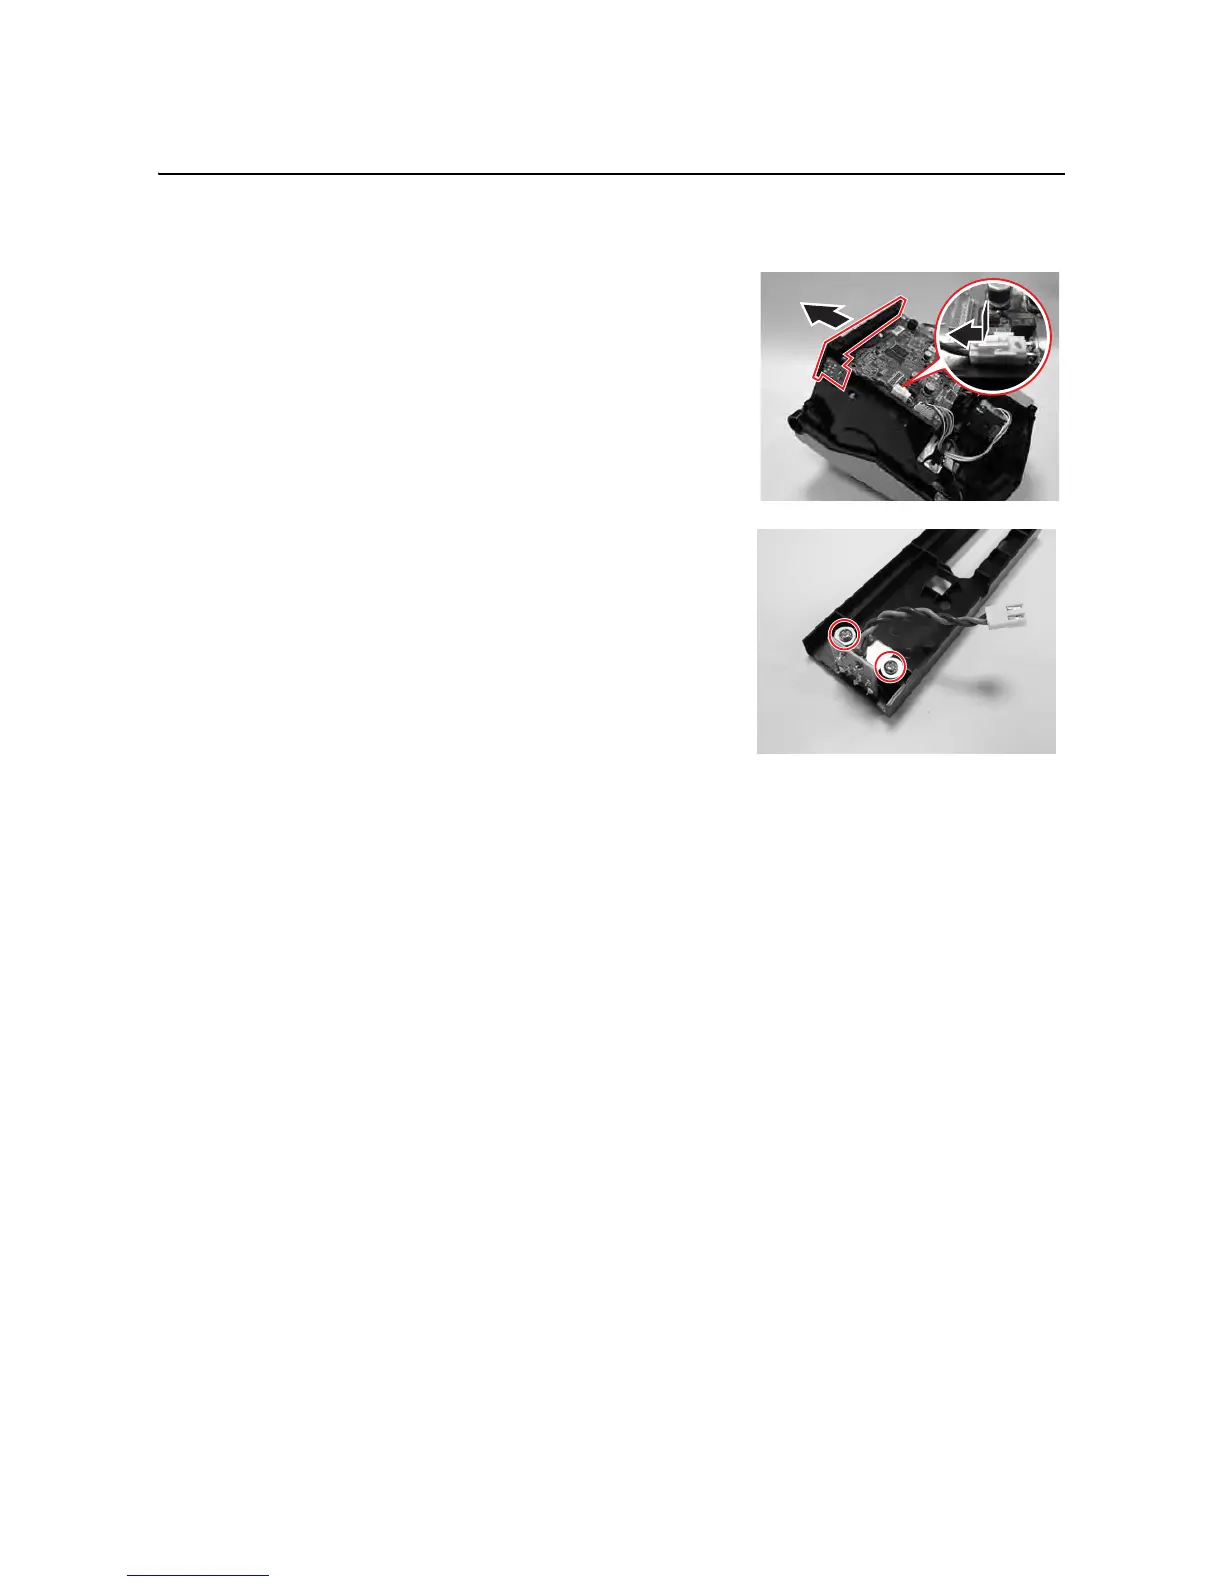
2. Press to release the catch of the Power cable connector
and disconnect the connector from the
MAIN Printed
Circuit Board (PCB)
as shown.
3. Remove the Interface Panel from the rear of the printer.
4. Remove two set of screws and washers (circled) securing
the
DC Power terminal Board to the Interface Panel as
shown.
5. Replace the new DC Power terminal Board and follow the
above steps in reverse sequence, to reassemble the parts.
Notes:
• Align the Interface Panel to the center rear of printer.
• Ensure the cables are not pinch when fitting the
bottom
housing cover
.

 Loading...


