Section 7: Replacement Procedures
Page 7-4
CG4 Series Service Manual
7.1 PRINT HEAD REPLACEMENT (cont’d)
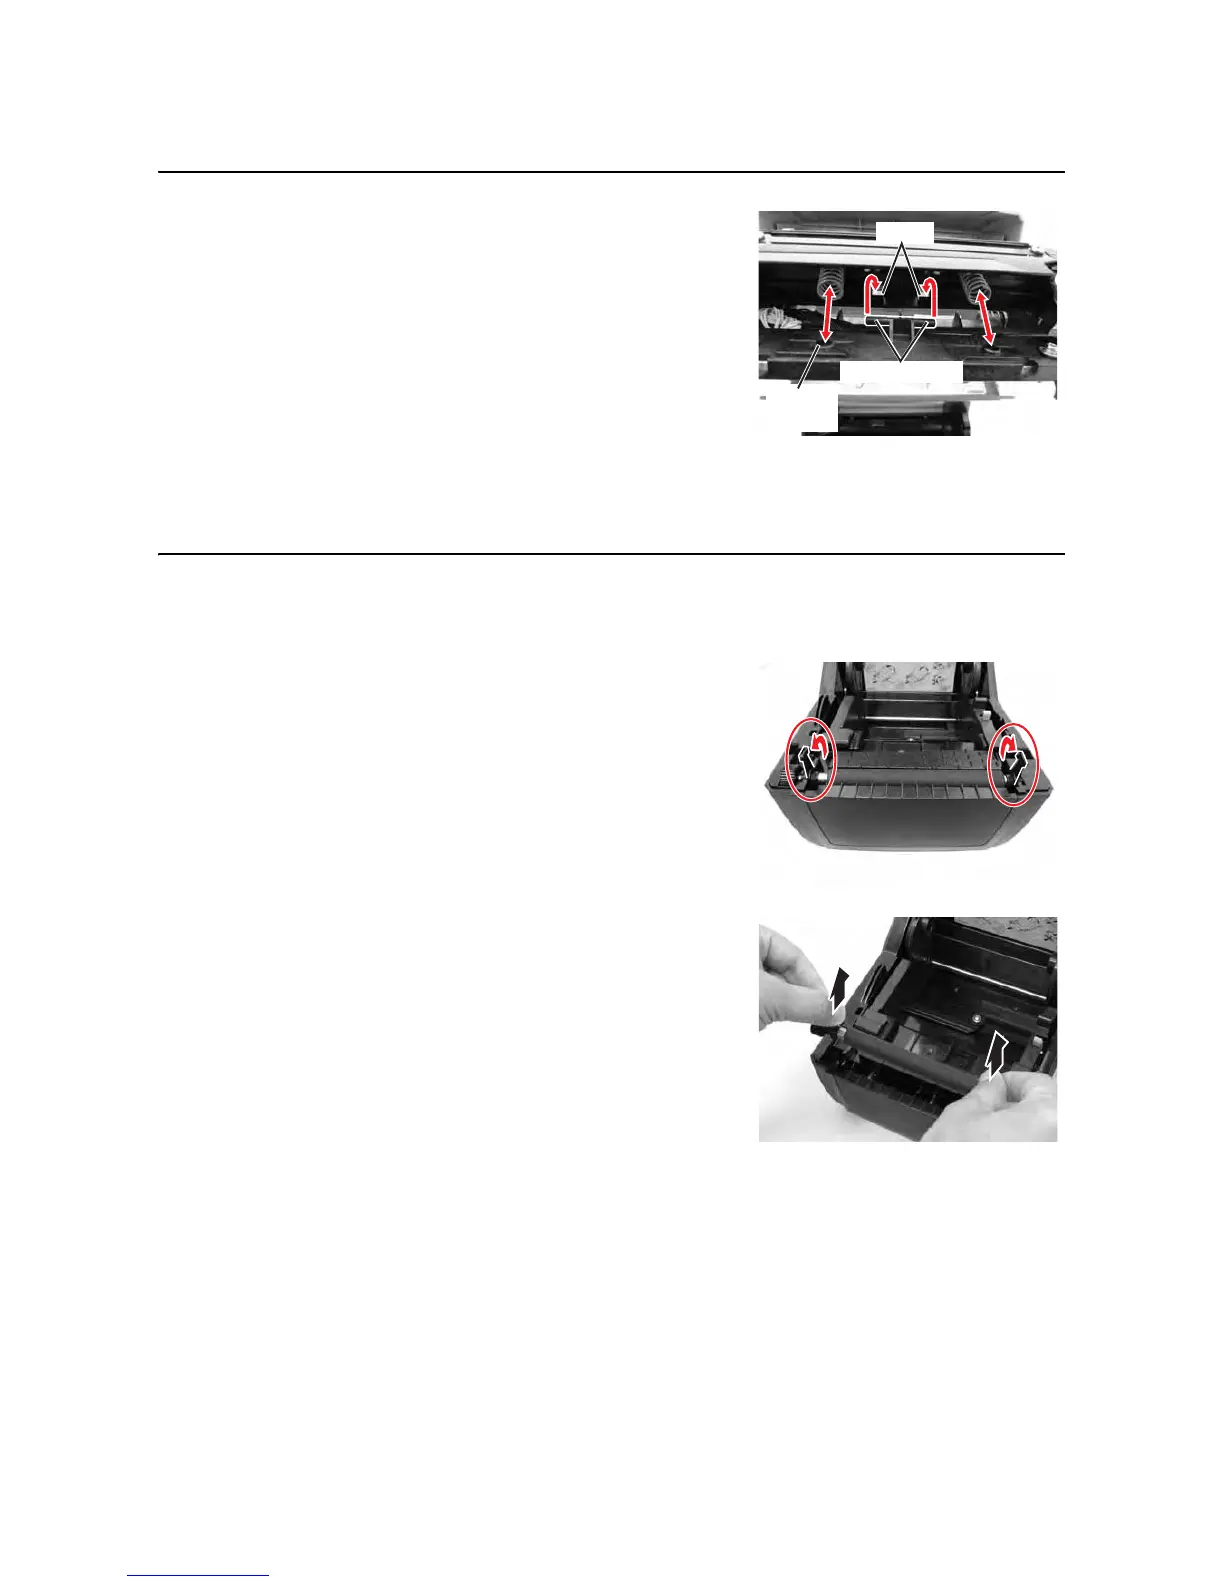
8.
Align the two circular recess of the print head bracket to
the two
springs attached to the top cover frame. At the
same time, fix the
fulcrum shaft of the print head bracket
to the
hooks. While pressing the print head, slide the print
head release lever
to lock the print head assembly in
place.
9. Restore power, reload media and ribbon, reset the head
counter (refer to
Section 4.12 Factory Clear Mode) and
perform a test print to ensure that the
print head is
connected properly.
7.2 PLATEN ROLLER REPLACEMENT
The printer’s platen roller is considered to be a high-wear component due to constant treading of the print
media and ribbon stock against its contact surface. This constant contact will eventually wear grooves into the
rubber material and negatively effect print output.
1. Make sure the printer is powered off and remove the power
cable.
2. Lift the Top Cover.
3. Locate the two platen bearings on each side of the platen
roller
, and turn the handles in the direction as shown.
4. Lift up the defective platen roller assembly with the
handles and replace it with a new one.
5. Follow the above steps, in reverse sequence, to
reassemble the parts. Make sure that the
platen bearing
snaps back in position.
Perform a label feed to ensure the
platen roller is
assembled correctly.

 Loading...


