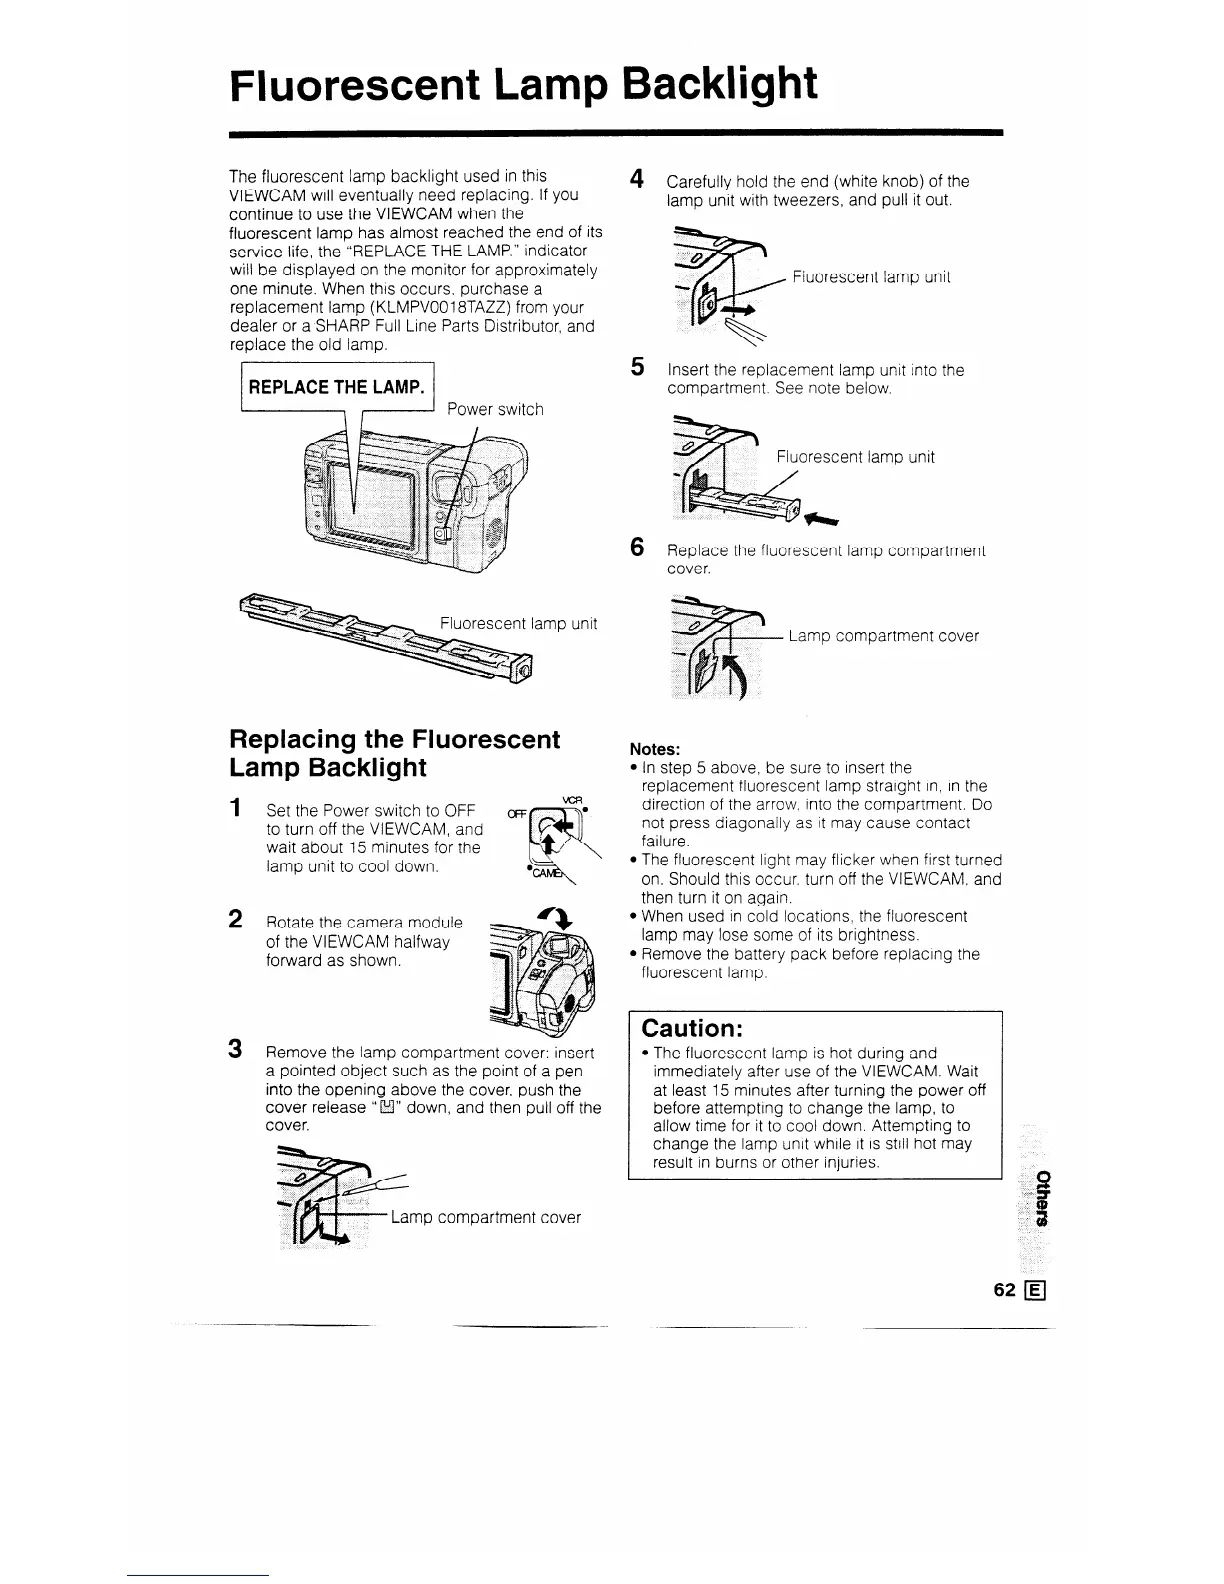
Fluorescent Lamp Backlight
The fluorescent lamp backlight used in this
VIEWCAM will eventually need replacing. If you
continue to use the VIEWCAM when the
fluorescent lamp has almost reached the end of its
service life, the “REPLACE THE LAMP.” indicator
will be displayed on the monitor for approximately
one minute. When this occurs, purchase a
replacement lamp (KLMPVOO18TAZZ) from your
dealer or a SHARP Full Line Parts Distributor, and
replace the old lamp.
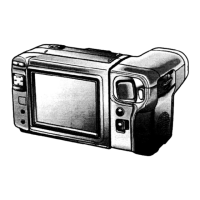
jl Power switch
Replacing the Fluorescent
Lamp Backlight
1
2
3
Set the Power switch to OFF
OFF
to turn off the VIEWCAM, and
wait about 15 minutes for the
lamp unit to cool down.
Rotate the camera module
of the VIEWCAM halfway
forward as shown.
Remove the lamp compartment cover: insert
a pointed object such as the point of a pen
into the opening above the cover, push the
cover release ” f!l” down, and then pull off the
cover.
~~
u L
._
Lamp compartment cover
4
5
6
Carefully hold the end (white knob) of the
lamp unit with tweezers, and pull it out.
Fluorescent lamp unit
Insert the replacement lamp unit into the
compartment. See note below.
Fluorescent lamp unit
Replace the fluorescent lamp compartment
cover.
Lamp compartment cover
Notes:
l In step 5 above, be sure to insert the
replacement fluorescent lamp straight in, in the
direction of the arrow. into the compartment. Do
not press diagonally as it may cause contact
failure.
l The fluorescent light may flicker when first turned
on. Should this occur. turn off the VIEWCAM, and
then turn it on again.
l When used in cold locations, the fluorescent
lamp may lose some of its brightness.
l Remove the battery pack before replacing the
fluorescent lamp.
Caution:
l The fluorescent lamp is hot during and
immediately after use of the VIEWCAM. Wait
at least 15 minutes after turning the power off
before attempting to change the lamp, to
allow time for it to cool down. Attempting to
change the lamp unit while it is still hot may
result in burns or other injuries.
62 q