65
4
The SKF plug connectors are available in
designs for metal or plastic pipes. The claw
groove securely fastens the tube in the plug
connectors, which prevents the metal tube
from slipping out of the SKF plug connector.
Both designs, for metal and plastic
pipes, have a locking claw. The locking claw
of the collet secures the pipe in the SKF plug
connector, which prevents the pipe from
accidentally slipping out.
In the following installation of the tube, a
noticeable resistance must be overcome
when passing through the first O-ring
(2), the locking claw (5) of the collet (4).
If a claw groove is not used, fix the pipe
using appropriate fastening hardware
(e.g., mounting clips) to prevent the
pipe from slipping out of the SKF plug
connector.
• Manually insert the pipe (1) fully into the
collet (4) of the SKF plug connector until
it clears the first O-ring (2) and the locking
claw (5) of the collet (4) and reaches the
mechanical stop (3).
To remove the metal pipe (1), press the
collet (4) inward into the SKF plug
connector. The metal pipe (1) can now
be pulled out of the collet (4) of the SKF
plug connector.
4.12 Assembly of the lubrication lines using plug connectors
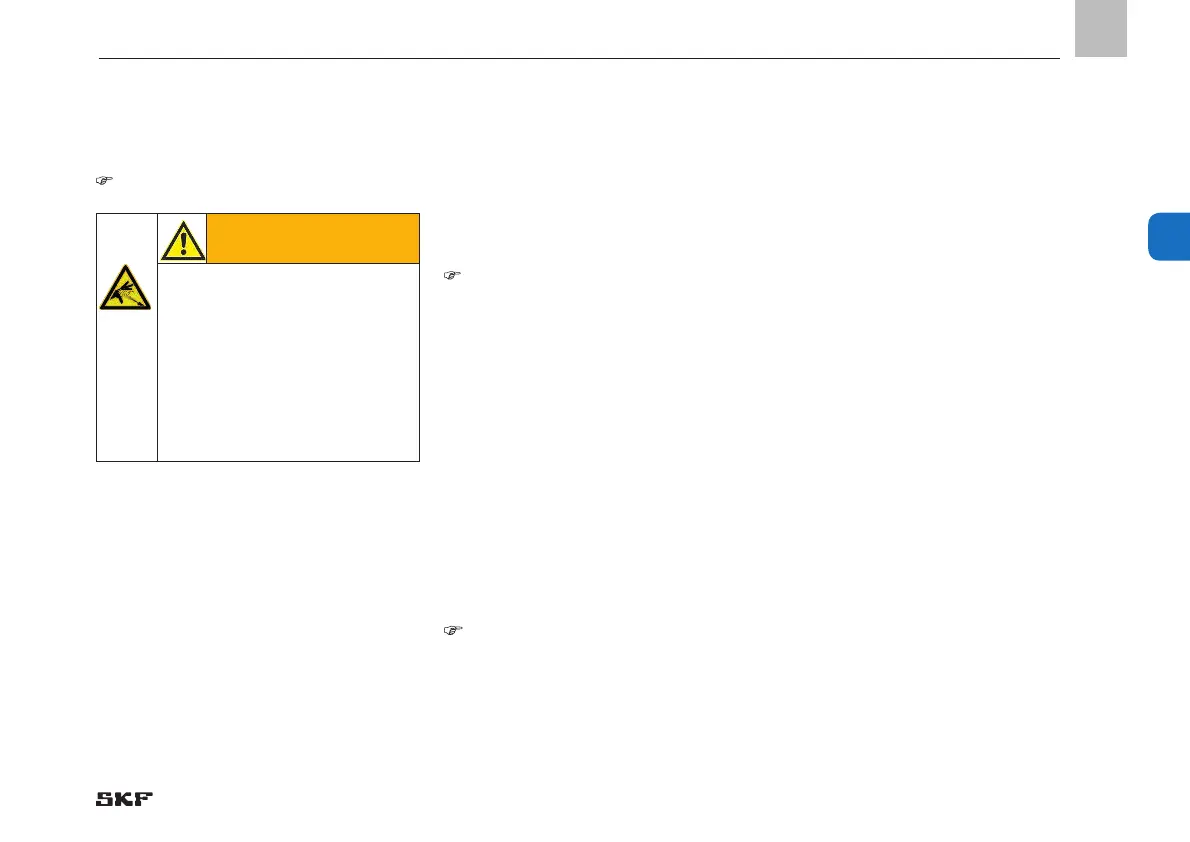
WARNING
System pressure
Lubrication systems are pressurized
during operation. Centralized lu-
brication systems must therefore
be depressurized before starting
assembly, maintenance, or repair
work, or any system modifications
or system repairs.
See Figure 36, Fig. 37 To remove the plastic tube (1), press
the collet (4) inward into the SKF plug
connector. To do this, also press the plastic
pipe (1) inward into the SKF plug
connector fitting, which releases the col-
let (4) from the plastic pipe (1). The plastic
tube (1) can now be pulled out of the
collet (4) of the SKF plug connector.
Before reassembling, shorten the end of
the plastic pipe by at least 7 mm to
ensure that the locking claw (5) of the
collet (4) functions properly.
• Cut the connecting tube (1) to the
correct length with a tube cutter (see
Accessories).
EN
4. Assembly
 Loading...