124
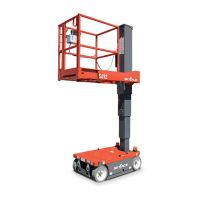
Section 5 – Procedures Mast Roller Replacement
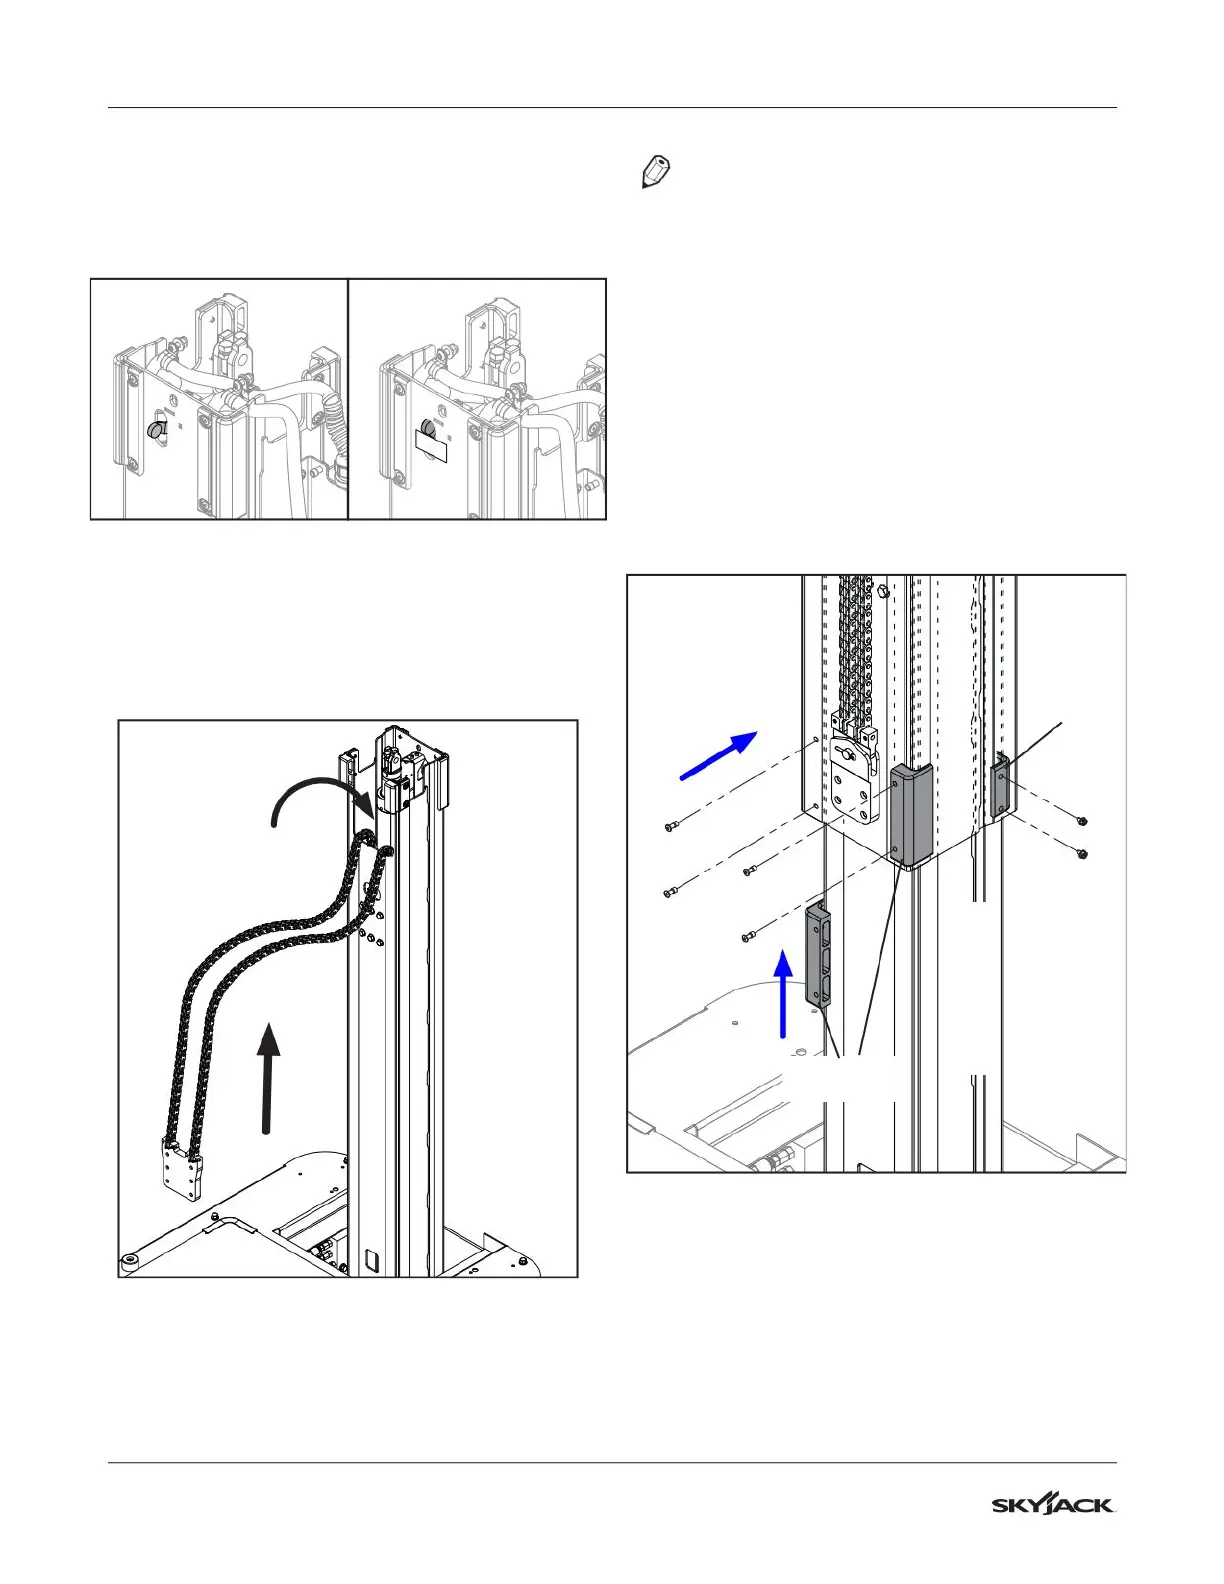
6. Locate the limit switch at the top of the mast,
then press and hold the plunger away from
the opening with a piece of tape to avoid any
potential damage when the next section passes
over it.
Figure 49 Mast Limit Switch
5.14-2 Mast Section 2 Installation
1. Pull the chains attached to the mast section 1 up
and over so the they drop into the mast column.
Make sure they do not tangle.
Figure 50 Mast Section 1 Chains
NOTE
It is recommended that 2 lifting straps (or similar)
be attached evenly to mast section 2 for a
straight, even lift.
2. Lift mast section 2 over the mast column, then
slowly and carefully lower the section in place.
Make sure the harnesses and the control cable
enclosure box are clear at the top of mast
section 1.
3. Lower the section until the bottom end of the
mast is at a suitable working height to install the
lower wear pads.
4. Install the rear (short) wear pads with the 10-32
x 3/8’’ screws. Install the front (long) wear pads
using 3/16’’ x 1/4’’-3/8’’ rivets.
Rear Wear
Pads
Front Wear
Pads
Section 1
Figure 51 Wear Pads Installation (Mast Section 2)
5. Fully lower the section in place.
6. Remove tape to release the limit switch.