HRX-MM-N007
Chapter 4 Service Procedure
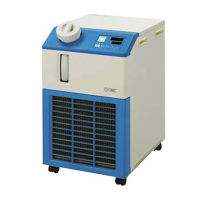
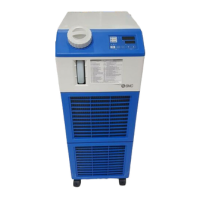
HRS Series 4.5 Replacement Procedure
Mounting
1. Apply the liquid gasket to the threads of the temperature sensor and mount the temperature
sensor using a spanner/wrench.
[Tips]
Do not apply the liquid gasket to the first thread. Otherwise, the liquid gasket
will spread to the circulating circuit and cause the product to fail. To prevent
dust from getting caught in the threads, check there is no dust stuck to the
threads before the screw is mounted.
2. Put through the electric wire from the grommet to the inside of the electric equipment.
3. Mount the connector (PT2) of the temperature sensor.
4. Mount the upper panel and the left panel in reversed order of removal. (Fixing screws ×8)

 Loading...