21
1.Pagers 2.Time
3.Reminders
Pagers
This section contains options to add, edit, or delete pagers and groups from the database.
Pagers
You need to register a pager in the database before you can send any messages.
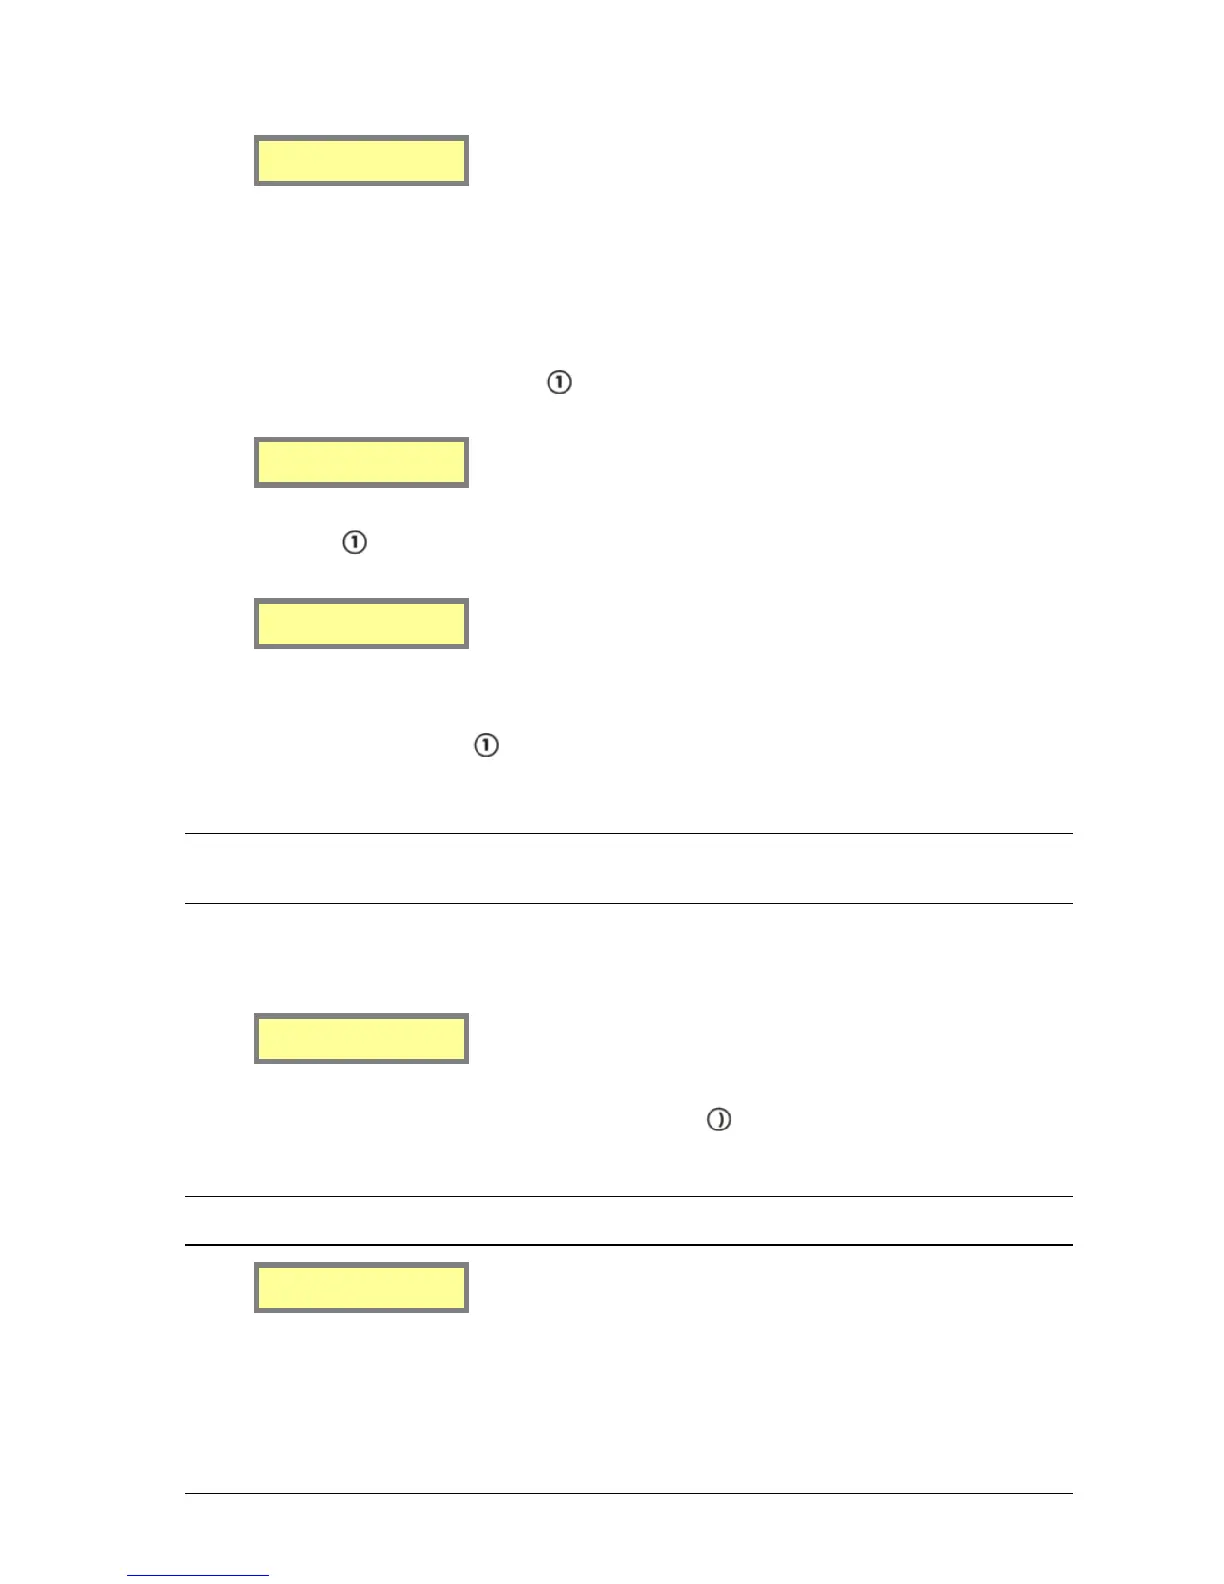
1. At the User Mode menu screen, press to select Pagers. You then see the screen below.
1.Pagers
2.Groups
2. Then press to select Pagers. You see the screen below. This is referred to as the Pagers Menu.
1.Add/Edit Pager
2.Delete Pager
Adding or Editing a Pager
1. To add or edit a pager, press to select Add/Edit Pager when in the Pagers Menu.
2. Locate a pager that you wish to use and determine its cap code. A cap code is essentially a 7-digit “phone
number” for a pager, except that more than one pager can have the same number.
NOTE: Pagers supplied by Spok include an information sheet that identifies the cap code. Some pagers display their
cap code through a special menu on the pager. Contact your place of purchase for assistance if you are unable to
determine your pagers cap code.
The following screen displays:
ID[ ] [ ]
Capcode[ ]
3. Enter a Pager ID using the keypad in the ID field. Press the key to move along to the next field if
required. If the Pager ID already exists in the database, the details for that ID are displayed in the fields. If
the Pager ID is not in the database, all fields are empty and are ready for data entry.
NOTE: A Pager ID is a reference number that identifies pager(s) in the database. It contains the cap code and pager
type information.
ID[1 ] [ ]
Capcode[ ]
4. The next field requires a paging format to be entered. Press any key on the keypad to choose between
Alpha, Number, Coast, TwoTn, GrpTn, and Tone. This is set depending on the type of pager that