4-6
764333-098
4.4.3 Clean Spray Jets and Headers
1. Observe jet nozzles during unit operation and
inspect each nozzle to detect debris.
2. Insert a wire (smaller diameter than a jet nozzle)
into spray nozzles, and push debris through noz-
zles into header.
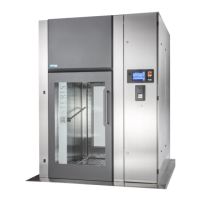
3. Remove flush plug from bottom of each spray
header (see Figure 4-1).
4. Manually fill sump with water and run pump for
30 seconds to flush loosened debris from spray
headers.
5. Replace flush plugs.
4.4.4 Inspect Self-Cleaning Screen
WARNING – ELECTRIC SHOCK AND/OR
BURN HAZARD: Disconnect all utilities to
unit before servicing. Do not service unit unless
all utilities have been properly locked out. Always
follow local electrical codes and safety-related
work practices.
WARNING – BURN HAZARD:
• Allow unit to cool down before performing any
service on mechanical components and on
piping. Components and piping become very
hot during operation.
• Pipes may be extremely hot.
NOTE: A STERIS or STERIS-trained service techni-
cian is required to perform this task. Contact STERIS
for this service. Preventive maintenance is not covered
under warranty.
IMPORTANT: Intake filter requires periodic inspec-
tion and replacement. Initial inspection is suggested
once a week; user should determine frequency there-
after.
1. Lock disconnect switch in OFF position and close
building supply valves.
2. Allow unit to cool down.
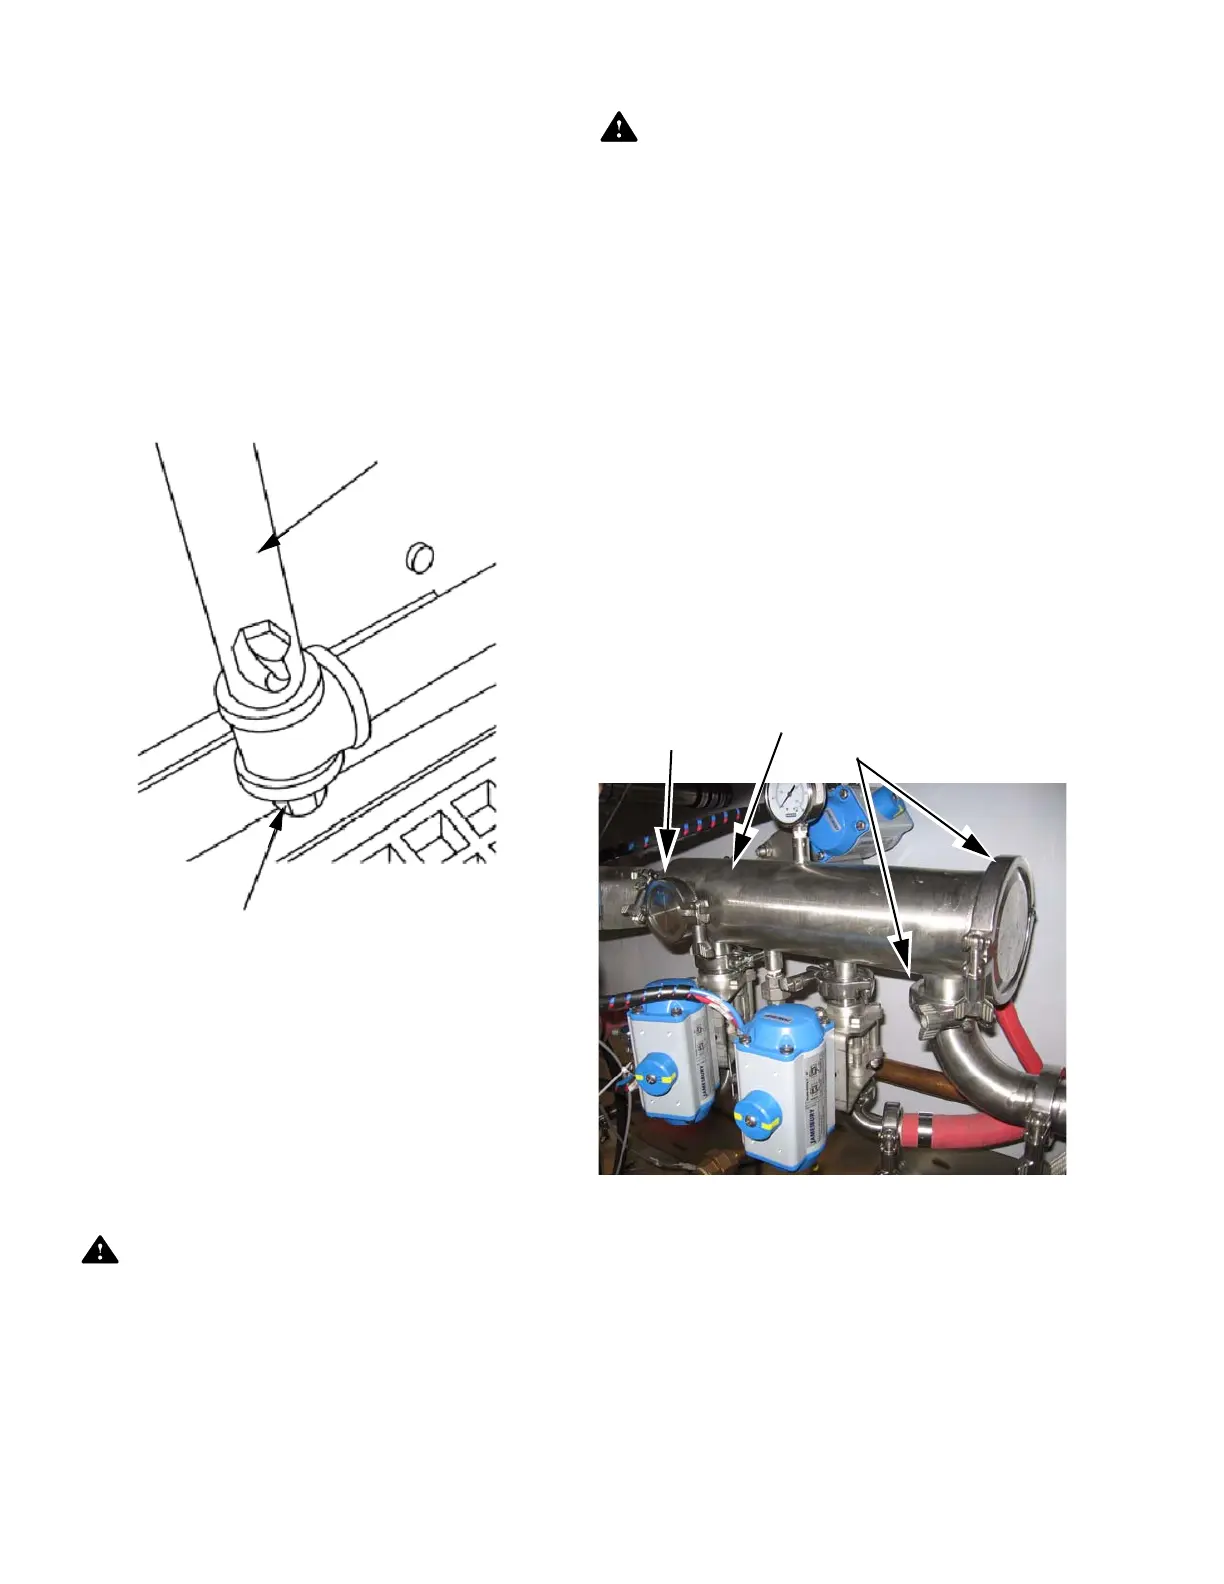
3. Remove quick disconnect clamps located directly
on filter assembly (see Figure 4-2).
4. Remove filter cartridge by pulling straight out on
handle.
5. Brush and rinse surface of filter cartridge to
remove any debris. Inspect O-ring for damage.
6. Rinse filter under running water.
7. Reinsert filter cartridge. Reposition gaskets,
quick disconnect clamps, and tighten.
Figure 4-1. Spray Header Flush Plug
Spray Header
Flush Plug
Figure 4-2. Self-Cleaning Screen
Quick Disconnect Clamps
Self-Cleaning
Filter
Quick Disconnect
Clamp