EN-18
Powering the Console On/O
Before using the 1488 HD Camera in a surgical procedure, test
all system components to ensure proper function. Ensure that
a video image appears on all video monitors before beginning
any procedure.
1. Power on the monitor.
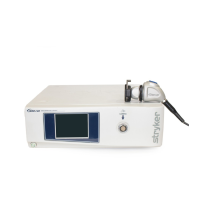
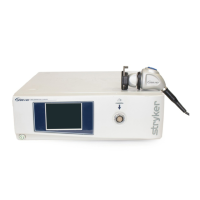
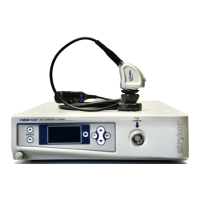
2. Press the power switch on the console to power the console on or o.
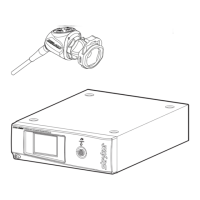
Note: A color bar pattern will appear on the monitor if the camera head is not
connected to the camera console. If the color bar appears, refer to the “Setting
Up the Camera Head” section to connect the camera head.
Controlling Remote Video Accessories
The 1488 HD Camera can remotely control up to two functions of a video
accessory, such as a Stryker digital capture console. Commonly this enables
the user to capture images or start and stop video recording.
Remote video accessories can be controlled with the camera head’s P button
or the console touchscreen. See the following sections, “Using the Camera
Head Buttons” and “Using the Touchscreen Interface.”
Note: Controls for capturing photos or recording video require connecting a
video accessory to the console. See the “Setup” section for more detail.
 Loading...