LUCAS
®
3 Chest Compression System – Service Manual
3328798-002, ©2017 Physio-Control, Inc.
Page 70 of 91
2. Reassembling
• Put back the Communication PCBA according to Reassembling instruction in
How to Replace the
Communication PCB
• If the SD-card from the old PCBA is working properly insert the old SD-card into the new PCBA, otherwise
keep new SD-card installed.
• Put the new Controller PCBA in place and fasten loosely with two screws together with the Bottom Plate
with a Torx 25 (T25) Screwdriver.
• Put back the Compression Module according to Reassembling instruction in
How to Replace the
Compression Module
• Put back the Hood according to Reassembling instruction in How to Replace the Hood.
• Put back the Bellows according to Reassembling instruction in How to Replace the Bellows.
• Put back the Suction Cup.
3. Programming
• Connect a laptop and program the Controller PCBA according to LUCAS® 3 Program Loader
.
• Check that “Device S/N”, Time and Date, “Total Number of Strokes”, “Hardware ID” and “Device Friendly
Name” are correct (if possible check against “Store View” performed in Disassembling step). If “Store View”
was not possible set: “Device S/N” (e.g. 35160021) and “Hardware ID” (e.g. 100921-00) according to Type
Label, “Total Number of Strokes” to 0 (zero) and “Device Friendly Name” to “LUCAS3-“ + serial number
according to Type Label.
4. Test
Perform a Function Check according to Function Check
.
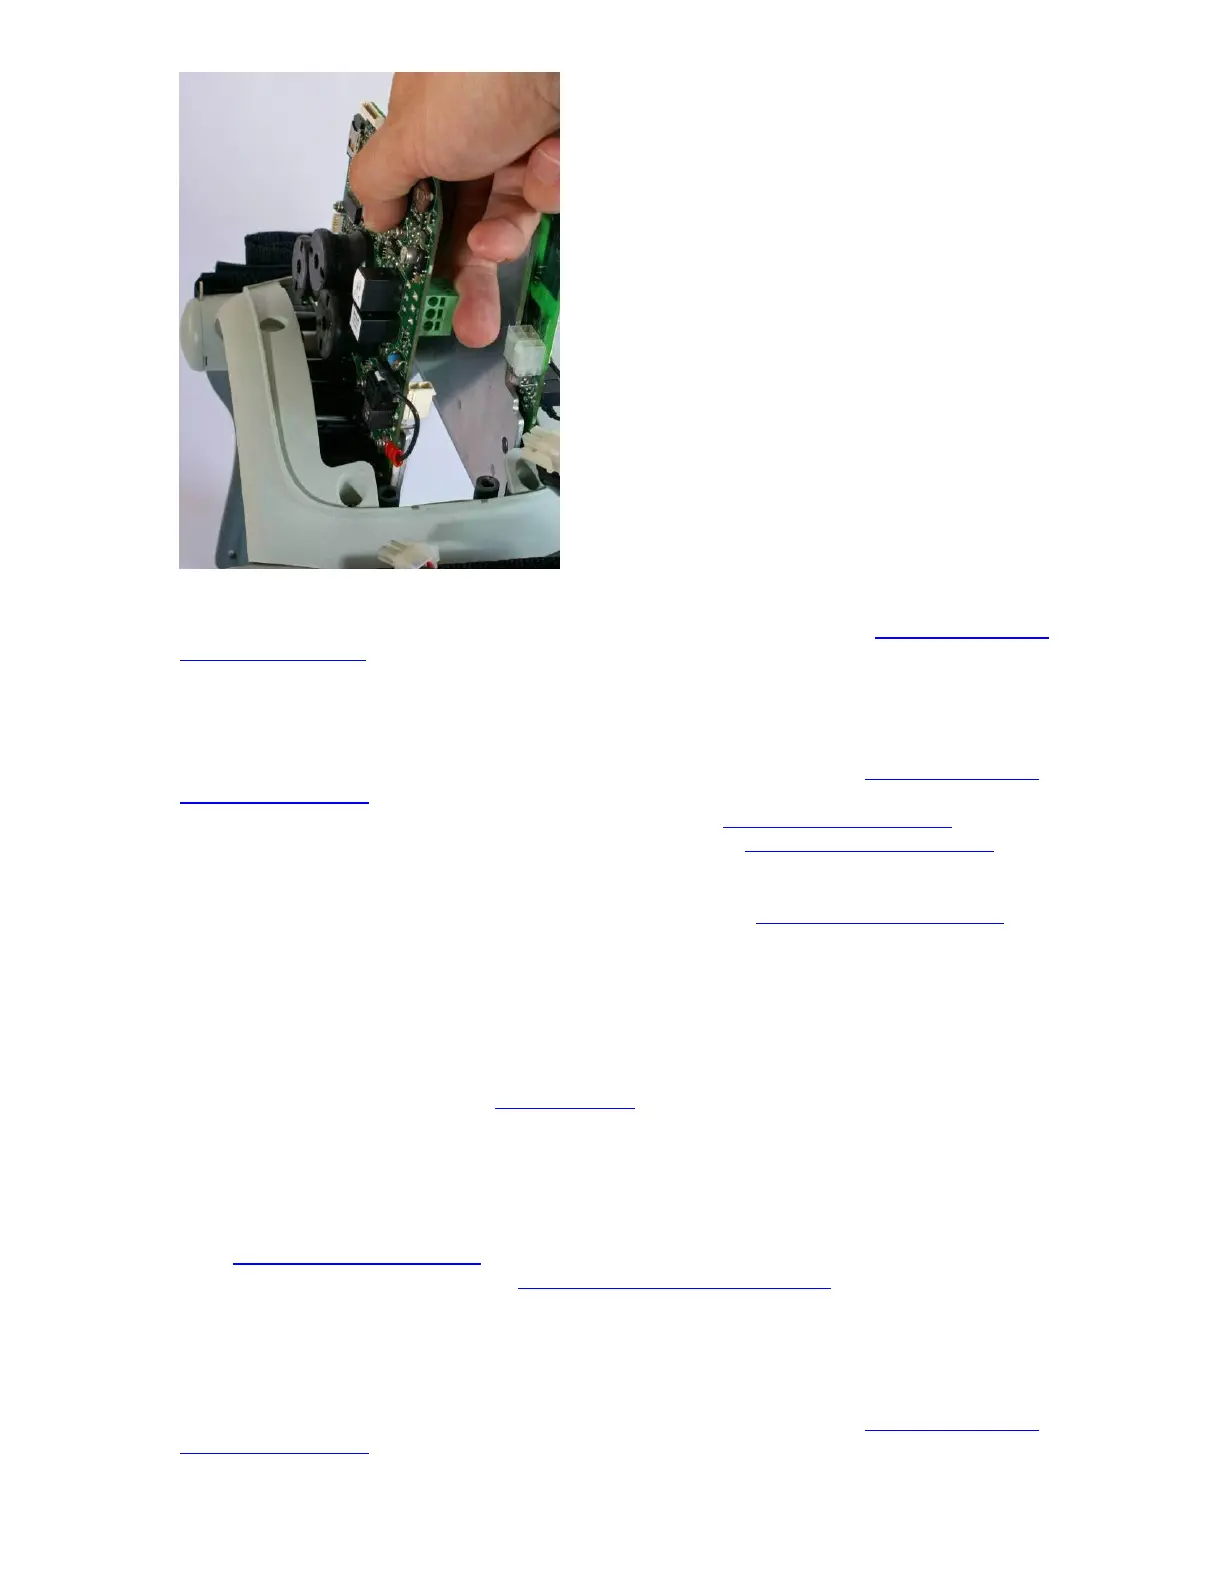
How to Replace the Protective PCBA
1. Disassembling
• Before disassembling and changing any PCBA and if possible; connect a laptop and perform “Store View”
using LUCAS® 3 Program Loader
.
• Follow Disassembling instructions in How to Replace the Controller PCB to take out the Protective PCBA.
• Warning: Always use ESD protection when handling PCBAs.
2. Reassembling
• Put the new PCBA in place and fasten loosely with two screws together with the Bottom Plate with a Torx
25 (T25) Screwdriver.
• Put back the Compression Module according to Reassembling instruction in
How to Replace the
Compression Module
 Loading...


