LUCAS
®
3 Chest Compression System – Service Manual
3328798-002, ©2017 Physio-Control, Inc.
Page 67 of 91
• Fasten the Belt Cover according to the picture in Disassembling. Tighten the screws to 9 in-lbs / 1.0 Nm
with a Torque Screwdriver Torx 10 (T10). Note: Do not use any Thread Lock Fluid!
• Connect the Antenna Cable Connector to the Communication Board and tuck away the antenna cable
beneath antenna and between belt cover and Control PCBA.
• Connect the Communication Cable.
• Put back the Hood according to Reassembling instruction in How to Replace the Hood
.
3. Test
Perform a Function Check according to Function Check
.
How to Replace the Electric Motor
1. Disassembling
• Follow Disassembling instructions in How to Replace the Compression Module
to take out the
Compression Module.
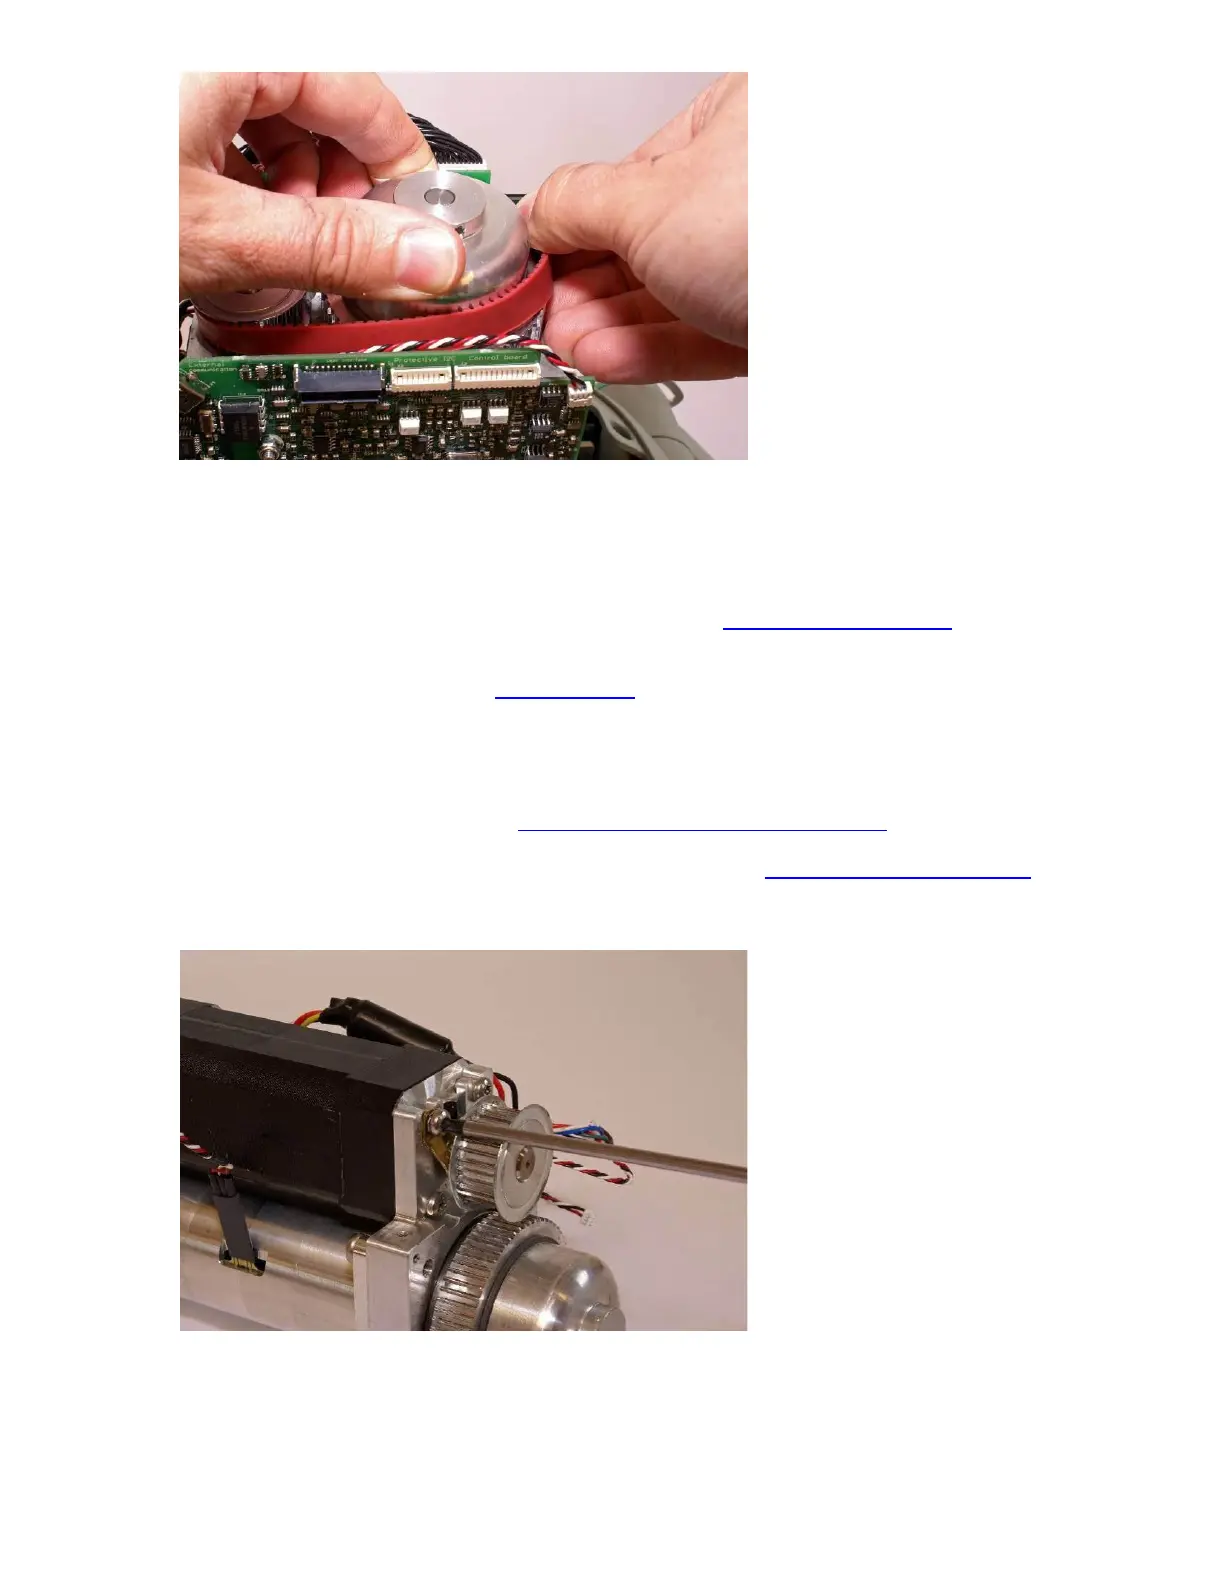
• Remove the Drive Belt according to Disassembling instruction in How to Replace the Drive Belt.
• Take note of how the terminal for Hood Ground Cable is angled.
• Remove the inner two screws and loosen the outer two screws holding the Motor with a Torx 20 (T20)
Screwdriver.
• Slide the Motor out from its bracket.
 Loading...


