S CLASS™ cutter User’s Manual
Setup 1-25
¾ Setting knife depth and pressure:
(media must be loaded in the cutter before knife pressure can be tested).
WARNING
Each keystroke can initiate an internal test or movement of head or media.
Keep fingers and other body parts away from the cutting area.
There are hazardous moving parts.
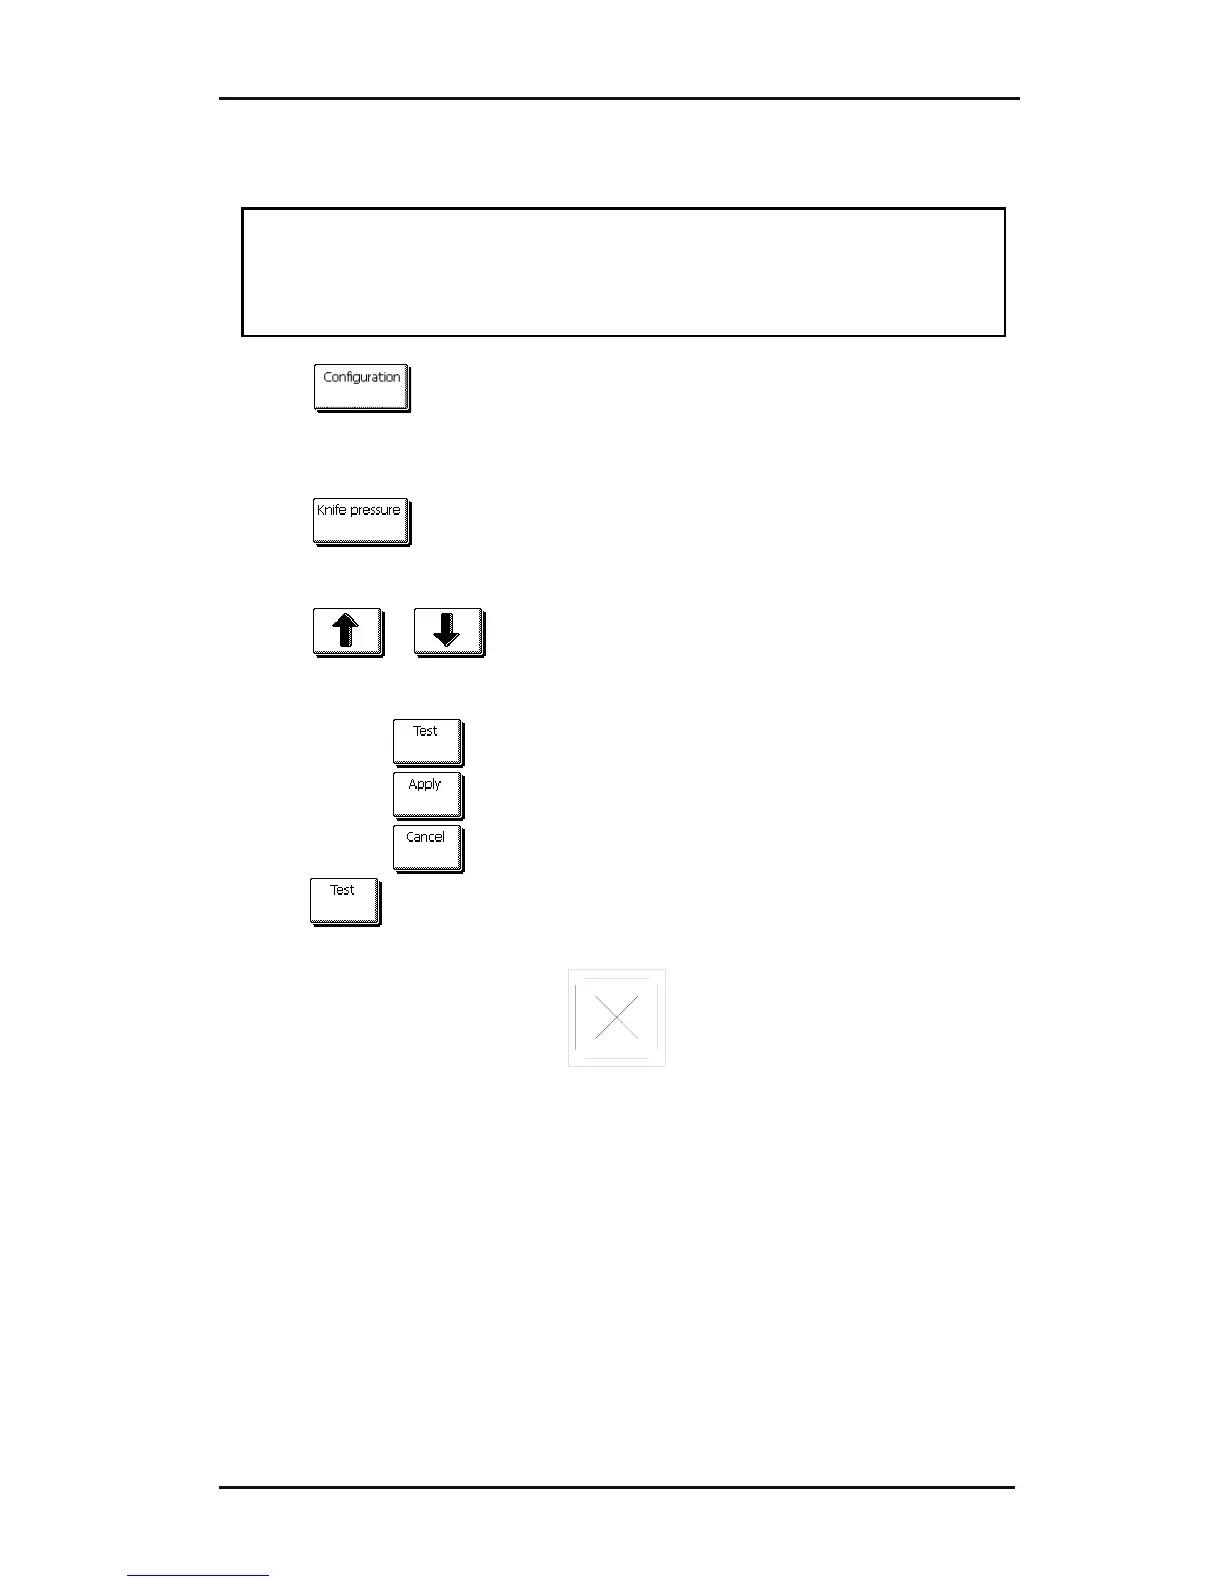
1. Press
.
A new screen will appear showing the most common menu items (see section
2.1).
2. Press
.
Current knife pressure will appear on screen.
3. Press
or to change the knife pressure.
The new value (in bold) will change
1. Press
to perform the internal knife pressure test.
2. Press
to confirm the chosen knife pressure and exit the menu.
3. Press
to leave the pressure unchanged.
Once
is pressed, the current knife pressure value will be set automatically
to the new value and the cutter will cut the knife pressure test pattern.
FIG 1-28
1-28 KNIFE PRESSURE TEST PATTERN
Peel out the rectangle and inspect the media backing.
The knife depth is set correctly when the test pattern cuts through the vinyl
completely, the vinyl is removed, and the blade tip visibly scratched the front side of
the media backing. The blade should never cut through the backing; just slightly
scratch the silicon coating and first few fibers of the backing material.
Because the knife pressure setting depends on the thickness and type of media to be
cut, adjusting knife pressure will require some practice. In general, the knife depth
must be increased when using thicker types of vinyl and decreased when using
thinner types of vinyl.