S CLASS™ cutter User’s Manual
Contour Cutting 3-5
3.3 Detailed OPOS Operation
3.3.1 Creating the graphic with the markers
1. Create the graphic and contour cut line(s). For easier handling, place the contour
line(s) on a different layer.
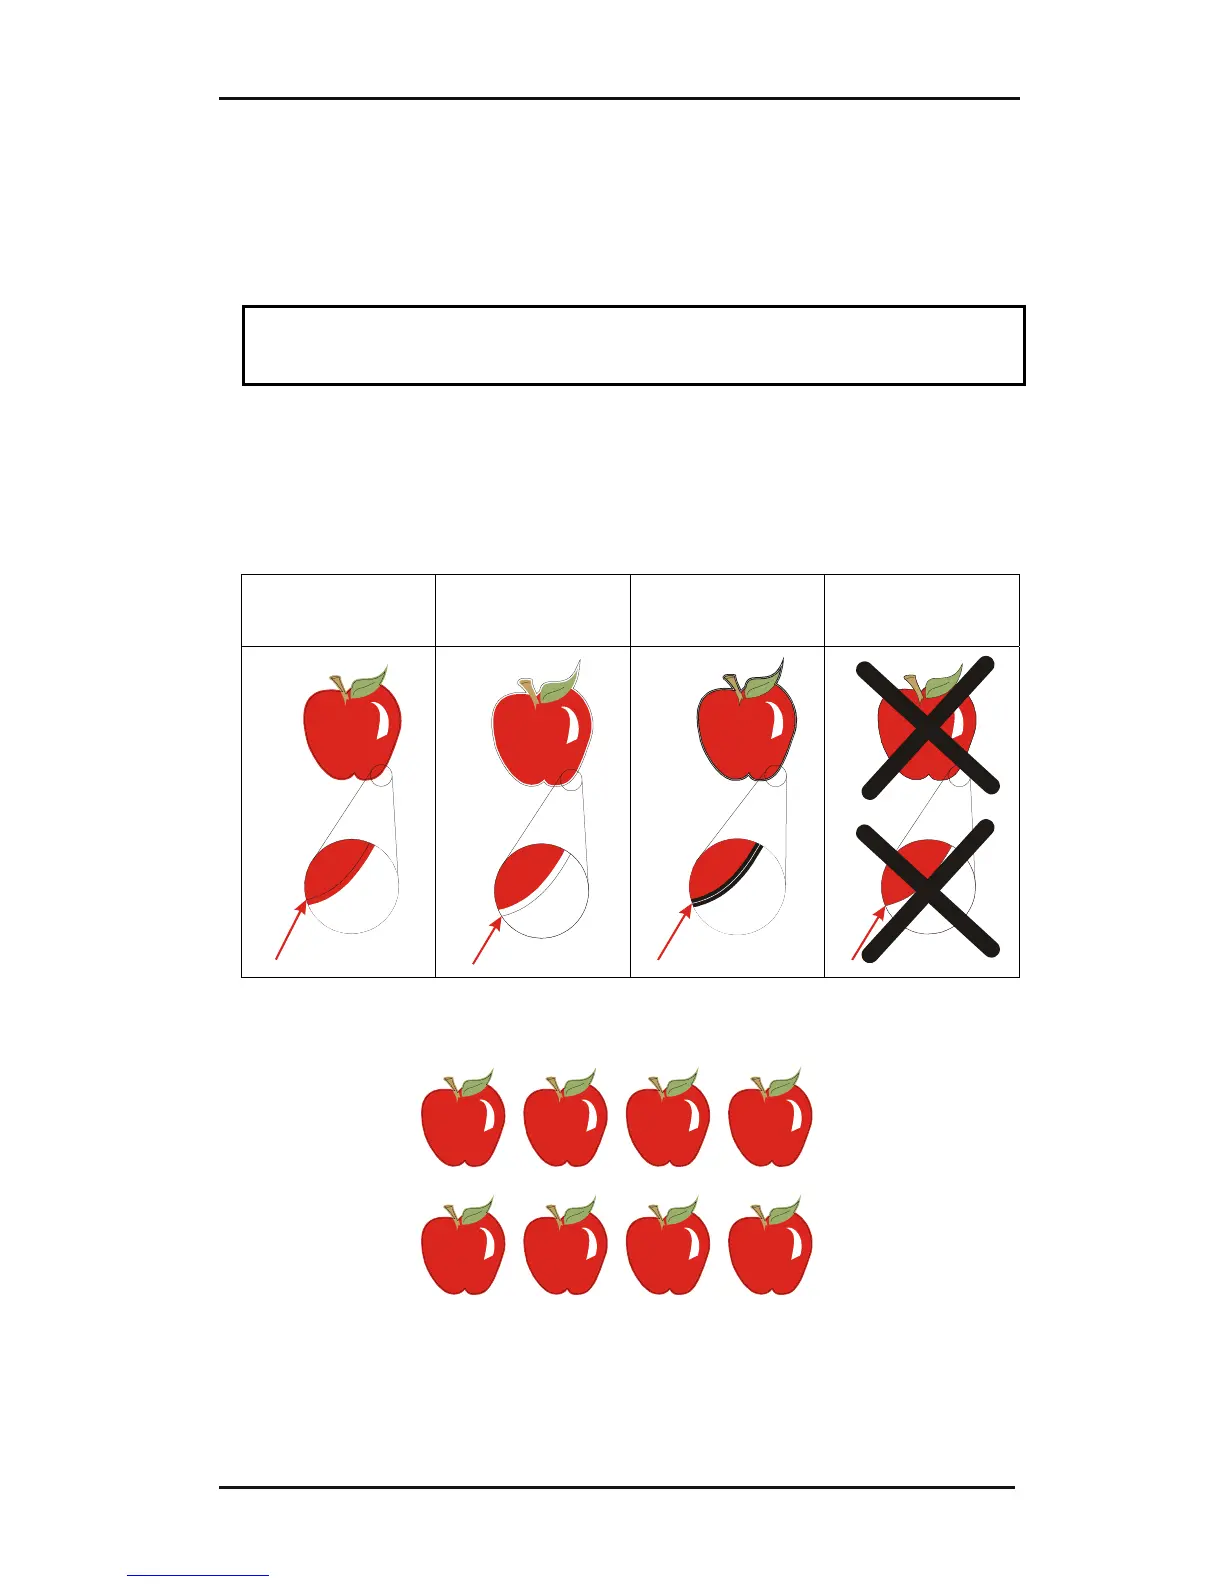
NOTE: Do not place contour lines along the edges of graphics or the slightest
movement in the media may result in an unsatisfactory cut. Instead, practice one
of the following techniques:
¾ Place contour lines just inside the graphics (recommended) (1).
¾ Place contour lines outside the graphics (2).
¾ Create thick borders around graphics and place contour lines inside these borders
(3).
(1) contour line
inside graphic
recommended
(2) contour line
outside graphic
(3) contour line
inside a thick
border
Contour line on
edge of graphic
2. If necessary, make additional copies of both the graphic and its associated
contour.
3. Insert a marker to represent the Origin. The marker must be a black square. Each
of the marker’s four sides should measure 2mm but must not be less than 1.5mm
or more than 10mm. (1=X-size 2=Y-size.)